Palm sanders are essential tools for many woodworking and home improvement projects. They make it easy to achieve a smooth, even finish on surfaces like wood, metal, and plastic. But using one isn’t as simple as plugging it in and running it along the material. To get the best results from your palm sander, you need to know a few tips and tricks. This article will provide answers to the most common questions about how to use a palm sander, as well as useful tips for getting the best results from your project.
What Is a Palm Sander?
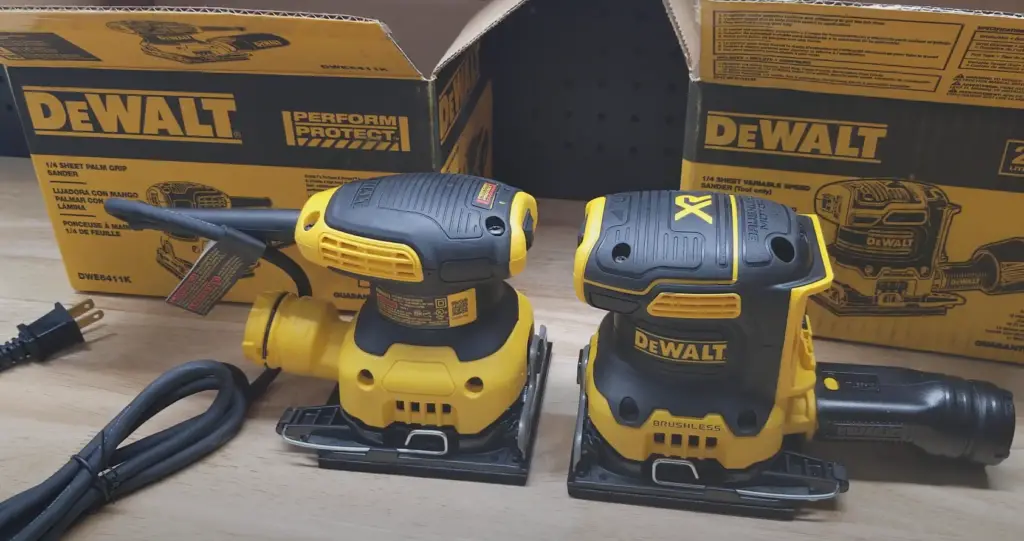
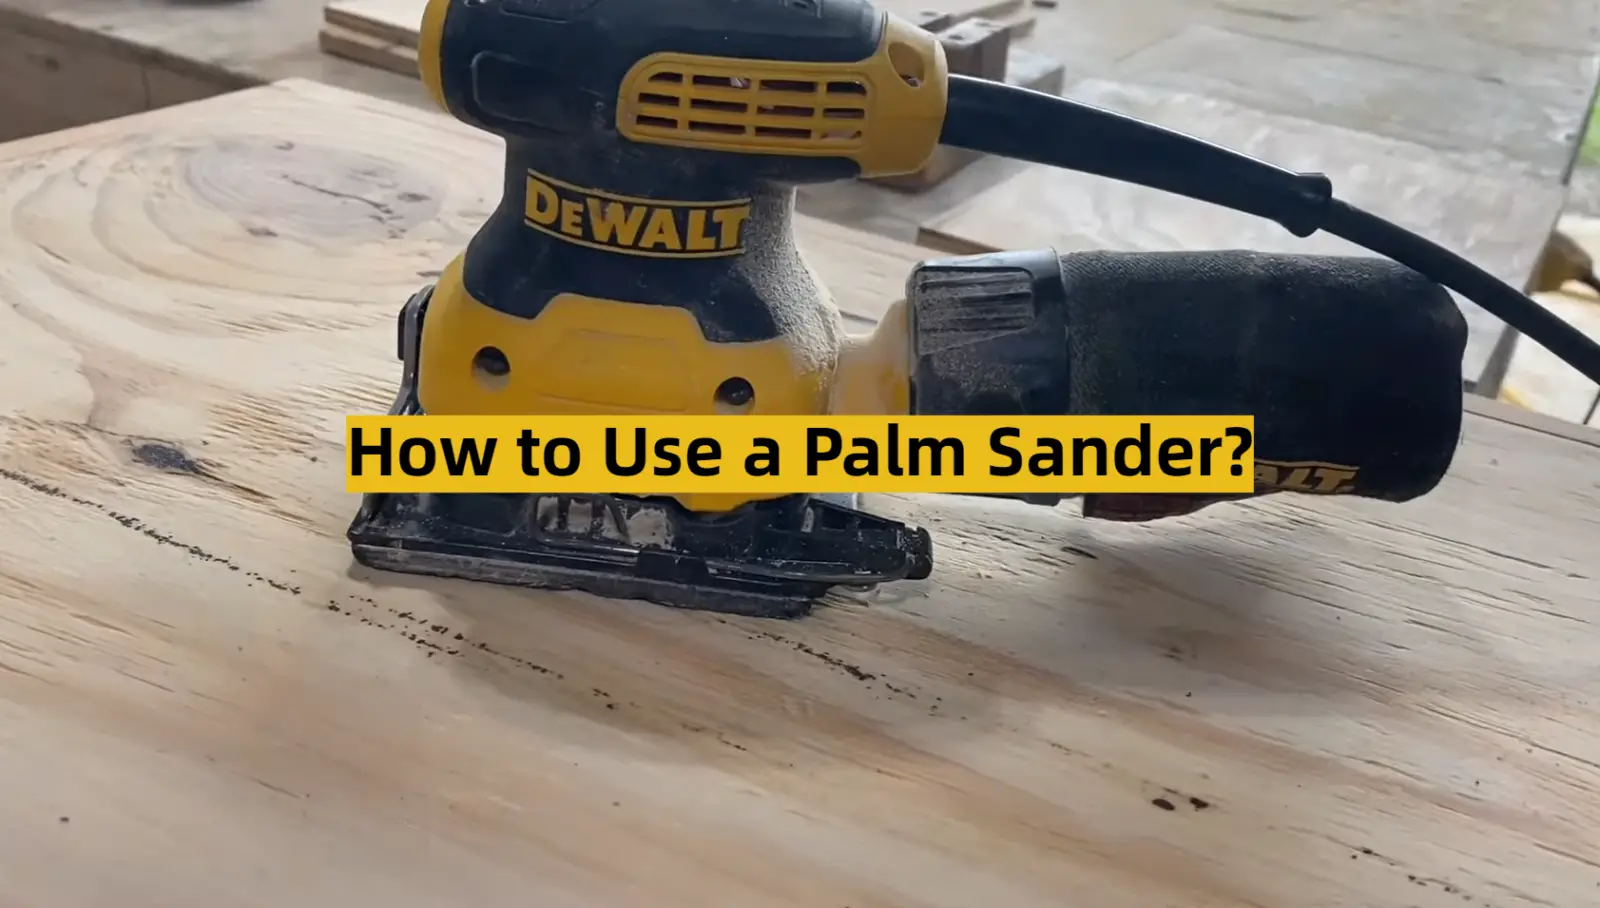
It has an orbital or oscillating action that vibrates and moves in small circles, allowing you to get into tight corners and contours for detailed work. Palm sanders are most often used on wood but can also be used on metal, plastic, drywall, and other materials. [1]
Pick the right type of sandpaper for the job
Sanding wood
When sanding wood with a palm sander, you need to use the right kind of sandpaper backing. The paper should be designed for a lightweight tool such as your palm sander and have an adhesive coating that holds the grit in place. Not all sandpapers are designed for this type of tool so make sure you choose wisely! [3]
Sanding plaster
When sanding plaster or drywall, it’s important to choose the right type of sandpaper. For this job, you want to use a slightly more aggressive grit than you would when sanding wood. You also need to make sure that the paper is designed for use with a lightweight tool such as your palm sander. If you use the wrong type of paper, it may tear or clog up quickly. [3]
Parts of a Palm Sander
Before you start using a palm sander, it’s important to become familiar with the different parts associated with this tool.
At its most basic level, a palm sander consists of two pieces: an abrasive paper and a block-shaped base. The base is generally made from plastic or wood and typically includes a handle to allow for better grip and control.
For more advanced sanders, you’ll find additional pieces such as a dust collection bag or port, lever-style clamps to secure the abrasive paper, and variable speed settings. [2]
What You’ll Need
For palm sanding, you’ll need a few basic supplies:
- A palm sander and sandpaper of the appropriate grit size for the material you are working with.
- A dust collector or vacuum to keep your work area clean.
- Safety glasses and/or a respirator to protect yourself from airborne particles. [2]
Instructions
Pick Your Paper
When it comes to using a palm sander, the type of sandpaper you choose is important. There are two main types: aluminum oxide and silicon carbide. Aluminum oxide sandpaper is softer and will work better for wood surfaces that need more subtle sanding. Silicon carbide paper is best for removing paint, rust, or other tough materials. Make sure your sandpaper has the proper grit size for your job—the lower the number, the coarser the paper. [4]
Measure and Attach Paper
Before you start sanding, make sure to measure and cut the sandpaper properly. You don’t want it sticking out from either side of the sander, as this can damage your work surface. To attach it securely to the palm sander, center the paper over the velcro pad and press down firmly until it sticks. [4]
Secure Material
When sanding, you want to make sure your material is secure. If the material is too loose or wobbly, it can cause a poor finish. You can either clamp down the material while sanding or affix it to a table so that it doesn’t move around as you work. [4]
Start to Sand
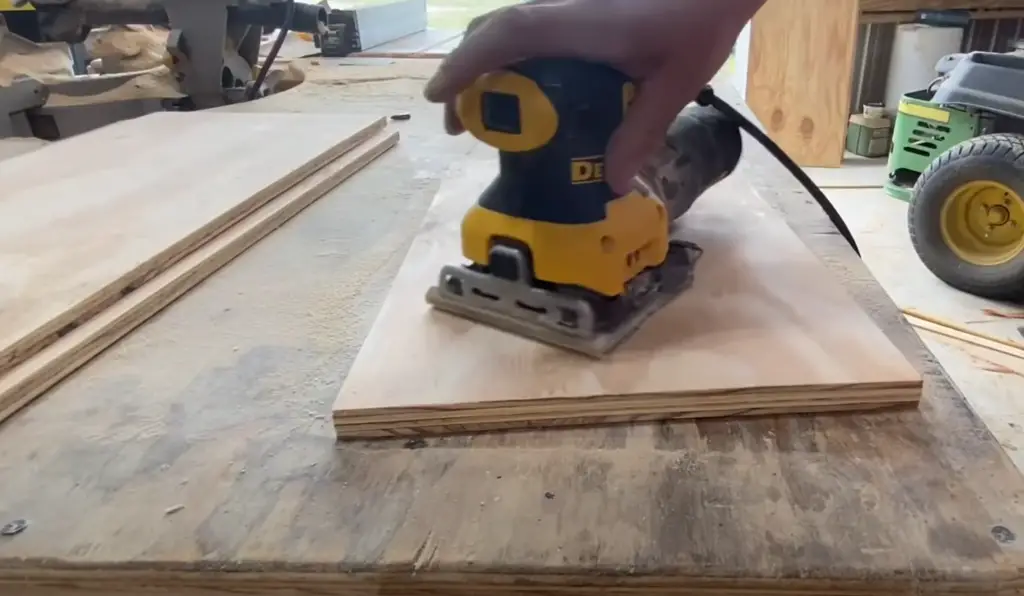
Once you’ve prepared the material and attached the sandpaper, it’s time to start sanding. Make sure to follow these steps for the best results:
- Hold the sander firmly and at a slight angle while sanding.
- Start from one end of your material and move in overlapping strokes across the entire surface.
- Don’t press too hard against the material or it could cause uneven sanding.
- For bigger projects, use long, even strokes and switch direction periodically to ensure an even finish.
- Periodically stop to check your progress and make sure you haven’t missed any spots. [4]
Finishing Touches
Once you’ve finished sanding with the palm sander, there are a few more steps to complete. To finish off the job properly:
- Vacuum the surface to get rid of any dust or debris left from sanding.
- If you’re painting or staining your material, make sure to wipe it down with a damp cloth before applying the finish.
- Seal and protect the surface with a sealer or topcoat of your choice. [4]
Storing & safety
When not in use, store your palm sander on a shelf or in a toolbox. Make sure to unplug the power cord when storing for extended periods of time. For safety reasons, never leave the sander plugged in while working on other tasks – always disconnect it after each session. Wear protective gear such as safety glasses and dust masks when sanding to prevent any dust particles from entering your eyes and lungs. Keep the power cord away from hot surfaces such as radiators, stoves, and water heaters to minimize the risk of electric shock. Additionally, consider using an extension cord if necessary for extra distance from a wall outlet. [1]
FAQ
What is the most efficient way to use palm sander?
The most efficient way to use a palm sander is to move it in the same direction as the grain of the wood. This will ensure that your sanding job is even and smooth, and help you avoid putting too much pressure on any one spot. Additionally, always make sure that you keep the sandpaper flat against the surface so that it can do its job efficiently.
Is it better to sand by hand or with sander?
It depends on the job at hand. For some surfaces, such as paint or varnish, it can be quicker and easier to use a palm sander than to sand by hand. On the other hand, if you’re dealing with delicate woodworking, it’s often best to go with sanding by hand for more precise results. Consider the project you are working on and choose the method that best suits it.
Why won’t my sandpaper stay on my palm sander?
Most likely, the sandpaper isn’t installed properly on your sander.
Additionally, double-check that the abrasive side of the paper is facing up so that it can grip onto the material you’re sanding. If you still have trouble, try using a different type of sandpaper or adhesive backing.
Do you apply pressure to a palm sander?
Yes, you do need to apply a certain amount of pressure when using a palm sander. However, don’t be too aggressive and make sure that you’re not putting too much strain on the tool or the wood itself. The goal should be to lightly but firmly press down while moving it in unison with the grain of the material. Too much pressure can cause the sander to become stuck or damage the surface of your workpiece.
Does hand sanding create less dust?
Yes, hand sanding does create less dust compared to using a palm sander. This is because a palm sander moves faster and therefore causes more friction which can generate excess dust particles. If you’re worried about the mess created by sanding, it’s best to use a vacuum or mask while working on your project.
What are the biggest sanding mistakes to avoid with a sanding machine?
One of the biggest sanding mistakes to avoid is using too much pressure on your sander. As aforementioned, this can cause it to become stuck or damage the workpiece itself. Additionally, make sure that your sandpaper is properly fitted and that you’re moving in the same direction as the grain of wood for even results. Finally, it’s important to pay attention to the type of material you’re working on and adjust your speed accordingly. If you rush a task, it can lead to uneven results that will require even more sanding.
Useful Video: How to Use a Palm Sander for Beginners | Woodworking Tools and How to Use Them
Conclusion
In conclusion, using a palm sander can be a great way to get the job done quickly and with minimal effort. With just a few basic steps, you’ll be able to sand any project down in no time. Don’t forget to always use proper safety equipment when operating machinery and be sure to read up on your particular sander’s instructions prior to use. With the right tools and a bit of practice, you can master the art of using a palm sander in no time! Happy sanding!
References
- https://www.bhg.com/home-improvement/remodeling/carpentry/how-to-use-a-palm-sander/
- https://bestorbitalsander.com/how-to-use-a-palm-sander/
- https://www.thespruce.com/how-to-use-an-orbital-sander-5220163
- https://www.aboutmechanics.com/what-is-a-palm-sander.htm







Leave a Reply