

As any woodworker knows, mastering an orbital sander is key to achieving a perfect finish. But it’s often easier said than done! This comprehensive guide will walk you through the basics of using an orbital sander and provide handy tips and tricks that will help you get the job done quickly and easily. So read on to learn how to make the most of this invaluable tool and create a beautiful, professional finish every time!
What is an Orbital Sander
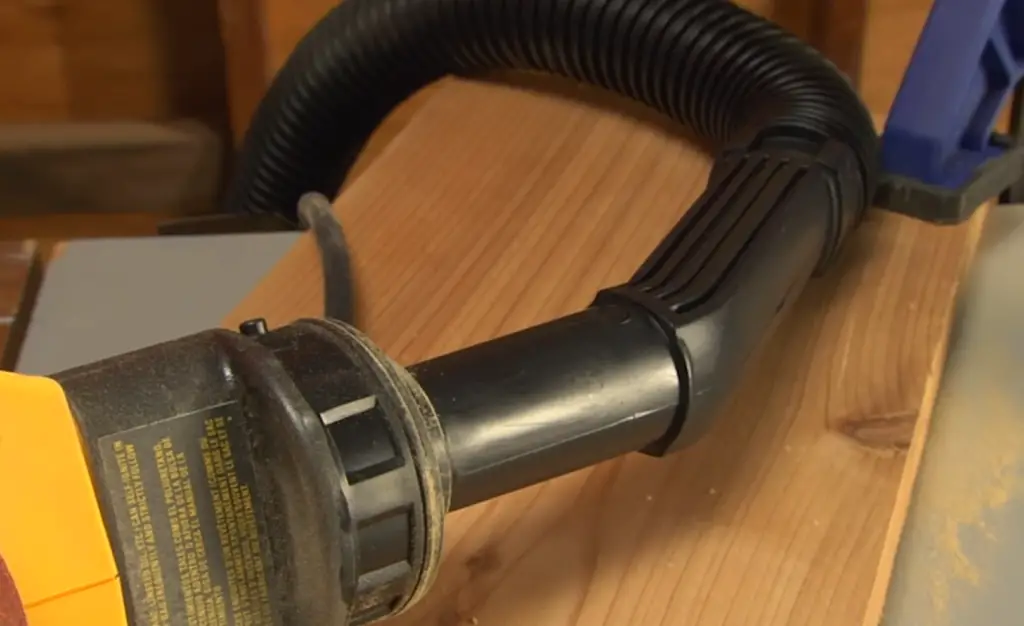
Orbital sanders are designed with a variety of features that make them ideal for a range of jobs, from finishing small furniture pieces to preparing surfaces for painting and staining. In addition to having adjustable speeds for different materials and thicknesses of material being worked on, most orbital sanders also have dust collection bags or ports so that dust is not spread throughout the work area. Some models even come with vacuum attachments to help collect the dust.
Orbital sanders can also be used to buff out surfaces and remove paint, rust, or varnish. These types of machines are often used in automotive body shops and around the home for a variety of projects. They are typically more powerful than hand-powered tools such as belt sanders and disc sanders, and many models come with variable speed control so that users can adjust the intensity of the sanding action to suit their needs. When purchasing an orbital sander, it is important to consider its size (both length of the machine’s head and overall width), power source (electric corded or battery powered), type of abrasive material used (typically cloth or paper), dust collection capabilities, vibration level, and weight. Additionally, it is important to select one with a comfortable grip which will reduce fatigue during use.
Overall, orbital sanders are essential power tools for anyone who works with wood or other materials. They provide an efficient way to prepare surfaces for painting, staining, or finishing and can save time and effort over doing the job by hand. With the right sander and a quality abrasive material, users can achieve professional-level results in less time than ever before. [1], [2]
Parts of a Random Orbital Sander
But what are the components of an orbital sander? Let’s discuss the parts of a random orbital sander in detail.
Power switch
The power switch of an orbital sander is a button, usually located on the front or side of the tool, that when pressed will activate its motor. The switch allows you to control when the sander operates and enables you to turn it off whenever you need to pause your work. Depending on your orbital sander model, this switch can be a paddle type (push up/down) or rocker type (side-to-side), both of which control whether the tool is operating or not.
Palm grip
A palm grip is the most common way to hold an orbital sander. This grip involves placing your dominant hand around the body of the s, with your thumb and fingers either side of it. This allows you to control the sander more easily while sanding and helps reduce user fatigue when working for extended periods of time. When using a palm grip, make sure that you keep your wrist in line with your forearm rather than bent to ensure maximum control and accuracy during sanding operations.
Body
Obviously, the body is an important part of any orbital sander. The body typically houses the motor and other components, as well as providing a base for mounting sandpaper or other abrasives. Depending on your needs, there are a variety of sizes and shapes available including barrel-style, square-shaped, rectangular-shaped, round or oval side-mounted bodies.
Lip seal
A lip seal is a type of rubber seal found in orbital sanders. It is designed to keep dust and other small particles out of the motor housing, thus protecting it from damage over time. The lip seal fits around the circumference of the sander housing, creating a slight gap between the two surfaces. This allows for some necessary air movement inside the sander, while also shielding it from debris that could cause internal issues.
Power cable
A power cable, also known as an extension cord or cable reel, is a device used to connect an orbital sander to an electrical outlet. It enables the tool to receive electricity from a more distant source and thus increases its range of use.
The most important aspect of using a power cable with an orbital sander is safety. It’s essential you ensure your power cable is properly connected before operating your sander in order to avoid danger.
A dust bag
A dust bag in an orbital sander is a specially designed, disposable container that captures the dust created by sanding and collects it to be disposed of. The dust bag has a tight-fitting lid with a cloth or foam filter at the opening to capture the fine particles of wood dust created by the device.
The bags are typically made from light materials such as paper or linen that allow for maximum airflow while trapping the smallest pieces of sanding debris. They are secured onto the device’s body via attaching straps or clamps, and should always be firmly in place before using the sander.
D-handle
An orbital sander is a commonly used power tool for sanding, polishing and grinding materials. It uses an abrasive surface to remove material from the workpiece in order to create a smooth finish. The type of handle used on an orbital sander determines how it is held and operated. A D-handle, also known as a pistol grip, is one type of handle that can be found on certain orbital sanders.
A D-handle consists of two parts: the main body, usually made out of metal or plastic; and the grip, which wraps around the user’s hand for comfort and control. This style of handle gives users more leverage when operating the tool and provides better maneuverability than other handles. It is especially helpful when working on intricate projects that require precision and accuracy. [1], [2]
Safety Considerations When Using an Orbital Sander
Safety should always be the number one priority when using tools such as an orbital sander, so it is important to make sure you understand and follow all safety guidelines. In this section we will look at some key safety considerations when using an orbital sander.
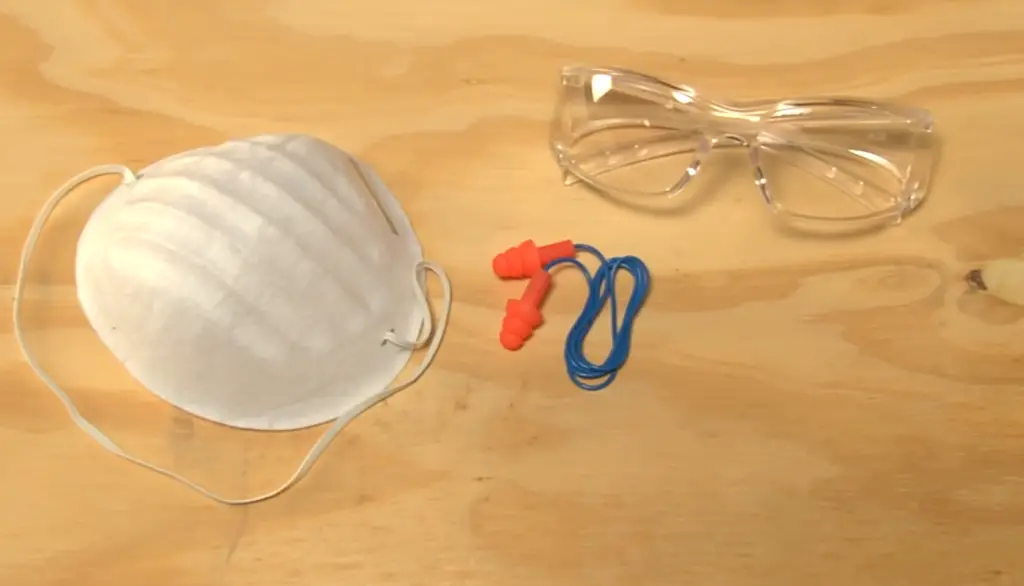
Wear protective equipment
It is important to make sure that you are wearing the right protective equipment when using an orbital sander. Some key pieces of protective equipment include safety glasses, face shields, dust masks, and hearing protection. Wearing these items is essential in order to protect yourself from harm while using an orbital sander.
Avoid wearing loose clothing and tie your hair
When using any power tool, it is important to avoid wearing loose clothing and tie your hair back. Loose items of clothing can easily get caught in the motor or moving parts of the sander, leading to potential injuries. Long hair should also be tied back to prevent it from getting caught in the sander’s moving parts and causing injury.
Read the manual
Before any power tool, it is important to read the manual and familiarize yourself with the safety guidelines. The manufacturer’s manual will contain all of the necessary information about how to safely operate the orbital sander and should be followed at all times. [1], [2]
How to Use a Random Orbital Sander
Now that you know the safety considerations when using a random orbital sander, you need to understand how to actually use it. It is relatively simple to do, with some basic steps for the task. Let’s dive into all the steps for using a random orbital sander in this section.
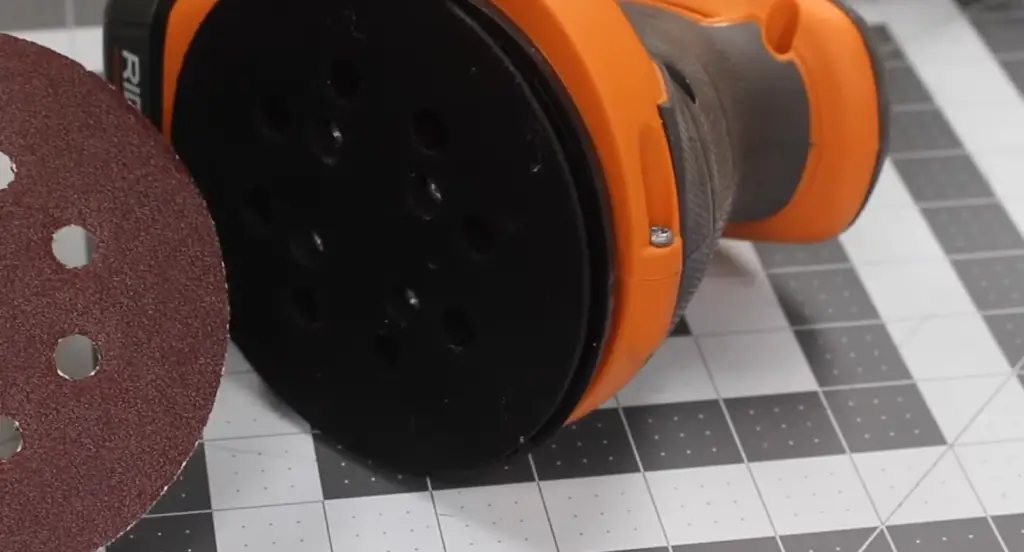
Attach the sanding disc
First thing’s first: you need to attach the sanding disc. To do this, you’ll want to use the appropriate attachment tools that come with your sander. Different sanders may require different tools, so be sure to check your manual for specific instructions.
Generally, you can attach a sanding disc by loosening the screws on the back plate of your sander and then placing the sanding disc in between them. Tighten the screws securely and make sure that there is no wobble or movement before proceeding.
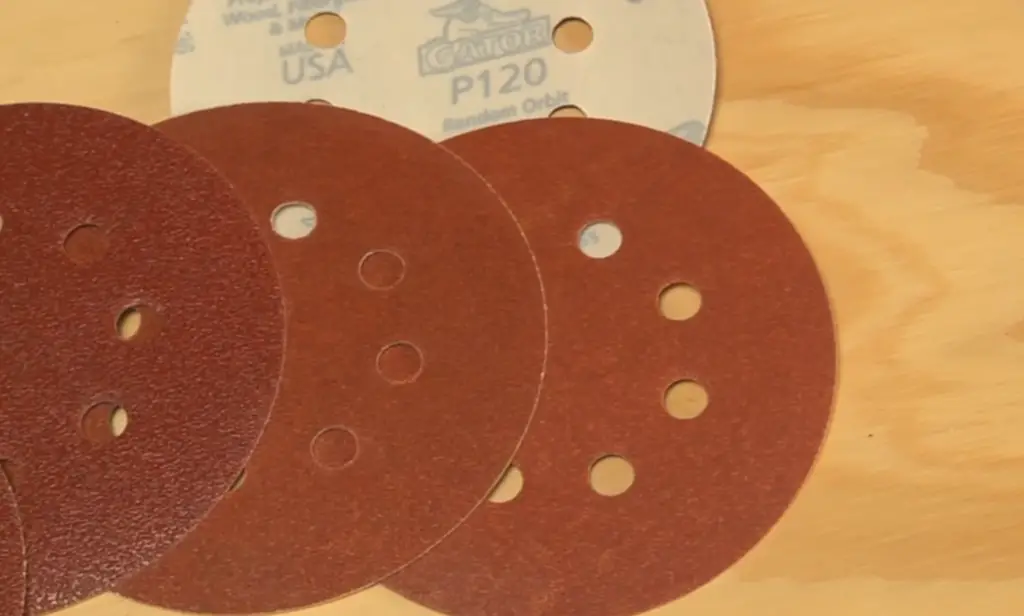
It’s important to choose the proper grit size for your sanding job. Coarser grits are good for quick removal of material, while finer grits provide a smoother finish. Generally 20-36 grit is considered coarse, 40-60 is medium, and 150-180 is fine. The higher the number, the finer the grit.
Secure the workpiece
Once you have the sanding disc securely in place, it’s time to secure your workpiece. It’s best practice to secure your workpiece to a stable surface before beginning. You can do this by using clamps or other appropriate fastening devices. This will help ensure that you get an even finish without over-sanding any areas.
Double-check that everything is secure and stable before you turn on the sander. It’s important that the sander is not wobbly or shaky, as too much vibration can cause uneven sanding.
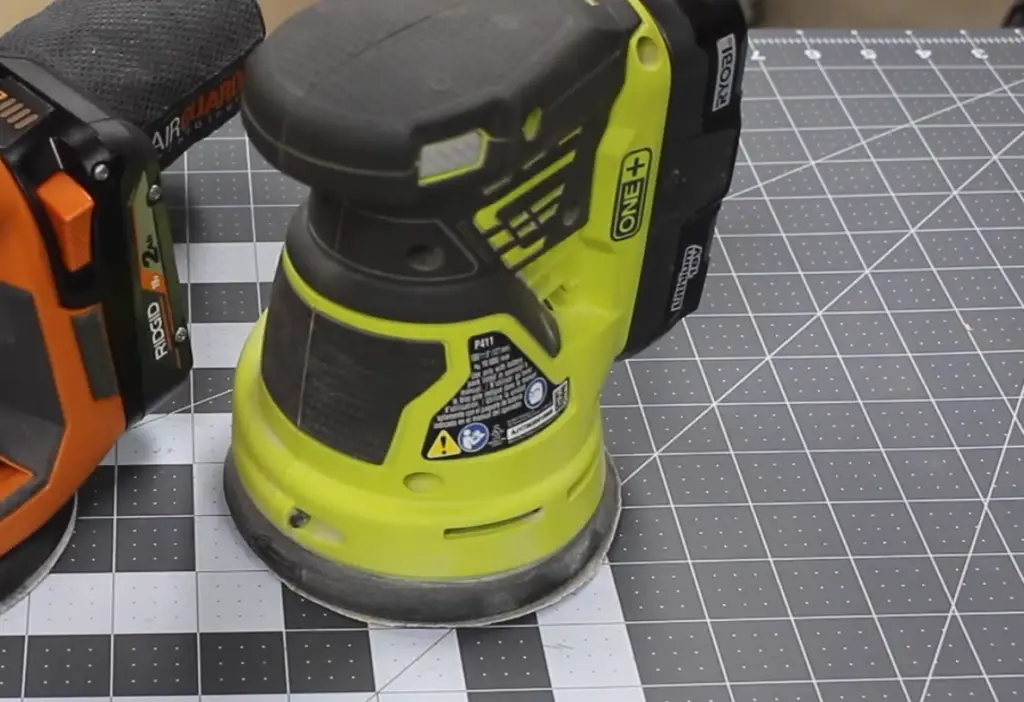
Turn on the sander
Now it’s finally time to turn on the sander. Before doing so, make sure that all safety gear is in place and that you are standing firmly on the ground.
Once you have double-checked everything, plug the sander into an appropriate power source and adjust the speed setting as needed for your job. You’ll want to start with slower speed settings for more delicate jobs and increase it as needed for heavier-duty work. Now, let’s move onto sanding!
Sanding!
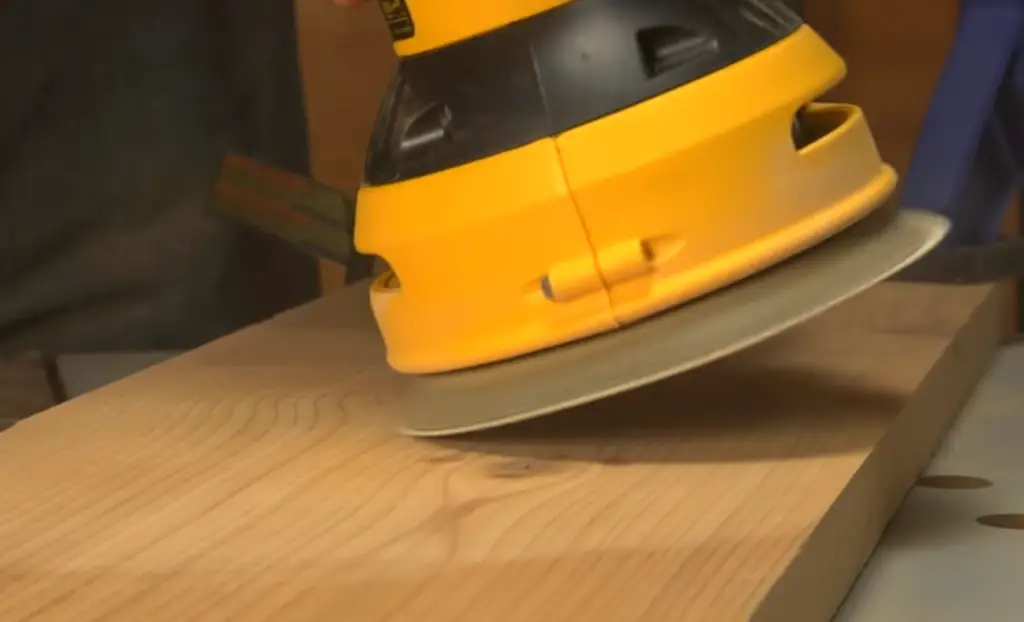
Now that your sander is ready to go, you can begin sanding. Be sure to move the sander in a steady back and forth motion. It’s important not to apply too much pressure as this can cause uneven sanding or damage the workpiece.
Keep an eye on how the sander is cutting into the material. If it seems like it’s taking too much material off, then slow down or switch out the disc for one with a finer grit size. Also check for any spots that may need more attention and make sure they are adequately sanded.
For furniture, it’s best to follow the wood lines to avoid creating visible scratches. Make sure to sand in the direction of the grain as well, not against it.
Clean the area as you go. This will help avoid clogging the sander and prevent any dirt or debris from being spread around your work area.
When you have finished sanding your workpiece, turn off the sander and unplug it from its power source. You can now move onto any additional steps needed for finishing or painting your project.
Keep moving the sander
While orbital sander doesn’t have as much power as a belt sander, it still needs to be used correctly in order to get the best results. To do this, make sure to always keep the sander moving in a steady back and forth motion. Even pressure must be applied at all times.
Keep an eye on how the sander is cutting into the material as you go. If it seems like it’s taking too much material off, then slow down or switch out the disc for one with a finer grit size. Also check for any spots that may need more attention and make sure they are adequately sanded. And remember to clean the area as you go! This will help avoid clogging the sander and prevent any dirt or debris from being spread around your work area.
Avoid tilting the sander during the process, as this can cause uneven sanding. And don’t forget to keep the sander moving – if you stay in one spot for too long, the sander may overheat and burn out. Always sand the edges last – and don’t forget to wear safety gear while sanding!
You can utilize grain-popping techniques to create a more finished look, if you desire. This involves sanding with the grain of the wood and then lightly going against it at the end to bring out any grains that were hiding. Always test out such techniques on scrap pieces before applying them to your project.
Cleaning up
Once you have finished sanding, it is important to clean up your work area. Start by turning off the sander and unplugging it from its power source. You should also use a vacuum or brush to remove all of the dust that has accumulated. Use caution when handling any wet surfaces, as this can result in slips and falls.
Finally, wipe down the sander with a soft cloth and check for any debris stuck in the disc or fan housing. Clean these areas with compressed air before storing the sander back in its case or designated storage area.
Be sure to turn off and unplug the sander before cleaning or attempting any repairs. You should also keep the sander away from water and other liquids, as this can cause serious damage to the device. [1], [2]

FAQ
How do you use an orbital sander?
Using an orbital sander is easy once you understand the basics. The most important thing to know is what type of sandpaper to use on your sander and how to change it correctly. The right type of sandpaper will depend on the type of surface you’re working on, but generally, a medium-grit paper should be used for rough surfaces while a fine-grit paper should be used for smoother surfaces.
To begin using an orbital sander, attach the appropriate grit of sandpaper to the bottom plate using either adhesive discs or hook and loop fasteners. Make sure that all four corners are securely attached, then mount the assembly onto your orbital sander motor. Adjust the speed setting as needed and start sanding by running the sander over the surface in an up-and-down, side-to-side motion. Keep the sander moving in one direction for a few seconds before reversing it and continuing to sand with the opposite motion.
To reduce airborne particles, wear proper safety equipment including a dust mask or respirator and safety glasses at all times when using your orbital sander. Additionally, keep your work area well lit and free of clutter to help prevent any accidents from occurring while operating your machine. Finally, after you’re finished using your orbital sander, make sure you clean off any excess dust and store it in a safe place until its next use.
What are the 5 most common mistakes people make with a random orbital sander?
There are many mistakes people can make when using a random orbital sander, but the five most common are:
- Not sanding in the direction of the grain: It is essential to always sand with the grain. When you don’t, it can cause splintering and other damage to your workpiece. To check which way the grain runs, you can use a sharp knife or chisel to scratch into the surface.
- Having an incorrect grit for their task: Different materials require different grits for optimal results. For example, if you need to remove a lot of material quickly, go with a coarse grit (say 60-80). However, if you want more control and finish quality then switch over to a finer grit (120-220).
- Not keeping the sander moving: When you stop sanding in one spot, it can cause visible scratches and unevenness. Therefore, to get the best results, always keep your sander moving in circular motions.
- Sanding too aggressively: This is especially important when sanding delicate materials such as wood veneer or laminates. The idea here is to be consistent with your pressure and use light strokes until you reach the desired finish.
- Skipping over dust removal steps: Don’t forget to remove any dust before moving on to the next step of your project! The easiest way to do this is by using a vacuum cleaner to suck up any dust particles. A damp cloth can also be used for larger pieces of debris.
Should I use an orbital sander or by hand?
In most cases, an orbital sander is the preferred tool when sanding wood. It is much easier to use and will produce a smoother finish than sanding by hand. An orbital sander works by vibrating in tiny circles, which helps to evenly distribute the sandpaper over the surface of the wood. This results in a much more even finish and can make all the difference between a professional looking project and one that looks like it was done by a novice.
But for most projects, an orbital sander is the tool of choice and will help you achieve professional-looking results in less time than sanding by hand. With the right techniques and tools, you can make your project look like a professional did it!
What can you not do with an orbital sander?
An orbital sander is an important tool for many woodworking and carpentry projects, but it has its limitations. An orbital sander should not be used to sand soft woods like cedar or pine as the abrasive nature of the sander can cause splintering. Additionally, you should never use an orbital sander to shape a piece of wood – this type of work must be done by hand using a rasp or file. Furthermore, if you are attempting to sand textured surfaces such as moldings and trims, an orbital sander is not your best option as it may leave swirl marks on the surface. Also, when power sanding plastic surfaces with an orbital sander, take extra care that the sandpaper doesn’t catch and create deep scratches in the plastic. Finally, you should never attempt to sand anything with a painted finish using an orbital sander – instead, you should use a hand block or other specialty sanding tool.
Useful Video: How To Use A Random Orbit Sander – Ace Hardware
Conclusion
An orbital sander is a handy tool for sanding large surfaces quickly and producing a smooth, even finish. In order to use an orbital sander correctly and safely, it’s important to make sure that you follow the manufacturer’s instructions for setting up the sander correctly and using it correctly.
It’s also important to wear protective gear when operating an orbital sander, such as safety glasses or goggles, gloves, and dust mask or respirator. Make sure to keep your work area clean and tidy throughout the process by vacuuming up sawdust frequently, so that you can ensure maximum safety while working with your power tools.
Finally, remember that there are different types of orbital sanders for different purposes – choose the one best suited to your project and use it properly for the best results. With these tips in mind, you should be ready to tackle any sanding project with confidence.
Happy sanding!
References
- https://www.thespruce.com/how-to-use-an-orbital-sander-5220163
- https://www.instructables.com/How-to-Use-an-Orbital-Sander/