Imagine you’re in the middle of a woodworking project, making smooth and precise cuts with your trusty circular saw. Suddenly, you realize that the blade needs to be replaced. Panic sets in as you remember that most circular saws require a lock to safely and securely change the blade. But fear not! This smart guide will show you how to change a circular saw blade without a lock. Say goodbye to the old blade and hello to a hassle-free and worry-free blade replacement process. Get ready to up your woodworking game with this invaluable skill!
Common Challenges With Changing Circular Saw Blades
Changing a circular saw blade without a lock is no small feat. It can be downright difficult at times. Here are some common challenges you may face when replacing your saw’s blade.
Blades Getting Stuck Due To Lack Of Blade Lock Mechanism
When you don’t have a blade lock, it can be quite challenging to remove the old blade and replace it with a new one. The absence of a lock mechanism increases the risk of the blade getting stuck or warped during the removal process. This can be particularly frustrating and time-consuming, as it may require extra effort to carefully maneuver the blade out of its position. Consequently, having a blade lock not only ensures a smoother blade replacement experience but also minimizes the potential for damage or mishaps while handling the blades.
Furthermore, without a blade lock, there is a higher likelihood of accidental slips or cuts while attempting to remove the blade, which can result in injury and further complications. The added security and stability provided by a blade lock allow for more precise control and reduce the chances of accidents occurring.
In summary, having a blade lock is crucial for a hassle-free blade replacement process. It not only ensures the safety of the user but also promotes better performance and longevity of the tool by minimizing the risk of damage or mishaps.
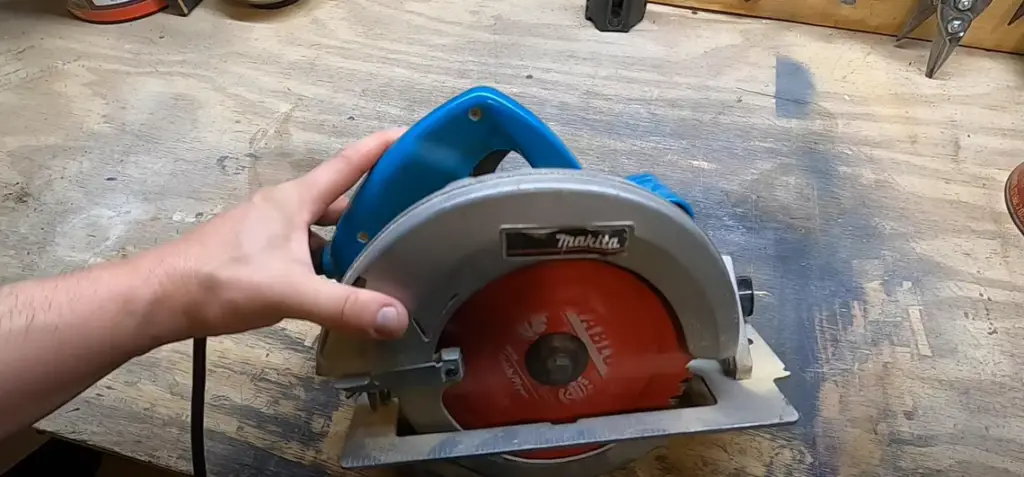
Difficulty Finding An Appropriate Replacement Blade
Even if you manage to successfully remove your old saw blade, the task of finding an appropriate replacement can still be quite a challenge. Not all saw blades are created equal, and it is crucial to ensure that you have a compatible size and shape for your specific saw. This becomes even more important if you are using an older model of a circular saw that may not fit the contemporary sizes available on the market today.
To navigate this challenge, it is highly recommended to conduct thorough research and find a blade that not only fits your saw but also meets your specific cutting needs. Consider factors such as the type of material you will be working with, the desired precision of your cuts, and the longevity of the blade. By taking the time to find the perfect match, you can ensure optimal performance and longevity of both your saw and the replacement blade.
Difficulty In Holding The Blade While Changing
When you don’t have a blade lock to securely hold the saw blade in place during replacement, it can be quite challenging to keep the blade steady. Without the lock mechanism, the responsibility falls on your hands to ensure stability, requiring extra caution and precision. Even the slightest slip can result in an unfortunate accident. To safeguard your hands, it is highly recommended to wear a pair of protective gloves and maintain a firm grip on the blade throughout the entire process. By taking these additional safety measures, you can confidently carry out the blade replacement procedure without compromising your well-being.
Risk Of Injury Without Proper Techniques
Without a blade lock, it is crucial to exercise utmost caution and take extra care when handling the blades. Failing to do so may significantly increase the risk of injury if proper techniques or tools are not employed. It is highly recommended to always ensure that your hands are fully protected with sturdy gloves and that you utilize the appropriate tool for both removing the old blade and securely installing the new one. Furthermore, wearing safety goggles or glasses while handling the blades is of paramount importance, as the presence of flying particles poses a potential threat to the eyes. By adhering to these safety precautions, you can minimize the risk of accidents and ensure a safe and injury-free experience.
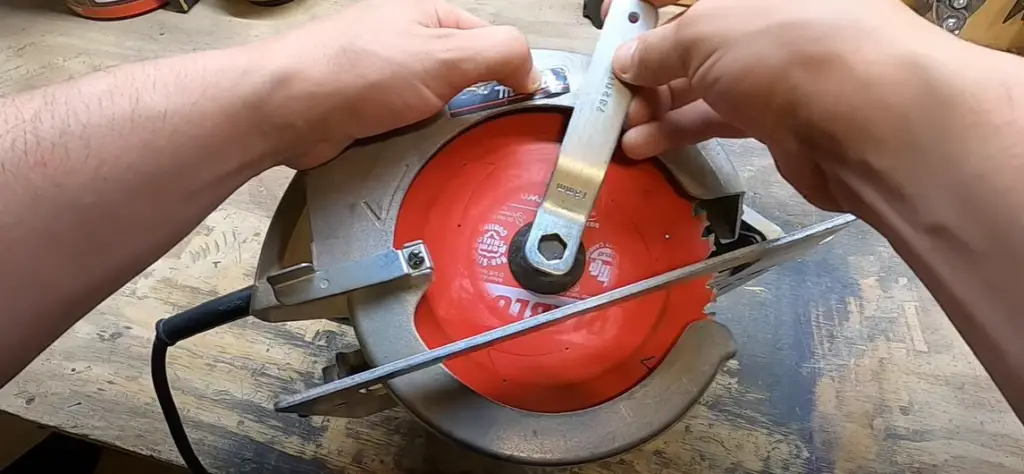
Ensure The Saw Is Unplugged Or The Battery Is Removed
To ensure safety, it is crucial to always unplug the saw or remove the battery (in the case of battery-powered saws) before attempting to change the blade. By taking this essential step, you significantly reduce the risk of any unfortunate incidents or accidents from occurring during the blade replacement process. It is a simple yet effective precautionary measure that should never be overlooked.
Use A Workbench Or Stable Surface For Support
Having a sturdy workbench or flat surface to place the saw during the blade replacement process is highly recommended. Not only does this provide extra stability and support for the tool, but it also helps ensure that you have access to all the necessary tools or supplies needed for a successful blade change. Furthermore, utilizing a stable surface reduces the risk of accidental slips and increases user safety [1].
Tools Needed For The Blade Replacement
For those looking to replace blades on a lawnmower or other power tool, it’s important to have the right tools handy. The exact set of tools may vary depending on the model and make of the tool, but in general, you should consider having the following:
- A wrench
- Wire cutters
- Safety goggles
- A pair of pliers
- Screwdrivers
- Blades
Before starting the blade replacement process, be sure to take proper safety precautions. Put on protective eyewear and gloves for extra protection. Additionally, be sure to disconnect the power source from the tool before beginning any work on it. This will help ensure that there are no accidents or injuries.
Once all necessary safety measures have been taken, it’s time to start the process of replacing the blades. First, remove any existing blades with the wrench and wire cutters if needed. Then, use pliers to loosen and remove any old screws or fasteners that may be holding in place.
Next, take your new blades and attach them securely to the tool. Use the screwdrivers to make sure they are tightly in place and will not move once the power is turned back on. Be sure that all screws are tightened properly and securely for optimal performance.
Finally, turn back on the power source and test out your new blades. With proper maintenance, you should be able to enjoy many uses out of your new blades.
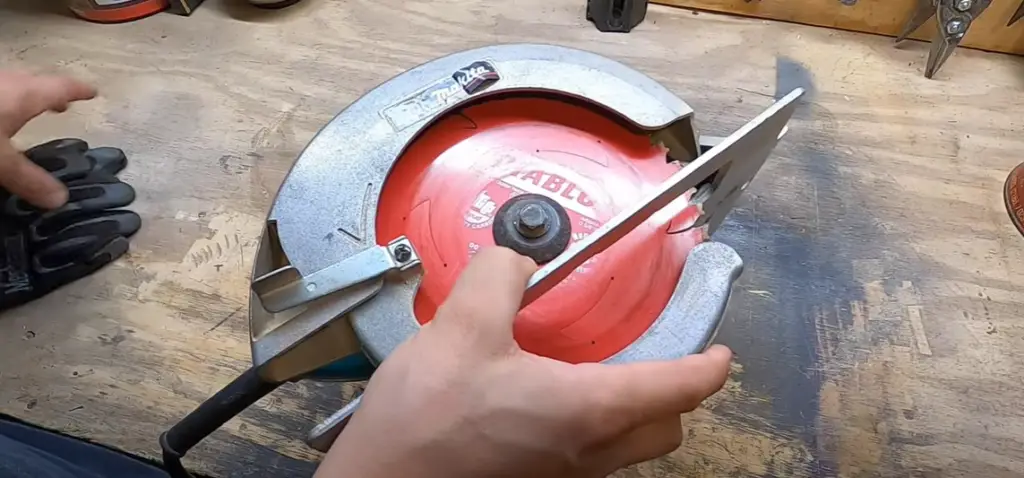
Precautions And Safety Measures To Take When Changing Circular Saw Blades Without A Lock
Although it is technically possible to change a circular saw blade without a lock, it is important to exercise extreme caution and take all necessary safety measures. Here are some tips you should keep in mind:
- Wear protective gloves and goggles at all times while handling the blades.
- Utilize appropriate clamps to securely hold the blade in place while you are changing it.
- Make sure the saw is unplugged and off prior to making any changes.
- Ensure that your hands are not in contact with the blade or its teeth at any time during the process.
- When loosening screws, double-check that they have been sufficiently released before attempting to remove them.
- Make sure that the new blade is fitted firmly into place and all screws have been tightened properly before turning the saw back on.
Following these tips, you should be able to safely change your circular saw blades without a lock. With the appropriate care and caution, you can enjoy many uses out of your new blades.
Step-By-Step Guide To Changing The Blade
Identifying The Blade Direction And Orientation
The first step you must take when changing a blade is to identify the direction and orientation of the existing blade. This will ensure that you select a new one with the same characteristics, so it fits correctly in your tool or machine. Most blades feature directional arrows on them pointing in the direction they should spin as well as an arrow indicating the rotation of their edges.
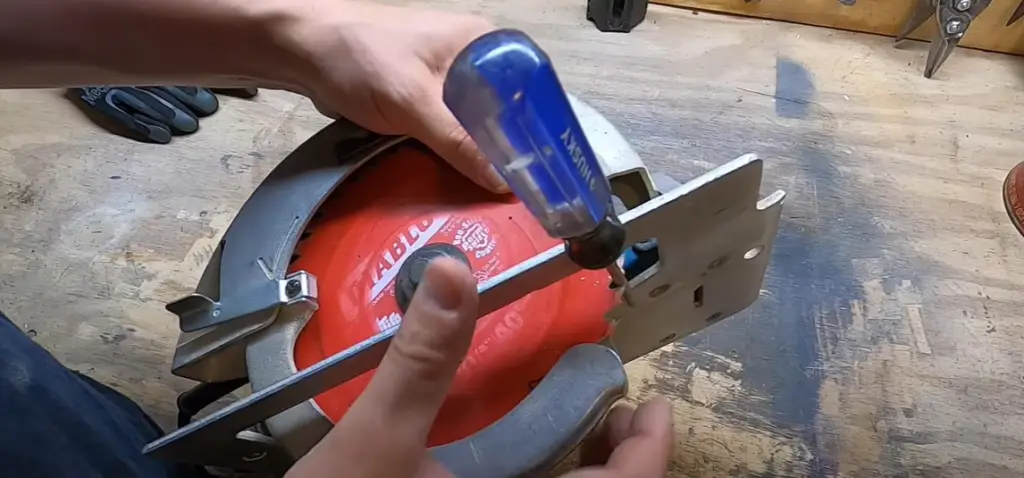
Securing The Saw Blade With An Improvised Method
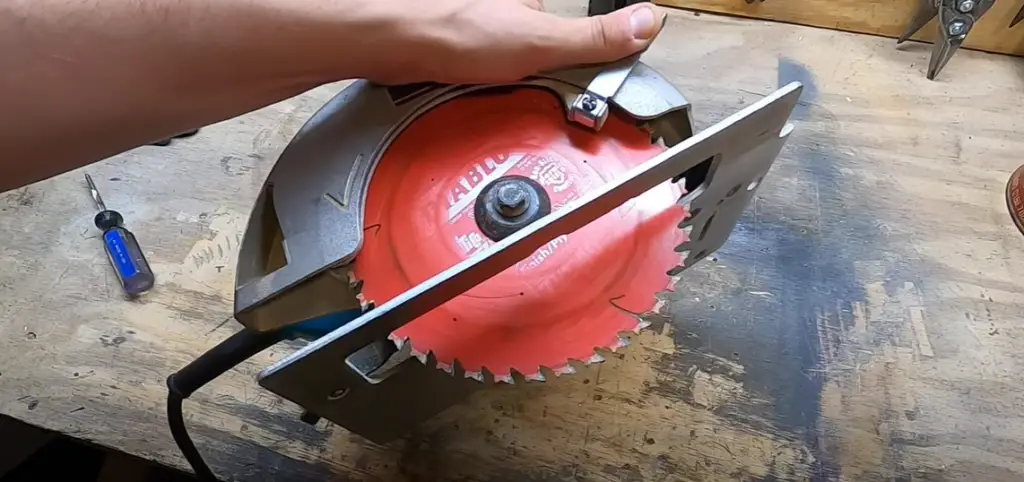
Once you have identified the direction and orientation of your existing blade, it’s time to secure the saw blade in place for removal. If you don’t have a special tool, other methods can be used such as using an improvised clamp to hold down the saw blade while you loosen its bolt or nut. This is usually done by placing a sturdy object like a piece of wood across the blade and then securing it with clamps or heavy items like weights to press down on it.
Loosening The Arbor Nut Or Bolt With The Allen Wrench
Now that the blade is securely fastened in place, it’s time to proceed with the next step. Take your trusty Allen wrench and gently loosen the arbor nut or bolt. It’s important to note that different saw blades may require a specific size of wrench for both loosening and tightening purposes. Therefore, it’s crucial to double-check the size of the wrench you are using to ensure a proper fit. By paying attention to these small but significant details, you can ensure a smooth and successful operation with your saw.
Removing The Old Blade And Inspecting For Damage
Once the arbor nut or bolt is successfully loosened, you can begin removing the old blade. With one hand steady on the saw, carefully remove it and inspect for any signs of damage. This is important to do before putting in a new blade as any damage could potentially cause harm to yourself or your machine while operating. If you find any abnormality in the blade, be sure to replace it immediately.
Installing The New Circular Saw Blade Correctly
Now that you have removed the old blade and inspected it for any possible damage, you can begin installing the new saw blade. To do this, make sure to line up your new blade correctly with the arrows indicating its direction and rotation on one side of the saw. Once these are aligned properly, slide in the blade until it is tightly fastened in place and tighten the arbor nut or bolt with your Allen wrench. After this, you have successfully changed your saw blade and are now ready to start using it for any project!
Tightening The Arbor Nut Or Bolt Securely
The next step to ensure a successful blade change is to tighten the arbor nut or bolt securely. After all, having a loose saw blade can lead to many issues during operation such as the blade coming off mid-cut which could be dangerous for yourself and your machine. To prevent this from happening, make sure you use an appropriate-size Allen wrench and apply just enough force to secure the bolt or nut without over-tightening it.
Checking The Blade Alignment And Functionality
The final step is to check the alignment and functionality of your new blade. To do this, turn on the saw and see if it spins in the correct direction with no issues. You can also check for any wobbling as this could indicate a misalignment or other problems that need to be fixed. If everything looks normal and the saw works properly, you can now confidently use it for any project with no worries about the blade coming off or malfunctioning in the middle of a cut [2].
Alternative Methods For Changing Circular Saw Blades Without A Lock
Utilizing A Scrap Piece Of Wood For Resistance
If you don’t have an Allen wrench to secure the arbor nut or bolt, there are still some other methods that can be used. Firstly, you can use a scrap piece of wood to provide resistance when loosening and tightening the blade. Place the wood on top of the saw blade and carefully press down on it while using another tool such as a ratchet or wrench to loosen the nut or bolt. This should provide enough resistance for you to safely remove the old blade and install a new one.
Using A C-Clamp Or Vise To Hold The Blade Securely
Another alternative is to use a C-clamp or vise to hold the blade securely as you loosen and tighten it. Place the clamp around the saw blade or bolt and then secure it with a few turns of its handle. This will provide enough resistance for you to remove or install your new saw blade without any difficulty. You must remember to be careful when using this method as over-tightening the clamp can cause damage to your saw or blade.
FAQ
How do you remove a circular saw blade without a lock?
Removing a circular saw blade without a lock requires the use of a pair of pliers or adjustable wrenches. First, unplug the circular saw from its power source and make sure that it has been turned off completely. Next, identify the two screws which hold the blade in place on either side of the blade arbor and loosen them by turning them counter-clockwise. Once the screws have been loosened, you can use the pliers or wrenches to carefully turn the blade arbor and unscrew it from the base of the circular saw. When the blade arbor has been completely removed, you will be able to remove and replace your saw blade as necessary.
How often should I change my circular saw blade?
The frequency with which you change your circular saw blade will depend on a few factors, including the material that you are cutting and how often the saw is being used. Generally speaking, it is recommended to replace blades at least once a year or after making more than 50 cuts in hardwood. Additionally, if you notice that the blade has become dull or is producing a large amount of sawdust, it may be time to replace your blade.
What materials can I cut with a circular saw?
Circular saws are versatile tools that can be used to cut through a wide range of materials including wood, aluminum, steel, drywall, plastic and more. Depending on the type of material being cut, it may be necessary to use different blades or adjust the speed of your saw. It is important to always check the manufacturer’s specifications and instructions before using a circular saw for any given material.
What are some safety tips when changing a circular saw blade?
It is important to observe basic safety precautions when changing your circular saw blade. Always wear protective gear, including safety glasses and gloves. Make sure that the saw is completely unplugged from its power source before making any adjustments to the blade or arbor. Finally, be sure to use the proper tools and techniques when removing or replacing a blade. Never attempt to force a blade into place as this can cause serious damage to your circular saw.
Useful Video: How to Remove Saw Blade With No Spindle Lock
Conclusion Paragraph
Changing a circular saw blade without a lock button is a relatively simple task that does not take much time. With the right tools and knowledge, changing the blade can be done quickly and efficiently. Knowing when to swap out your blades is an important part of effective sawing, so always check for signs of wear and tear before beginning any cutting project. While specialty blades may require different approaches to change them, most blades can be changed using the same process outlined here. By following these steps, you can keep your saw running safely and efficiently for years to come.
References:
- https://blog.dakecorp.com/en-us/16-common-saw-blade-failures-their-causes
- https://mellowpine.com/blog/how-to-change-circular-saw-blade/






Leave a Reply