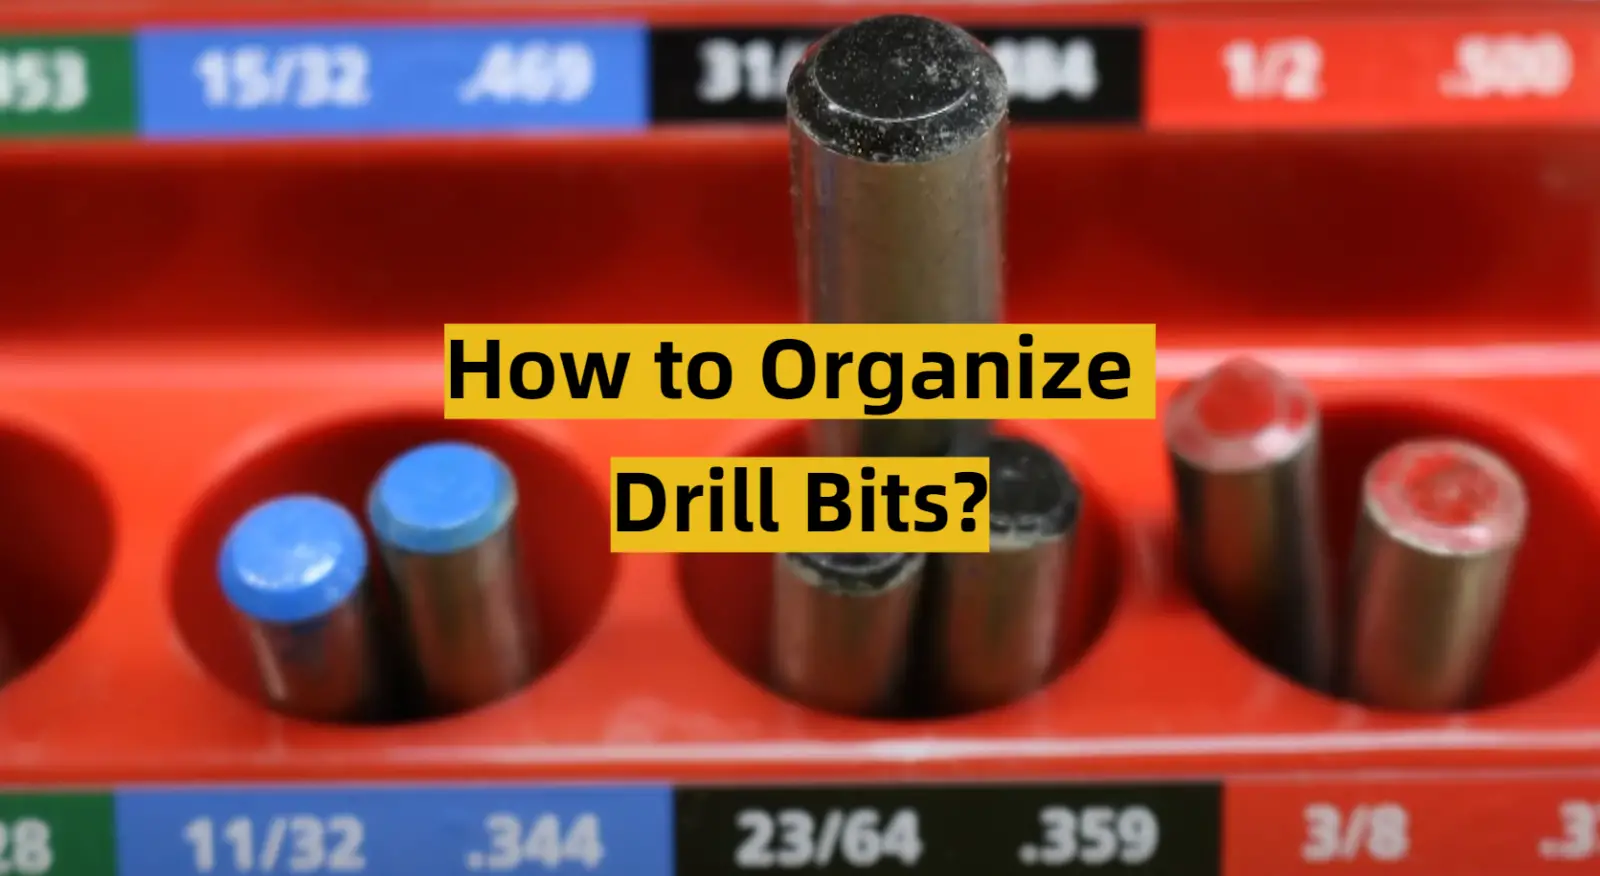
Anyone who uses power tools on a regular basis knows the importance of having a well-organized tool box. When your tools are neatly arranged, it’s easy to find what you need and get the job done quickly. The same principle applies to drill bits. If they’re not organized, it can be difficult to find the right bit for the job, and you may end up wasting time and energy trying to track one down. In this article, we will provide a comprehensive guide on how to organize drill bits. We’ll answer some common questions and provide helpful tips on how to make your drills more efficient!
Magnetic Bar
Step one: The design
The first step is to determine what type of system you want. For a home workshop, a simple magnetic bar will do the trick. This can be as simple as a piece of metal with magnets attached, or you can purchase a purpose-built bar from your local hardware store.
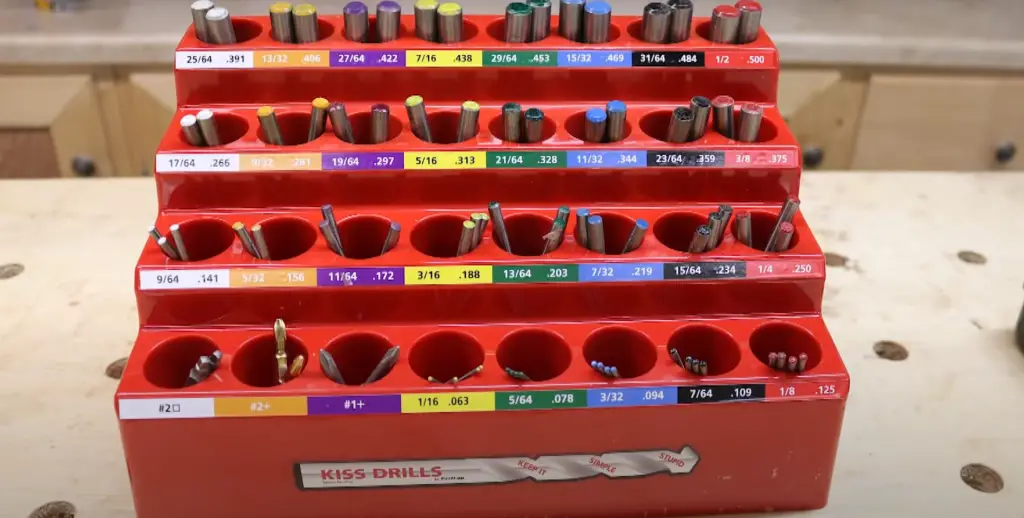
There are many different options on the market, and we’ll touch on some of them later in this article.
Step two: Tools and materials
- a large work surface
- a system for labeling and storing your bits (we’ll get to that later!)
- pliers or a drill bit holder
- safety goggles (optional but recommended)
Now that you have a designated spot to keep your drill bits, it’s time to start sorting them! If you’re like most people, your collection of drill bits is probably pretty eclectic. But don’t worry, we can help you make sense of it all.
Step three: Attach the OSB Panel to the wall
Now that you have your drill bits sorted and organized, it’s time to attach the OSB panel to the wall. This will serve as the base for your new drill bit storage system.
To do this, simply line up the OSB panel with the wall where you want it to be mounted. Then, using the drill bits that you already have sorted and organized, create pilot holes in the OSB at regular intervals. Be sure to space the holes out evenly so that your drill bits will have plenty of room to hang down without crowding each other.
Step Four: Mount the magnetic strips on the OSB panel
Now that you have your drill bits sorted, it’s time to mount the magnetic strips on the OSB panel. You’ll need four strips in total: two for the long bits and two for the short bits. Position the strips so that they’re evenly spaced out and then use screws or nails to secure them in place. Make sure that the screws or nails are driven into studs so that they can support the weight of the drill bits. Once all four strips are in place, you can start mounting your drill bits. Simply hold each bit against a strip and then release it. The magnet will keep the bit securely in place.
Indexed Stand
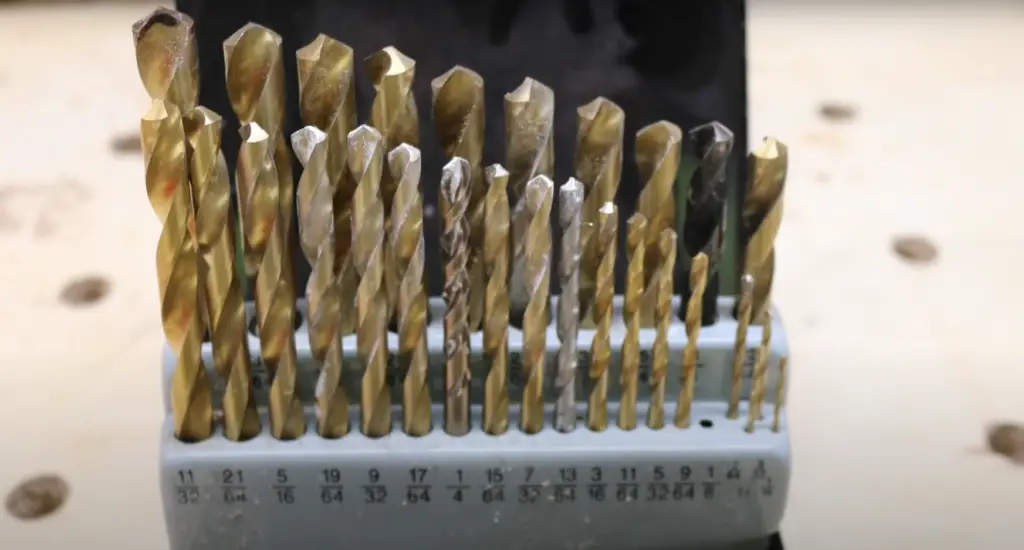
There are a few things to keep in mind when using an indexed stand. First, make sure that the bits are fully seated in their compartment. Otherwise, they may fall out and become lost. Second, be careful not to over-tighten the screws that hold the bits in place. Doing so can damage the threads on the bits and make them difficult to remove from the stand. [1]
Spinning Spice Rack
This is a great option if you have a lot of different types of drill bits. You can buy a spinning spice rack or make your own. All you need is a round piece of wood and some hooks. Drill holes around the edge of the wood, screw in the hooks, and voila! You’ve got yourself a rotating drill bit organizer.
If you want to get really organized, you can label each hook with the size or type of drill bit that goes there. That way, you’ll always know exactly where to find what you’re looking for. Plus, it looks pretty darn cool. [1]
Simple Tray
The simplest way to organize your drill bits is by getting a small tray and placing them in it. This method works well if you have a limited number of drill bits, or if they are all the same size. You can buy a pre-made tray at most hardware stores, or you can make your own out of cardboard or wood.
If you have a lot of different sized drill bits, then this method may not work as well for you. In that case, you might want to try one of the other methods below. [1]
PVC Pipes
One of the most popular ways to organize your drill bits is by using PVC pipes. This is a great option because it keeps your drill bits organized and protected from damage. Plus, it’s easy to find PVC pipes at any hardware store.
To use this method, simply take a length of PVC pipe and cut it into sections that are slightly longer than your drill bits. Then, insert the drill bits into the pipe sections and label each section accordingly. You can also add labels to the outside of the pipe for easy reference.
This method is quick, easy, and inexpensive – plus, it works well for both small and large collections of drill bits. So if you’re looking for a simple way to organize your drill bits, PVC pipes are a great option. [1]
Making French Cleat Tool Holders
When it comes to organization, there’s nothing quite like a French cleat system. These handy tool holders can be used to store just about anything in your workshop, including drill bits. In this comprehensive guide, we’ll show you how to make your own French cleat tool holders for drill bits (and other tools) so that you can keep your workspace neat and tidy.
Here’s what you’ll need:
- A piece of plywood (we used birch plywood, but any type will do)
- A saw (a jigsaw or circular saw works great)
- A drill
- Drill bits (for making pilot holes)
- Screws (we recommend using screws that are at least two inches long)
- A tape measure
- A pencil
First, use the saw to cut your piece of plywood into strips that are approximately six inches wide and two feet long. Next, drill pilot holes along one long edge of each strip using a drill bit that is slightly smaller than the screws you’ll be using. Be sure to space the holes evenly so that the strips can be attached securely to the wall.
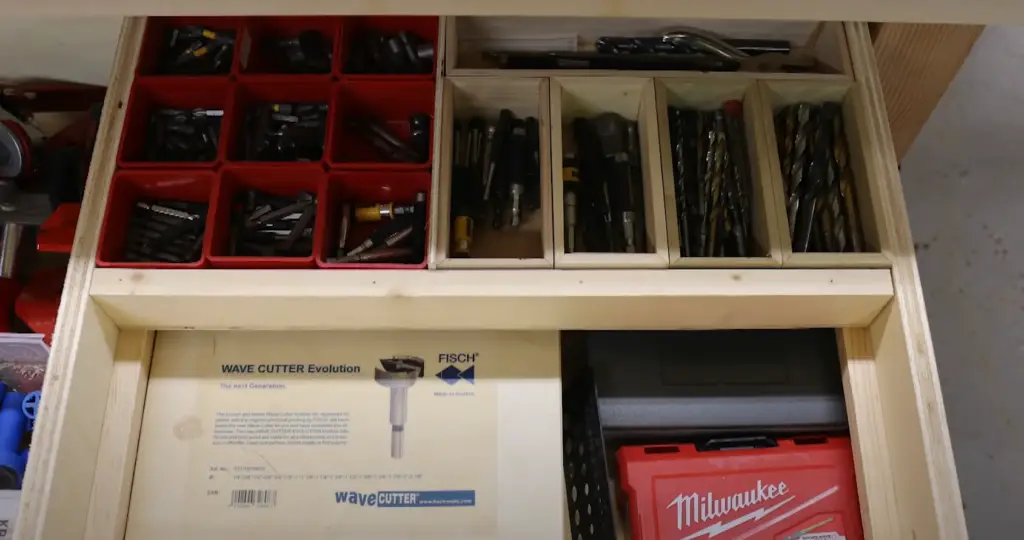
Now it’s time to attach the strips to the wall. We recommend using screws that are at least two inches long so that they can support a lot of weight. Once all of the strips are in place, you can start hanging your drill bits (or other tools) on them. Simply line up the holes in the strip with the ones in the drill bit and screw it into place. [3]
Screw Bit organizer
This is one of the most common ways to organize your drill bits. You can use a simple screw and put it through all the holes of your drill bits. This will help you keep them together in one place and also make it easy for you to find the right bit when you need it.
Another option is to get a screw bit organizer that has multiple slots for different sizes of drill bits. This way, you can easily grab the right size without having to search through a pile of bits. These organizers are usually made of plastic or metal and can be mounted on a wall or stored in a drawer. [3]
How to make a Drill Bit Rack?
Organizing your drill bits doesn’t have to be difficult. With a little bit of planning and some basic supplies, you can easily create a drill bit rack that will help keep your bits organized and easy to find.
Here are the supplies you’ll need:
- A piece of wood (we used a scrap piece of pine)
- Drill bits (we used standard twist drill bits)
- A drill (preferably cordless)
- A saw (if you’re using a larger piece of wood)
If you have all of these supplies on hand, then you’re ready to get started!
Simply follow these steps:
- Cut the piece of wood to size (if necessary).
- Drill a hole in the center of each drill bit.
- Insert the drill bits into the holes.
- Hang the rack on a wall or other surface using screws or nails. [3]
Making an Oak Drill Bit Cabinet
One of the best ways to organize your drill bits is to make a dedicated cabinet for them. This doesn’t have to be fancy; a simple box made out of oak plywood will do the trick. Here’s how to make one:
Cut four pieces of oak plywood to the following dimensions: two pieces that are 24 inches wide by 18 inches tall, and two pieces that are 12 inches wide by 18 inches tall. These will be the sides and top/bottom of the box, respectively.
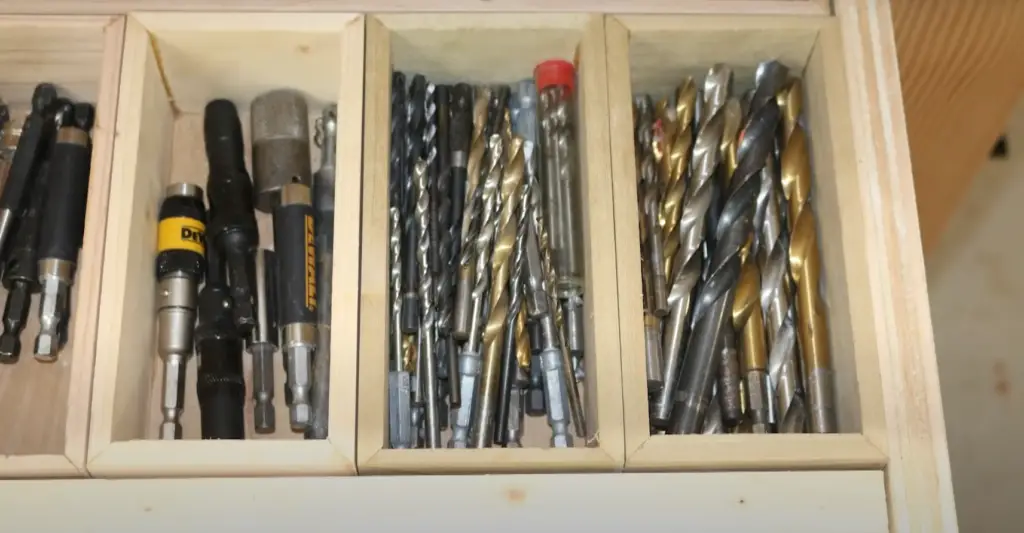
Next, cut four more pieces of oak plywood that are 24 inches long and 12 inches wide. These will be the shelves inside the box.
Now it’s time to assemble the box. First, attach the two 24-inch wide pieces to the two 12-inch wide pieces using wood glue and finishing nails. Then, attach the four shelves to the inside of the box (again using wood glue and finishing nails). [3]
Once the box is assembled, sand it down smooth and finish it with a stain or paint of your choice. That’s it – you now have a simple but effective way to organize all of your drill bits!
Drill/Driver Hanging Station
If you don’t have a ton of different types of drill bits, then hanging them on the wall might be a good option for you. You can buy special holders that allow you to hang your drill bits on the wall. This is a great way to save space and keep your drill bits organized.
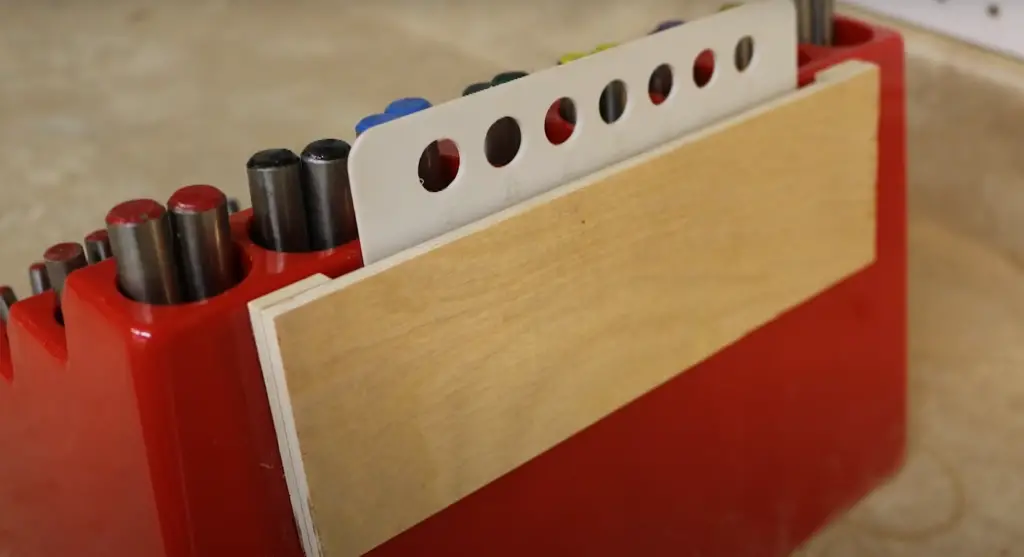
Another option is to make your own drill bit holder. You can do this by drilling holes into a piece of wood or PVC pipe. Then, simply insert the drill bits into the holes. This is a great way to organize your drill bits if you have a lot of them. [2]
FAQ
How do you organize hex bits?
Organizing your hex bits is a matter of preference. You can choose to keep them all in one place or separate them by size.
Another option is to invest in a drill bit organizer. These organizers typically have compartments of different sizes, which makes it easy to grab the right bit for the job. Plus, they help keep your drill bits from getting tangled up.
How do you get a stuck drill bit out of a Chuck?
If your drill bit is stuck in the chuck, don’t panic. There are a few things you can try to get it out. First, try using a pair of pliers to grip the end of the drill bit and pull it out. If that doesn’t work, you can try using a magnet to remove the drill bit. Finally, if all else fails, you can always take the chuck apart and remove the drill bit that way.
What do the numbers on a drill mean?
Most drill bits are sized in metric measurements, but some may be sized in inches. If you’re unsure which measurement your drill bits are using, it’s best to check the packaging or consult with the manufacturer.
Can you drill out a broken drill bit?
The answer is yes, but it’s not always the best option. Drilling out a broken drill bit can be time-consuming and difficult, especially if the bit is stuck in tough material. If you’re up for the challenge, here are a few tips to help you successfully remove a broken drill bit:
First, use a hammer to gently tap the end of the drill bit. This will loosen any debris that may be holding the bit in place. Next, use a pair of pliers to grip the end of the drill bit and twist it back and forth until it comes loose. Finally, use a wire brush or other tool to clean out any debris from the hole left behind by the drill bit.
What are the hardest drill bits?
There are a few factors that make some drill bits harder to work with than others. The first is the material the bit is made of. Titanium, for example, is much harder than steel and will require more effort to drill through. Second, the size of the bit can also make a difference. Smaller bits are more delicate and can break easily if not handled carefully. Finally, the shape of the bit can also affect how difficult it is to work with. A long, thin bit will be more difficult to control than a shorter, thicker one.
Why do I keep breaking drill bits?
If you’re constantly breaking drill bits, it’s probably because they’re not properly organized. When bits are jumbled together in a drawer, they can become nicked and damaged, which makes them more likely to break the next time you use them. A well-organized set of drill bits will last longer and perform better than a poorly cared for one.
Useful Video: Organize your Drill Bits
Conclusion
Organizing your drill bits doesn’t have to be a daunting task. By following the tips in this guide, you can keep your bits in good condition and extend their lifespan. With a little bit of care, your drill bits will be able to handle any project you throw at them. Thanks for reading!
Do you have any tips for organizing drill bits that we didn’t cover? Let us know in the comments below! And be sure to check out our other articles on drilling and woodworking for more helpful tips and tricks. happy drilling!
References
- https://timbermart.ca/en/how-to-organize-your-drill-bits/
- https://toolsforworkingwood.com/store/blog/1019
- https://waterdamagerestorationdallastexas.com/best-drill-bits-storage-ideas/








Leave a Reply