

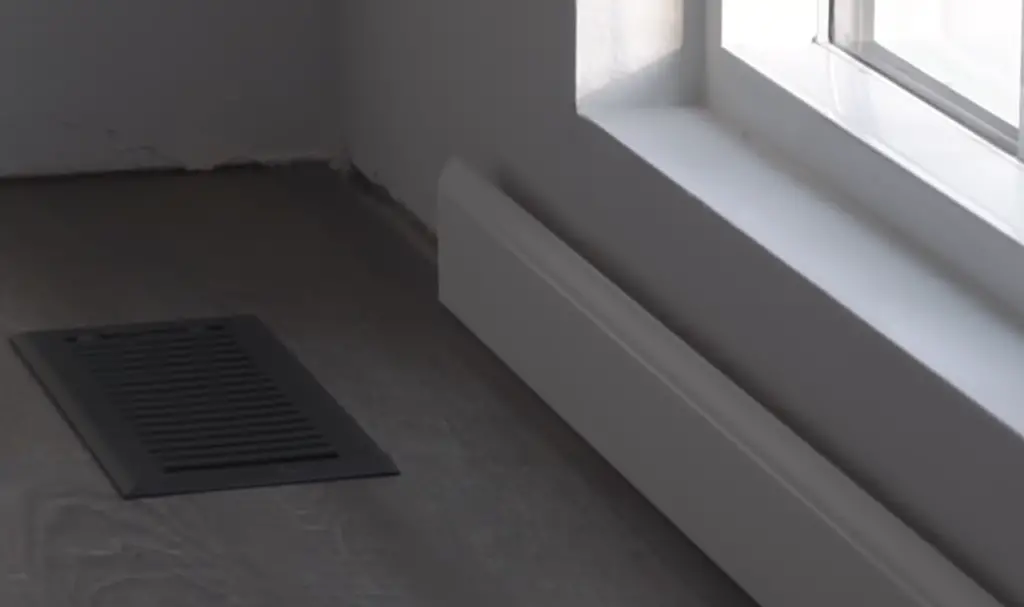
Many DIY projects require trim angles to provide a professional, finished look. You may find yourself needing to create these angles without a miter saw, the tool normally used for this purpose. Fortunately, you don’t need fancy tools or equipment to cut trim angles accurately and quickly—all you need is some knowledge and a few basic supplies.
What are Trim Angles?
Is it hard to cut Trim Angles?
It depends on the application and the tools you have available. If you’re using a miter saw, cutting trim angles is relatively easy as it allows you to make precision cuts with accuracy. However, if you don’t have access to a miter saw or don’t know how to use one properly, cutting trim angles can become more difficult.
Luckily, there are various methods and tools you can use to make angled cuts without a miter saw. [1]
Before You Begin
Before attempting to cut trim angles without a miter saw, it’s important to take the necessary safety precautions. Be sure that you have protective eyewear and gloves on while working with wood or other materials. Make sure that you have the proper tools for the job- if there is any tool that you are unfamiliar with, research how to use it before attempting to use it.
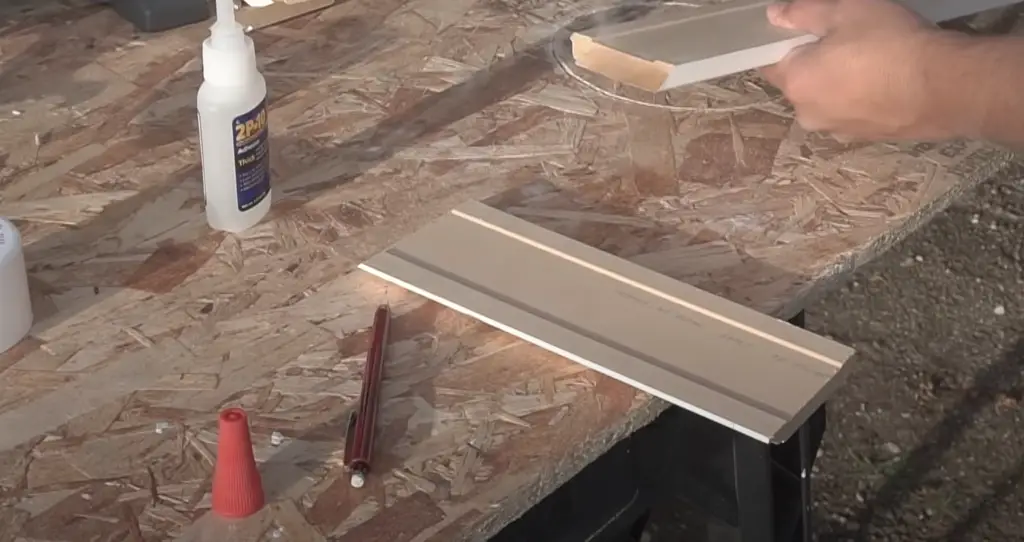
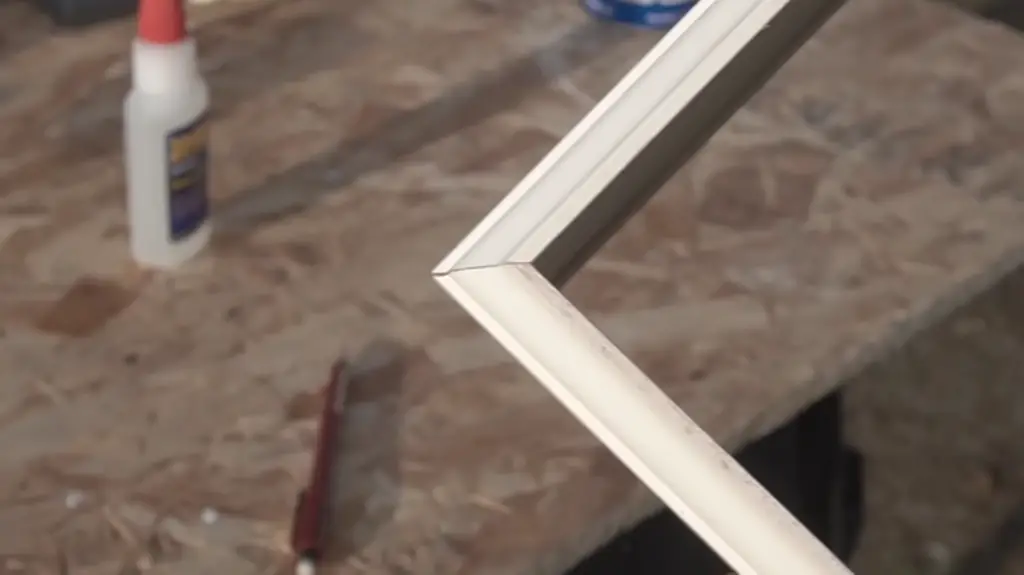
Next, you’ll need to determine the angle that you wish to cut. The first step is to measure the desired angle and then mark it on your board with a pencil. You may also want to draw a longer line so that you have more reference points when cutting the trim angles. [2]
Using a Utility Knife
A utility knife and a straightedge can be used to cut trim angles when you don’t have access to a miter saw. Here’s how do it:
- Mark the angle lines on the trim with a pencil, using your desired measurement as a guide.
- Secure the trim down on a stable surface such as a workbench or clamping table.
- Hold the straightedge along one of the angle lines and position the utility knife against its edge. Make sure the blade is perpendicular to the trim surface for best results.
- Score along the line lightly, pressing just enough pressure to cut through the material. Repeat this process on all four sides of the trim piece.
- Cut along the scored lines with one smooth motion, pressing down on the knife to slice through the trim. Repeat this step until all four sides have been cut.
- Use a sanding block or disc sander to lightly smooth out any rough edges or imperfections in your finished cut. [2]
Using Scissors
Using scissors can be a viable option for trimming angles if no miter saw is available. It should be noted that the results will lack accuracy and may not be as precise as when using a miter saw. Precision is less important when cutting smaller pieces of trim, however, so it’s still possible to achieve satisfactory results with scissors.
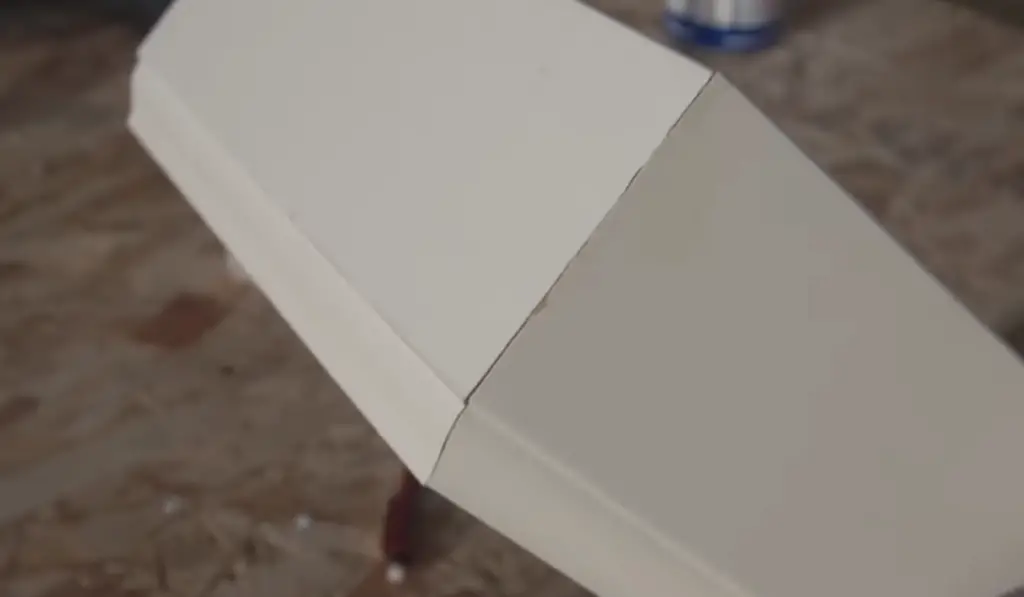
When using scissors to cut trim angles, it’s important to ensure that the jagged edges created by the blade are lined up evenly. Start at the corner of the trim and make sure that the blades are lined up with one another in order to create a smooth curve along the edge. Then, slowly snip away small bits of excess material until you reach your desired shape. [2]
Using Cutters and Shears
Cutters and shears can be used to cut trims at angles for small projects. Cutters are designed with a special angle that allows them to make precision cuts in wood or plastic trim. Shears have adjustable blades that allow you to vary the angle of the cut, so they’re perfect when you need more than one type of angle. To use a cutter or shear, place the material where you want to cut and measure from the edge of your material to the desired angle. Then attach the blade of the cutter or shear to that point and press down firmly to make the cut. [2]
Potential Problems
You may come across some issues when trying to cut trim angles without a miter saw. The most common problem is wood splitting due to incorrect nailing. Make sure you use the right nail size for your project. If the nails are too big, they can split the wood, causing unsightly damage. Another potential issue you might face is inaccurate cuts from hand saws. If you don’t use the right blade for the job, or the saw is not sharp enough, your cuts won’t be accurate.
To prevent these problems from occurring, make sure you have all of the necessary tools on hand before starting your project. Then take the time to measure twice and cut once! A good rule of thumb is to practice on scrap wood before cutting into your good pieces. This will help you get the feel for the saw and give you an idea of how to handle it correctly.
Finally, make sure you do all of your measuring and cutting on a flat surface that is level with the floor. This will ensure accuracy in your cuts and prevent any extra strain from being put on the saw. [2]
Pull Bar
A pull bar is a device that can be used to make quick and accurate angle cuts in trim without the use of a miter saw. It consists of two pieces of metal that are connected at one end by a spring-loaded hinge. A long handle on one side allows you to clamp the material between the two pieces, while a ruler-like arm on the other side allows you to accurately measure out the desired angle.
To use a pull bar, begin by setting up your workpiece so that the edge of it is flush against one of the arms. Then, activate the spring-loaded hinge and press down on the handle until it is firmly clamped between the two pieces. Make sure that your chosen angle lines up with the ruler-like arm, then mark off the appropriate measurement. Finally, cut along your marked line and discard any excess material.
Pull bars can be a great tool for making quick and accurate angle cuts in trim without having to use a miter saw. They are relatively inexpensive and easy to use, and they offer great accuracy when it comes to cutting angles. [2]
Using Multi-Tool
A multi-tool is a versatile tool that can come in handy when you need to cut trim angles without a miter saw. It has multiple cutting attachments and includes blades for making straight, bevel, and compound cuts. While it may not produce the same level of precision as a miter saw, with practice and patience it can still give you professional results.
To get started, measure the angle you need to cut. Place a piece of tape onto the trim board at the desired measurement and draw a line across it. Make sure that your multi-tool is set for straight cuts with no bevels or angles when cutting along this line.
Then, press down firmly on either side of the saw blade before starting the cut. Make sure that the saw blade is not touching either side of the trim board, and then gently raise the blade until it begins to make contact with both sides of the trim board. You should also pay attention to how much pressure you’re applying—too much can cause your cuts to be too deep or too shallow. [2]
Rubber Mallet
A rubber mallet is another great way to cut trim angles without a miter saw. All you need is a straight edge, such as a framing square or T-square, and a rubber mallet. Place the straight edge against the wood so that it is at the angle you want to cut. Then take your rubber mallet and strike it firmly in order to score the wood. Once you have scored the wood, use a handsaw or jigsaw to cut along your scored line.
This method of using a rubber mallet is best used on small cuts and is not recommended for large projects as it may be difficult to keep an accurate angle. If accuracy is key, consider using additional tools such as clamps or miter boxes to ensure your angle is exact. [2]
Drill or Spade Bit
If you don’t have access to a miter saw, another option for cutting trim angles is to use a drill or spade bit. Drill bits can help you make angled cuts in wood if the angle is not too steep and the cut isn’t too long. To get started, mark your desired cut line on the piece of trim and then adjust the bit to the desired angle. Once you have the bit set, carefully drill your way through the trim following the marked line until you reach the end.
The Dremel Trio
The Dremel Trio is a great tool to use for cutting trim angles without a miter saw. This versatile power tool has three separate cutting heads that can be used to make straight cuts, chamfers and angled cuts in wood or other materials. The tool also comes with a dust-collection bag that helps keep your workspace clean while cutting.
To use the Dremel Trio for angled cuts, first attach the chamfer bit to the tool. Position your workpiece in a vise so that it is secure and won’t move while you work. Then adjust the cutting head angle to your desired degree of cut. Finally, make multiple passes with light pressure over the area you want to trim.
For best results, use a speed setting of at least 10,000 RPM and make sure to wear safety goggles during the cutting process. Remember, because the Dremel Trio is a power tool it can cause serious injury if not handled correctly so please read and follow all instructions in your manual before using the tool. [1]
Try Bending
One of the most reliable methods for cutting trim angles without a miter saw is to actually bend the trim. This technique can be used if you’re dealing with flexible trim like vinyl, plastic or wood. To achieve this aim, you’ll need to heat up the material and then bend it according to your desired shape. You may heat the material using a heat gun, hair dryer or even a match. Make sure that you don’t burn the material while you’re bending it. It’s also important to wear heat-resistant gloves to avoid getting burned.
Once you have heated up and bent the trim according to your desired angle, all that’s left is to cut the last bit off with a handsaw or jigsaw. This method is particularly handy if you need to make small angles, since it allows you to get an exact fit for your trim. [1]
Angle Grinder
An angle grinder is a power tool used for cutting, grinding and polishing materials like metal. It’s an incredibly versatile tool and can be used to cut trim angles without a miter saw. The best thing about using an angle grinder is that it doesn’t require any special skills or tools. All you need to do is choose the right size and type of grinding wheel, mark out the angle you want to cut, make sure the grinder is securely attached to a work surface, and start cutting.
Before using an angle grinder for trim angles, you should know that it can be dangerous if not used safely. Always wear safety glasses when operating an angle grinder and take appropriate safety precautions such as wearing gloves and using a dust mask. Always unplug the angle grinder before changing or adjusting a grinding wheel, and make sure the guard is in place to protect you from flying debris. [1]
Tin Snips
Tin snips are a great tool for cutting trim angles without a miter saw. Tin snips are hand-held scissors designed specifically to cut sheet metal like aluminum and other metals, but they can also be used on wood trim. The key is to make sure you’re using the right type of tin snip – either left-handed or right-handed. To get the best results, clamp your piece of trim in place on a sturdy work surface before you start cutting. Start by making small cuts and then gradually increase the length of your cut until you reach the desired angle. Tin snips are great for detailed projects since they give you more control over the angle of your cut. [1]
Cordless Drill and MAPP Gas Torch
One of the most accessible ways to cut trim angles without a miter saw is by using a cordless drill and MAPP gas torch. For this method, you’ll need two components: a drill and a MAPP gas torch.
The first step is to determine the angle for your desired cut and mark it on the workpiece using a pencil or marking knife. Next, you’ll need to attach the appropriate drill bit for your application to your cordless drill. The size of the drill bit will depend on the size of the trim piece that needs to be cut.
Once the drill bit is in place, you’ll then need to set up the MAPP gas torch. You should start by adjusting the flame to its highest setting. Make sure that you’re wearing the appropriate safety equipment, including eye protection and a face shield when working with open flames. [3]
Rotary Tool
One of the most popular tools used when working without a miter saw is a rotary tool. These handheld power tools can be used to quickly and accurately cut angles and trim pieces in woodworking projects. You’ll need to have a few essential accessories for this process, including an abrasive cutting wheel, sanding drum or grinding bit, and some kind of guide or jig.
Abrasive cutting wheels are designed for cutting through hard materials, and they’re available in a wide range of sizes. When selecting a wheel size, you should consider what type of material you’ll be working with and how thick the pieces are. If you’re working with thicker pieces, it may be necessary to use a larger cutting wheel.
Sanding drums and grinding bits are used for smoothing the cut edges of your trim pieces. You can find these accessories in different sizes, shapes, and grits. Select one that best suits the material you’re working with and the desired result you’re trying to achieve. [3]
Reciprocating Saw
A reciprocating saw is a powerful power tool that can be used to cut trim angles without a miter saw. It’s ideal for projects where precision isn’t essential, like cutting through wood or plastic for framing and trimming. To use the recipro-saw, first make sure the blade is securely fastened in place. Then, adjust the depth of the cut to be slightly wider than the trim piece. Finally, slowly move the saw back and forth along the length of the cut until it is completed.
When cutting trim angles without a miter saw, you’ll want to make sure you use a blade specifically designed for this purpose. A standard reciprocating saw blade can chip away at the trim and leave behind jagged edges. To avoid this, it’s best to use a blade with fine teeth or a “finishing” blade that is designed for precision cutting. [3]
Pliers and Pincers
Using pliers and pincers can be an effective way to cut trim angles without a miter saw. Pliers can grab, twist, or bend objects easily. Pincers have a more precise grip and are ideal for cutting small pieces of wood. To use pliers and pincers effectively for cutting trim angles, you will need to make sure that the blades are sharp. This will ensure that the cut is clean and accurate. There are a few steps that you should follow when using pliers or pincers to cut trim angles:
- Measure and mark the angle on the piece of wood you want to cut.
- Hold the pliers or pincers at the desired angle and use steady pressure to cut through the wood.
- Make sure that you are cutting in the same direction as the angle marked on the wood.
- Once you have finished cutting, check to make sure that the trim angle has been cut correctly. Make any necessary adjustments if needed. [3]
FAQ
What can I use if I don’t have a miter saw?
If you don’t have a miter saw, there are several tools and methods that can be used to make trim angles without one. Some of these include:
- A hand saw or circular saw – Using a hand saw or circular saw requires skill and precision to achieve accurate results. The blade must be set at the correct angle before cutting in order to get an accurate trim angle.
- A coping saw – This is a saw with a thin blade that can be used to make angled cuts on molding and other trim. It requires some skill to use, but it’s often the easiest way to make trim angles without a miter saw.
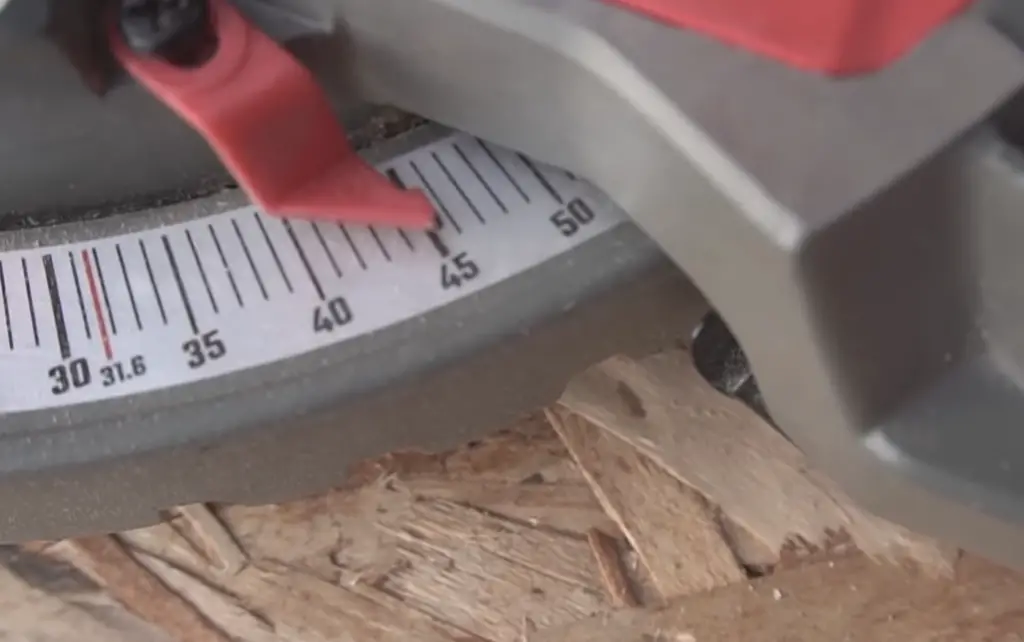
How do you cut a 45 degree angle by hand?
To cut a 45 degree angle by hand, you will need to first measure the trim piece and mark the desired angle. Next, use a hand saw or coping saw to carefully cut along the marked line. If possible, it’s best to make multiple passes with the saw in order to get an accurate result. Finally, use sandpaper or a file to smooth out any rough edges.
How do you cut the trim by hand?
Cutting trim by hand requires patience and precision. Start by measuring the trim piece and marking it with a pencil or marker. Then, use a hand saw or coping saw to carefully cut along the marked line. If possible, make multiple passes with the saw in order to get an accurate result. Finally, use sandpaper or a file to smooth out any rough edges. With practice, it’s possible to get professional-looking results without the use of a miter saw.
How do you cut trim without a saw?
If you don’t have access to a saw, there are still several options for cutting trim. A sharp utility knife or chisel can be used to make angled cuts in the trim piece. Simply mark the desired angle and use the knife or chisel to carefully cut along the line.
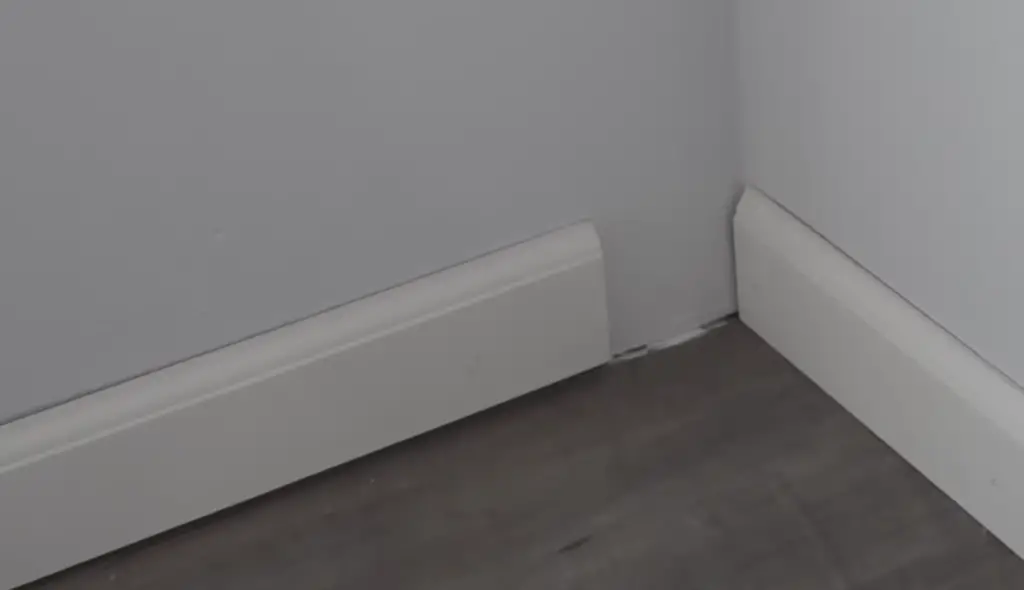
Useful Video: How To Install Baseboard Like A Professional With No Gaps! DIY Pro Tips And Tricks For Beginners!
Conclusion
Cutting trim angles without a miter saw is definitely possible, and although it takes some practice, it’s not as hard as you might think. With the right tools and an understanding of how to approach these cuts properly, you can get great results every time. Just be sure to take safety precautions when cutting large pieces of trim and never try to do a job that’s too big for your skills or the tools you have. With these tips in mind, you’ll be equipped to make angled cuts with ease and confidence. Good luck!
References
- https://thetoolscout.com/how-to-cut-baseboard-corners-without-a-miter-saw/
- https://toolsadvisorpro.com/how-to-cut-angles-without-a-miter-saw/
- https://www.thesawguy.com/how-to-cut-trim-angles/