

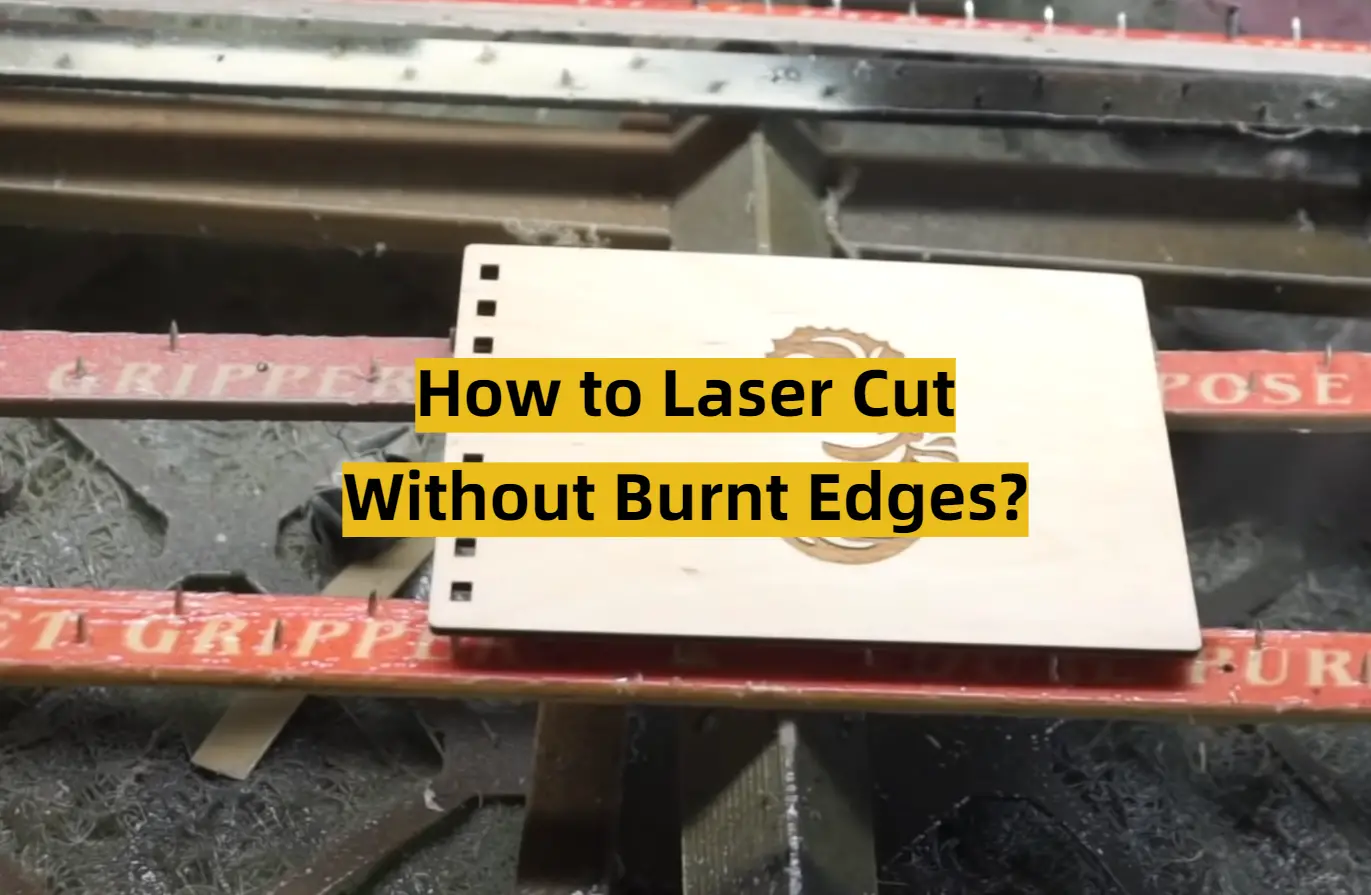
Laser cutting is a popular manufacturing process in the modern world. However, it can be tricky to get right, especially when it comes to avoiding burnt edges. Fortunately, there are some simple tricks of the trade that you can use to prevent your materials from being damaged by excessive heat or charring. In this article, we’ll explain how to laser cut without burnt edges, answer some frequently asked questions, and provide a few useful tips. Keep reading to learn more!
What Causes Burn Stains on Cut Wood?
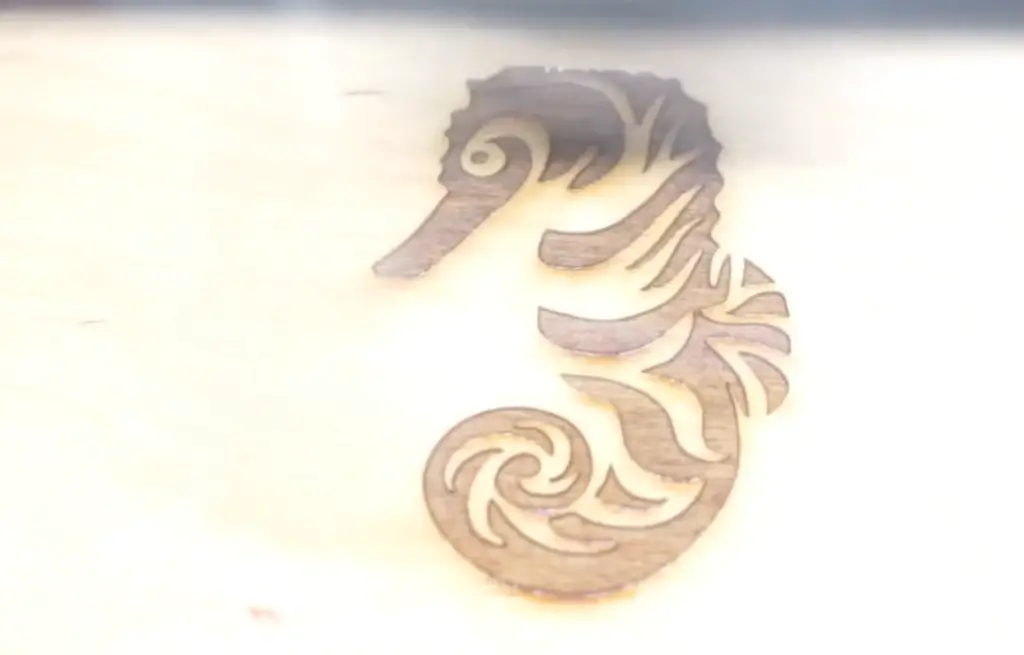
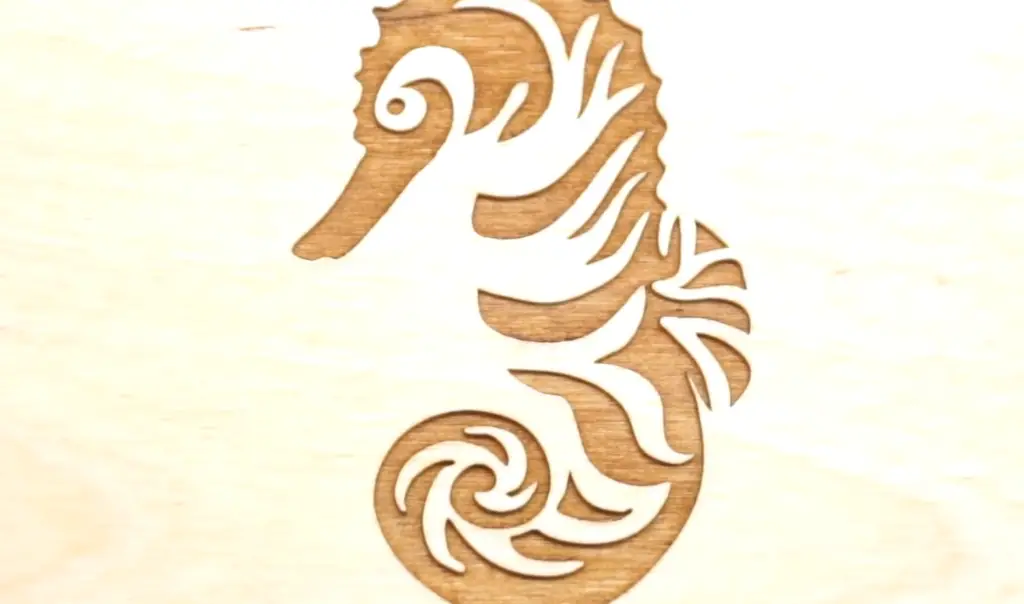
The primary cause of burn stains on cut wood is excessive heat or charring. This usually occurs when the laser stays in one spot for too long, transferring excess energy to the material and causing it to char or scorch. The higher the power setting of your laser cutter, the more likely you are to experience this issue. Additionally, lighter-colored woods tend to show burn stains more easily than darker woods. [1]
What is the Best Wood for Laser Engraving without Burning?
When it comes to wood for laser cutting, the type of wood used is important. The best woods to use are softwoods such as pine or balsa, which have a low resin content and are less likely to char or become burnt during the cutting process.
For wood that is already painted or stained, it’s important to test different types of wood before starting a project. The type of wood and its paint or stain may react differently when exposed to laser heat, so it’s best to do some research and testing ahead of time. [1]
Choose Your Wood Carefully
The type of wood you use when laser cutting is important. Hardwoods, such as oak or maple, are the best choice for laser cutting because they have a higher resistance to heat than softer woods like pine. You’ll also want to look for wood that has been dried and milled properly, as this will prevent warping and reduce the amount of smoke produced during the cutting process. Additionally, you should select wood with a uniform thickness so that the laser can more evenly distribute heat throughout the cutting area. [1]
Wavelength
The wavelength of the laser cutter can have an effect on how much heat is generated and the speed at which it cuts. Longer wavelengths take longer to cut through material, but they also produce less heat. Short wavelengths cut faster, but they also generate more heat. If you are having problems with burnt edges, using a different wavelength might help you avoid them. [1]
Resin Content
One way to avoid burnt edges while laser cutting is to use resin-based materials. Resin content materials are absorbable and help keep the edge of your cut smooth by minimizing heat transfer. The higher the resin content, the better it will perform in terms of preventing burnt edges. Examples of materials with a high resin content include plywood, particle board, MDF, and laminates.
Before laser cutting your project, make sure to test the material on a scrap piece of the same type of wood before moving on to the real thing. This will allow you to adjust your settings accordingly and get a better idea of how the laser cutting process will go as far as avoiding burnt edges. [1]
Test Before Starting
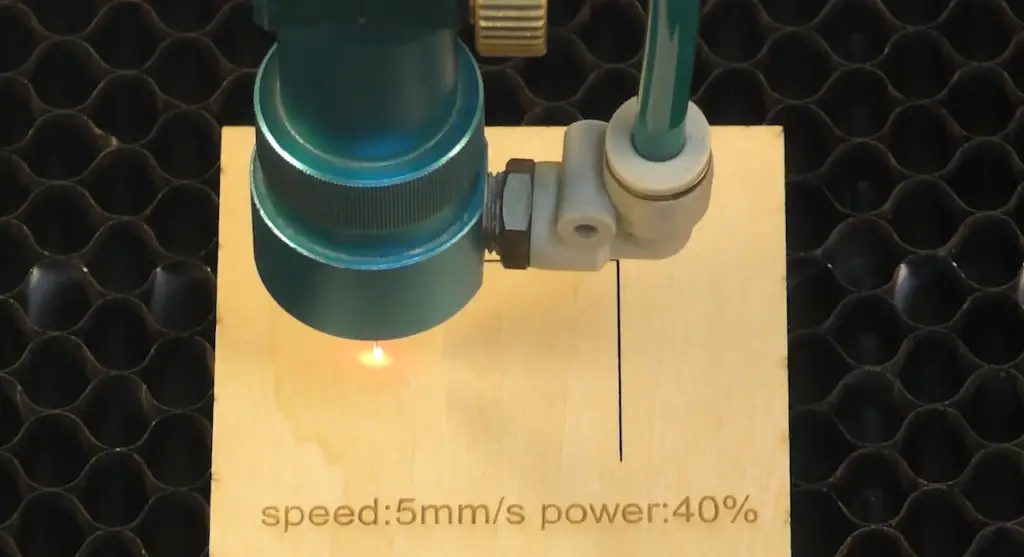
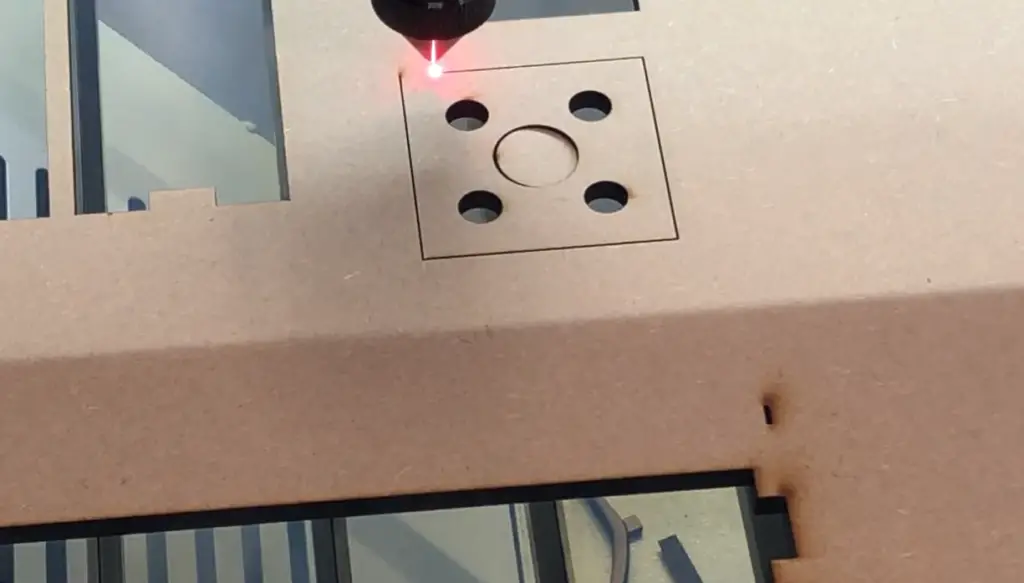
It is always a good idea to do a test cut before you start on your project. This will help you determine the optimal laser power and speed settings for your particular material and thickness. For most materials, the general rule is that higher power with lower speed yields smoother cuts. However, what works best varies depending on the type of material so it’s important to test first to understand what settings will yield the best results for your project.
You can use a scrap piece of material that is similar in size and thickness to the one you plan to cut with your laser cutter. Start with a basic set of low power, slow speed settings using both air assist and anti-reflective coatings (if available). If the edge of your sample cut is not smooth, you can try adjusting the power and speed settings until you find a combination that produces an acceptable result. Remember to write down the settings that worked best so you can use them for your project. [1]
Ways to Prevent Burn Marks from Wood Engraving/Cutting
Use Transfer Tape on the Surface of the Wood
Using transfer tape on the surface of the wood helps to protect it from burn marks. The adhesive backing can also help keep your laser lines in place when cutting intricate shapes and patterns, ensuring that you don’t end up with any parts or designs outside of the boundaries of your project. [3]
Modify the CO2 Laser Power Settings
When laser cutting, it’s important to adjust the power settings on your CO2 laser. By lowering the power, you can reduce the amount of heat that is produced and therefore decrease the chances of burning. You should also set your laser speed lower as this will allow for a slower cut and less heat generated during engraving or cutting. [3]
Apply a Coating
A final way to reduce burnt edges on wood is by applying a coating. By adding a thin layer of polyurethane, wax or oil to the surface of your wood before cutting, you can protect it from burn marks and give it a smooth finish. Make sure that whichever product you use is safe for laser engraving and cutting so as not to damage your machine. [3]
Cool the Wood Surface During the Cut
Using a cooling device during laser cutting can also help minimize burnt edges on wood projects. This will cool down the surface area of your project and prevent it from becoming too hot and burning. You can purchase a cooling attachment for most laser machines online or in store, however, be sure to check the instructions for your specific machine before attempting this. [3]
Submerge Thin Wood in Water
If you are laser cutting very thin pieces of wood, it’s a good idea to submerge them in water during the engraving/cutting process. This will help to cool down the wood quickly and reduce any heat produced from the laser beam. Make sure that you have all of your materials ready before starting this process as it can be quite time-consuming to submerge and remove the wood from the water. [3]
Use Masking Tape
Using masking tape during laser engraving/cutting can also help to prevent burn marks. The adhesive backing of the tape helps to keep the wood in place and prevents it from burning while you work. Make sure that you use a high quality, heat resistant tape for this purpose as some types of tapes can melt or deteriorate when exposed to the laser beam.
By following these guidelines, you can reduce the likelihood of getting burnt edges on your wood projects and achieve a professional finish. Make sure to always adjust the settings on your laser machine before starting any project, and don’t forget to use transfer tape, coatings or masking tapes for added protection! [3]
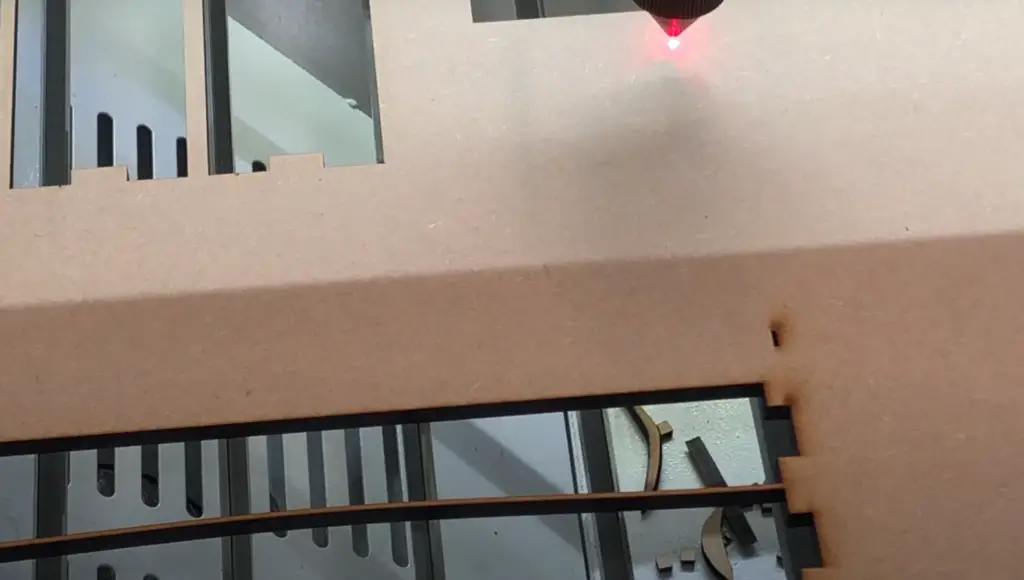
Use Honeycomb Panel
Using a honeycomb panel during laser cutting is another great way to reduce the risk of burnt edges on wood. Honeycomb panels are made from layers of durable material that offer an extra layer of protection and help absorb any heat generated when engraving or cutting. This type of panel can be quite expensive but it’s well worth the investment if you’re looking for professional-level laser cutting. [3]
Air Assist
Air assist systems are also a great way to reduce the risk of burnt edges on wood projects. These systems help to keep the surface cool and ventilate any fumes or smoke that may be created during engraving/cutting. Air assist systems can be quite costly, but they’re a worthwhile investment if you need precise results with minimal burn marks. [3]
Adjust the Power and Speed
Finally, make sure to adjust the power and speed settings on your laser machine before you start any project. By decreasing the power, you can reduce the heat generated when cutting or engraving and also reduce the chances of getting burnt edges on wood. Additionally, by setting your laser speed lower it will allow for a slower cut which means less heat is produced during the process. [3]
Apply Water
Applying a light mist of water to the surface of wood during laser engraving or cutting can also help reduce burnt edges. The water cools down the area and prevents it from becoming too hot, reducing any chances of burning. Make sure that your materials are waterproof before attempting this technique as water can cause some types of wood to swell or warp.
By following these tips and tricks, you can reduce the chances of burning on your wood projects and create a professional-looking finish. Remember to always adjust the settings on your laser machine before starting any project, as well as use transfer tape, coatings or masking tapes for added protection! [3]
Use Sandpaper on the Edges of the Cut
The most effective way to get rid of burrs and prevent burnt edges is to sand the edges after laser cutting. Sandpaper can be used in a few different ways, depending on the type of material being cut.
For wood, a medium-grit sandpaper will do the trick. This will help remove any small burrs that may have been left behind by the laser. When working with metal, use a fine-grit sandpaper to remove any burrs and smooth out the edges.
You don’t need to spend time sanding each side of the cut; just lightly rub along one of the sides with your chosen grit paper and it should do the trick! [2]
Pumice Liquid Soap
Pumice liquid soap is a great option for laser cutters to use in order to prevent burnt edges when working with materials. This special soap helps lubricate the material and keep it cool, allowing lasers to cut through without burning or melting the material. Pumice liquid soap can be applied directly onto the surface of the material before cutting. In addition, simply spraying the soap onto a clean cloth and wiping down the material also works well. When you wipe the material, keep in mind that you should be doing so in the same direction as your cutting path. This helps ensure that all edges of your cut will remain clean and crisp. [2]
Denatured Alcohol
When preparing to laser cut materials, setting the correct power settings is key. For non-metal materials like wood, paper, cardstock, foam board, etc., the power setting should be decreased. Lowering the power will reduce heat buildup in the material and decrease the risk of burnt edges.
In some cases, you may also want to apply a layer of denatured alcohol (aka “wood burner fluid”) to the material’s surface prior to laser cutting. Denatured alcohol is flammable and should be used with caution, but it can reduce heat buildup on the material and thus help reduce burning around the edges. If you choose to use denatured alcohol, make sure to let it dry completely before beginning the cutting process. [2]
More Tips to Prevent Laser Cut Burn Marks
- Use the proper power settings for your material: You must use the correct laser power settings when cutting any material on a laser cutter. This is important because cutting at too high a power can cause burnt or scorched edges on the material due to excessive heat. If you’re unsure of what the appropriate setting is, consult your machine’s user manual or contact the manufacturer for help.
- Use a lower speed setting: Lowering the speed of your laser can also help prevent burn marks on your material. This is because the laser will have longer periods of time to heat up each area before moving onto the next, thus resulting in more even and consistent cutting with less chance of burning.
- Use multiple passes: If you’re using a thicker material, or one that is difficult to cut through with a single pass of the laser, try using multiple passes at a lower power setting and lower speed. This will help ensure that each section of the material has enough time to be cut without burning it in the process.
- Adjust your focus: The focus of a laser beam is very important in preventing burn marks on your material. If the beam is focused too low, it won’t cut through the material completely, leaving behind an uneven and burnt edge. Similarly, if the beam is focused too high, the material can burn due to excessive heat. [2]
FAQ
How do you get rid of laser burn marks?
There are a few ways to avoid laser burn marks or reduce their appearance.
Additionally, you can use a thin sheet of material – such as Kapton tape – to cover the laser-cut area and help protect against burning. Finally, make sure your focal length is set correctly so that the beam stays focused on the material during cutting.
How do you laser cut cardboard without burning the edges?
Cardboard is a challenging material to laser-cut without burning the edges. First, make sure your settings are correct – reduce the power output and increase the speed. Additionally, it can be helpful to use compressed air or a fan to cool the cardboard during cutting to help prevent burning. Finally, if you’re still having trouble, try using a thin sheet of material – such as Kapton tape – to cover the cutting area and protect against burning.
How do you prevent burn marks when laser cutting acrylic?
Acrylic is a relatively easy material to laser-cut without burning the edges. First, make sure your settings are correct – reduce the power output and increase the speed. Additionally, it can help to coat the cutting area with a thin layer of wax or oil before you begin cutting. This will help protect against burning and also give your finished product a nice glossy finish. Finally, increase the focal length slightly to make sure that the beam is focused on the material during cutting.
How do you prevent laser burns from scarring?
If you do end up with laser burn marks, it’s important to act quickly in order to prevent them from scarring. Use a damp cloth or sponge to gently remove any charred areas. You can also use a mild cleaner – such as acetone or nail polish remover – if necessary. Finally, apply an anti-scar gel or cream to the affected area to help reduce the appearance of any scars.
Is all acrylic ok to laser cut?
Not all acrylics are suitable for laser cutting. Make sure to check the manufacturer’s specifications before attempting to laser cut any type of acrylic. It’s also important to adjust your settings accordingly – reduce the power output and increase the speed – in order to prevent burning. Additionally, it can be helpful to coat the cutting area with a thin layer of wax or oil before you begin cutting.
Which material should never be cut by laser?
Materials that can easily catch fire when exposed to high heat from the laser beam should never be cut by a laser cutter. This includes most plastics, as well as organic materials like wood and leather. Additionally, it’s important to avoid cutting metals with a laser – some metals may reflect or absorb too much of the laser’s energy, resulting in damage to the laser itself.
Can 1.6 W laser cut acrylic?
Yes, a 1.6 W laser can cut acrylic – but it’s important to adjust the settings accordingly. Reduce the power output and increase the speed in order to prevent burning. Additionally, it can be helpful to coat the cutting area with a thin layer of wax or oil before you begin cutting. Finally, increase the focal length slightly to make sure that the beam is focused on the material during cutting.
Useful Video: Quickly deeply wood laser engraving without burn no big smoke
Conclusion
Laser cutting offers a variety of advantages, from speed and precision to the ability to cut intricate shapes. However, it’s important to note that laser cutters can also produce burnt edges if not used correctly. By taking into account factors like material type, density, composition and thickness as well as adjusting certain settings such as laser power and speed accordingly, you can ensure that your laser cut pieces come out with clean, crisp edges. With the right tools and knowledge, you’ll be able to create beautiful and unique laser cut creations without burnt edges in no time!
We hope this article has been helpful in guiding you on how to laser cut without burnt edges. If you have any additional questions or tips for those just starting out or experienced laser cutters, please feel free to leave a comment below!
Happy cutting!
References
- https://www.thunderlaserusa.com/preventing-burning-when-laser-cutting/#
- https://cutlasercut.com/drawing-resources/expert-tips/burn-marks/
- https://fslaser.com/blog/preventing-burning-when-laser-cutting-wood/