


Sanding is a fundamental part of any woodworking project, and if you want to achieve a smooth finish without leaving behind visible marks or scratches, then an orbital sander is the tool for the job. But can you wet sand with an orbital sander? The answer is yes – wet sanding with an orbital sander is possible.
What is Wet Sanding?
It’s commonly used for auto body and boat repair work but can also be used on wood surfaces. The water helps reduce friction, which prevents the sander from damaging the surface while also helping to remove any debris that might be stuck to the surface. [1]
Wet Sanding Vs Dry Sanding
Sanding is an important step in prepping a surface for painting, staining, or varnishing. But what are the differences between wet sanding and dry sanding? What can you do with an orbital sander when it comes to wet sanding?
Dry sanding is the more common technique. It involves using sandpaper to remove material from a surface with manual pressure. Dry sanding is the best choice for removing old paint, varnish, or sealant from wood.
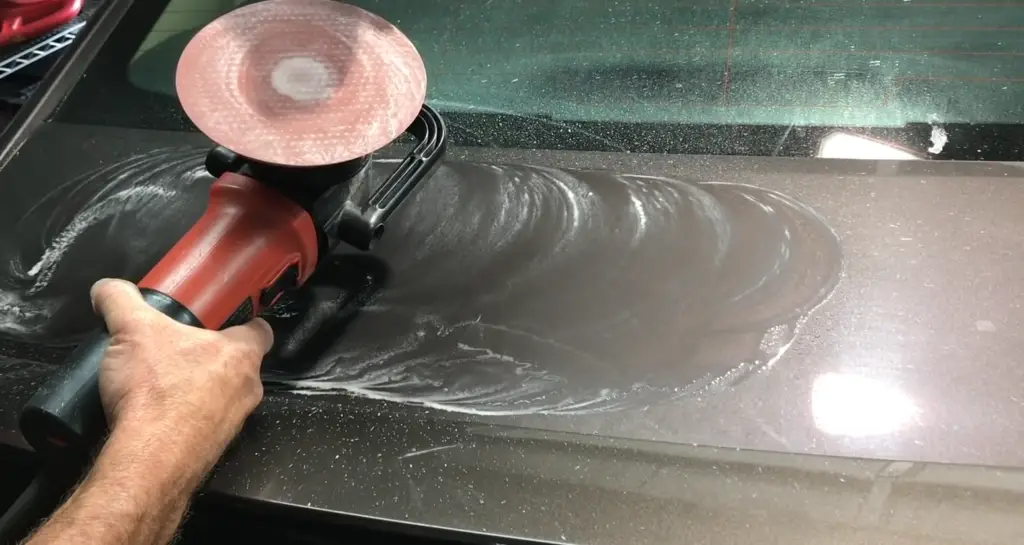
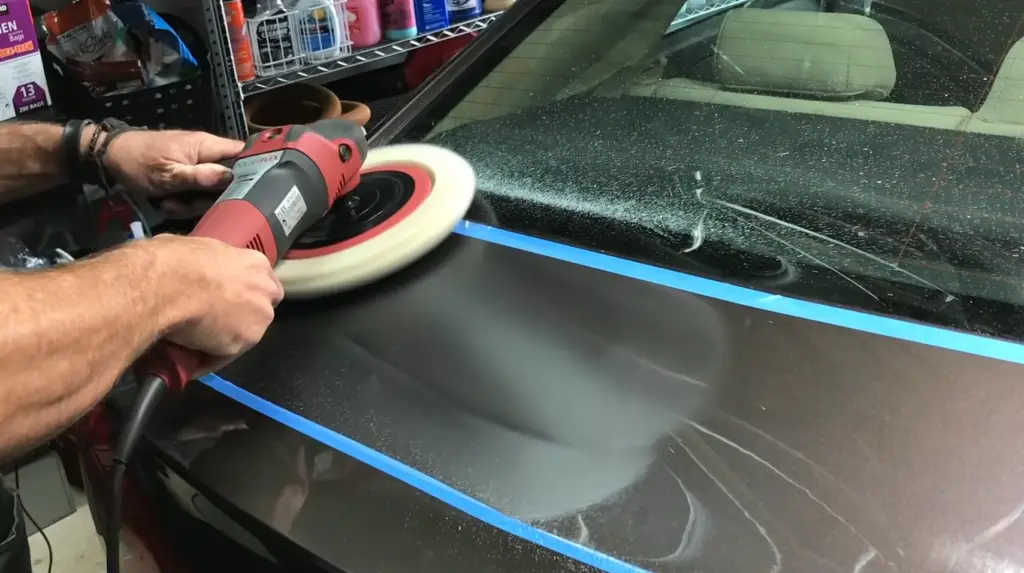
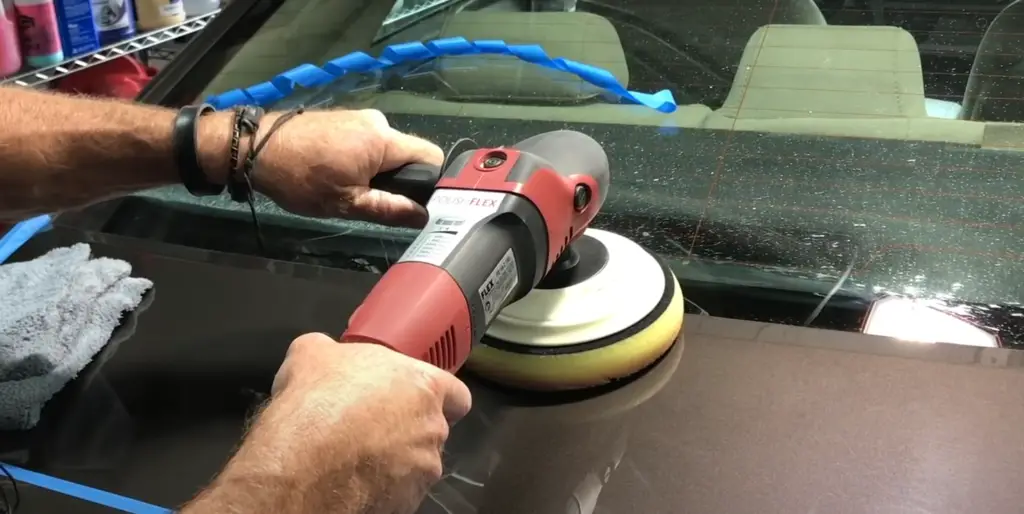
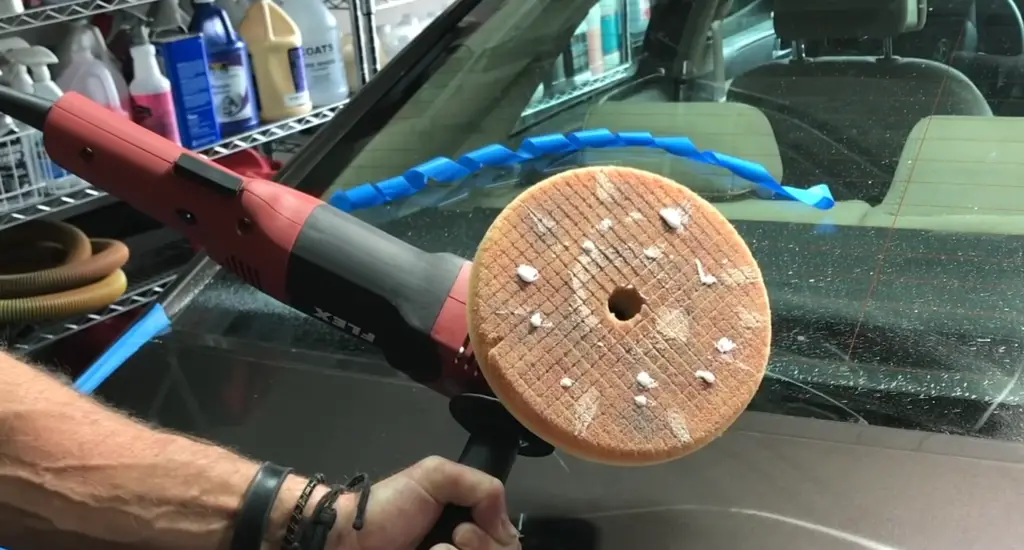
Wet sanding involves using water and sandpaper to create an abrasive slurry that is spread over the surface being sanded. Wet sanding can be used on wood, but is especially helpful when sanding metal or automotive finishes. It can also be used to reduce the appearance of scratches and swirls on painted surfaces.
The primary benefit of wet sanding is that it prevents dust from being created and sticking to the surface you’re working on. This makes the job much easier to complete and creates a much cleaner work area. [1]
What is Orbital Sanders
An orbital sander is an electric tool used for sanding down wood, metal or other surfaces. It works by spinning a disc around a spindle, with the abrasive surface of the disc grinding against the material to remove layers of paint or varnish. Orbital sanders are much lighter and easier to use than traditional belt sanders, which makes them ideal for a variety of DIY projects. [1]
Why Wet Sand?
Wet sanding is used to give a smooth finish on wood, plastic and metal surfaces. This technique can also be used to remove scratches and other minor imperfections in the material. As wet sanding creates less dust than dry sanding, it is a great way of keeping the work area cleaner and more efficient. Because there is no dust, the finish produced is usually much shinier and smoother. [1]
Considerations When Wet Sanding With an Orbital Sander
Orbital Sanding Isn’t for Every Job
When it comes to wet sanding with an orbital sander there are a few considerations you need to take into account. Firstly, wet sanding is not suitable for all surfaces or jobs. Generally speaking, if the surface is too delicate (such as auto body finishes) then wet sanding could cause damage and should be avoided. [2]
Safety Concerns When Wet Sanding With an Orbital Sander
As with any power tool, there are safety implications when wet sanding with an orbital sander. Firstly, make sure you wear protective equipment such as eye protection and a dust mask – this is especially important when working in damp conditions. Additionally, never operate an orbital sander without proper grounding to avoid electric shock. [2]
Process Of Wet Sanding With An Orbital Sander
Choose the right material
The first step to wet sanding with an orbital sander is to choose the right material. Make sure that you are using a high-grit sandpaper that is suitable for the type of surface you are trying to refine. Sandpaper comes in various grits, from very coarse (lower number) to very fine (higher number). A higher number means a finer grit and a smoother finish. For wet sanding, you will need to choose a paper with an even higher grit than what you would normally use for dry sanding. [3]
Gather your tools
Once you have chosen the right sandpaper, gather all the necessary tools for wet sanding. You will need a bucket of water and some soap or detergent to create a soapy solution. This helps reduce scratches when sanding.
Protect your work area
Before you start wet sanding, make sure to cover any nearby surfaces that could be damaged by water. Use drop cloths or plastic sheeting to protect your work area from splashes and overspray. [3]
Prepare your work surface
When you are ready to start sanding, make sure the surface you will be working on is prepared properly. Clean it with a damp cloth and remove any debris or dust that could interfere with your work. Make sure the surface is dry before moving on to the next step. [3]
Position the sandpaper
The next step is to position the sandpaper correctly on your orbital sander. Make sure that it is firmly secured and that there are no loose edges or creases. You may need to use tape or clips to ensure a secure fit. [3]
Connect to the electrical source
Once you have the sandpaper in place, plug your sander into an electrical outlet and make sure it is turned on. Make sure that all safety features are enabled before beginning to wet sand. [3]
Benefits Of Wet Sanding
Better Dust Reduction With Wood
Wet sanding has its advantages when it comes to woodworking projects. It can reduce the amount of dust produced from a project, as well as offer better surface finish results. Wet sanding is usually done by hand or with an orbital sander but some prefer to use power tools that are specifically designed for wet sanding such as a belt sander.
When wet sanding with an orbital sander, it’s important to use a high grit sandpaper that will not clog the pad quickly. A higher grit number will give you a better surface finish and reduce the risk of accidental scratches and gouges. [2]
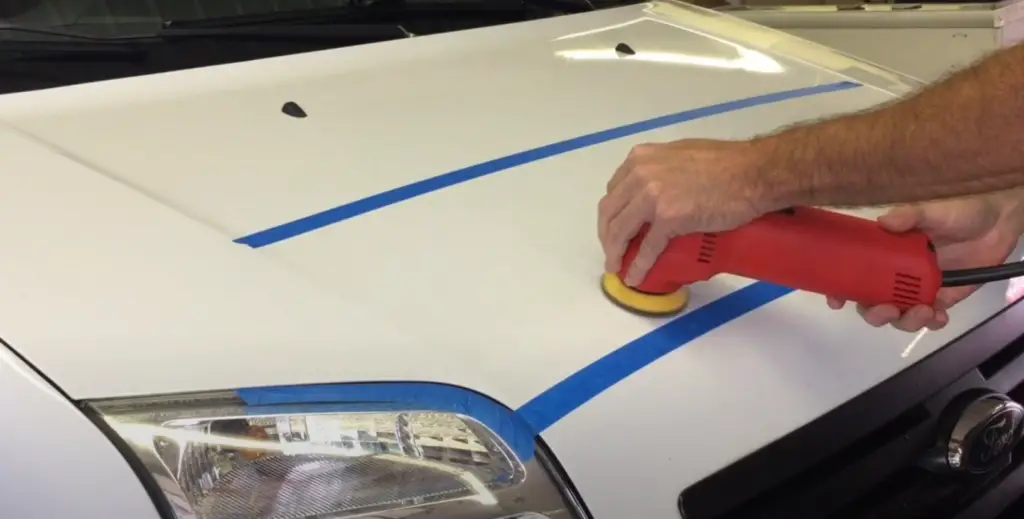
Supports Paint Correction For Automotive
Wet sanding is also a great option for automotive paint correction projects. It can be used to remove oxidation, which will help restore the paint’s shine and gloss. Wet sanding can also be employed to remove deep scratches and swirl marks from car surfaces, giving them a smooth and even finish. In addition, wet sanding can help reduce paint runs, which is a common problem when painting cars.
When working with automotive paint, it’s important to use the correct sandpaper grit as well as an orbital sander that maintains proper RPM settings. It’s also beneficial to keep the surface wet while sanding to prevent any dust particles from becoming airborne. [2]
Provides Better Control Over Sanding Process
Using an orbital sander for wet sanding gives you better control over the sanding process and helps ensure that you don’t apply too much pressure when working on a project. The circular motion of the sander also allows for uniformed results as it moves across the surface. This type of sander is also less likely to cause damage compared to other types of sanders such as belt or disc sanders. [2]
What Are The Best Abrasives For Wet Sanding?
When wet sanding, it is important to use the right type of abrasive. Generally speaking, you should opt for either a silicon carbide or aluminum oxide sandpaper. Silicon carbide is more suitable for soft woods such as pine and redwood while aluminum oxide works better on hardwoods like oak and maple. The grit size should also be considered—the higher the grit size, the finer and smoother the finish. [1]
Safety Concerns
Make sure you’re using the right type of sander.
When it comes to wet sanding, you need to make sure you’re using the right type of sander. Not all sanders are designed for this process. Using the wrong tool can result in a sloppy outcome and potential damage to your surfaces.
Orbital sanders are usually the best option when it comes to wet sanding. While other types of sanders are capable of performing this task, an orbital sander is specifically designed for it. That’s because it has a lower weight and a larger pad that can be used to cover more surfaces quickly and efficiently. [3]
Wear eye protection and a dust mask.
When you’re wet sanding, it’s important to make sure you’re wearing the proper safety equipment. This includes eye protection and a dust mask to protect your lungs from any particles that may be released. You should also wear gloves if necessary to protect your hands from potential cuts or splinters. [3]
Be sure to keep the sander moving to avoid damaging the surface.
When wet sanding with an orbital sander, it’s important to keep the tool moving at all times. If you stop in one spot for too long, you can cause damage to the surface you’re sanding. Make sure to move the sander slowly and steadily so that you don’t create any deep gouges. [3]
Use a light touch and don’t apply too much pressure.
When wet sanding, you should use a gentle touch rather than applying too much pressure. This will help to ensure that you don’t cause any damage to the surface while still getting an even finish. You may need to go over the same spot multiple times to get the desired effect. [3]
Work in small sections, so the area doesn’t get too wet.
When you’re wet sanding, it’s important to work in small sections so that the area doesn’t get too wet. This will help to ensure that the surface isn’t saturated with water, which can cause damage if it sits for too long. Make sure to always keep a dry cloth nearby and mop up any excess water as you go. [3]
Follow up with a dry sanding session after wet sanding is complete.
Finally, once you’ve finished the wet sanding process it’s important to do a follow-up dry sanding session. This will help smooth out any rough patches and ensure that the surface is even and free of any lingering debris. Dry sanding also helps to remove any marks left by the wet sanding process. [3]
FAQ
Is there special sandpaper for wet sanding?
Yes! You should use wet/dry sandpaper when wet sanding, as it is resistant to water and will not break down. Wet/dry sandpaper comes in many grits, so you can choose the one that best fits your needs. Sandpapers with a higher number of grits are typically used for finer finishes while those with a lower number of grits are better for rough sanding.
Can you use an orbital sander to sand?
Yes, you can use an orbital sander to wet sand. When wet sanding with an orbital sander, make sure the sander is working at a low speed and that the paper is being kept moist. Additionally, always wear protective gear such as goggles and a dust mask when wet sanding.
Can you use an electric sander on wet wood?
No, you should not use an electric sander on wet wood.
Is wet sanding better than dry?
The answer to this question depends on your project. Generally, wet sanding is better for creating a smoother finish as it reduces the risk of scratches and gouges in the wood. Additionally, wet sanding helps reduce dust which can be beneficial if you are working on projects indoors. However, wet sanding takes more time and effort than dry sanding and can be a messier process. Ultimately, it’s up to you to decide which method is best for your given project.
Is wet sanding safe?
Yes, wet sanding is safe when done properly. However, you should always take precautions such as wearing protective gear and making sure the sander is working at a low speed. Additionally, never use an electric sander on wet wood as it can be dangerous.
What liquid is used for wet sanding?
Typically, soapy water is used when wet sanding as it helps lubricate the surface and reduces the risk of scratches. However, some people may use other liquid such as mineral spirits or oil to create a smoother finish. Ultimately, it’s up to you to decide which fluid best fits your project needs.
How long to wait after wet sanding?
You should wait at least 24 hours after wet sanding before applying a finish. This will allow the wood to dry completely and give you the best results when applying a finish. Additionally, make sure to wipe off any excess moisture before finishing as this will ensure that your final product looks its best.
Do you need a mask when wet sanding?
Yes, wearing a dust mask when wet sanding is essential to protect yourself from inhaling excess dust particles. Additionally, you should also wear goggles or safety glasses to protect your eyes from any debris that may fly off of the sander.
Useful Video: How to Wet Sand Orange Peel in Car Paint: Porsche 911
Conclusion
In conclusion, wet sanding with an orbital sander is possible but it must be done carefully. It is important to use the proper grit of sandpaper and to make sure that the surface is prepped correctly before you start. Additionally, all excess dust needs to be wiped away frequently during the process and a damp cloth can help reduce scratches and ensure that all particles are removed from the surface. With the right preparation and technique, you can achieve a smooth finish with an orbital sander.
If you have any questions or need help choosing the right equipment for wet sanding, feel free to contact us! We would be more than happy to provide advice and answer any queries you may have.
Happy sanding!
References
- https://www.redlabelabrasives.com/blogs/news/what-is-wet-sanding-why-do-it#
- https://www.prowin-tools.com/application/wet-air-tools/wet-sand-with-an-orbital-sander/
- https://aboutsanders.com/wet-sanding-with-an-orbital-sander/