


Do you own an orbital sander and notice your pads are not sticking? Don’t worry, this is a common issue with orbital sanders. Fortunately it can be easily fixed. In this article we’ll explain the reasons why your orbital sander pad isn’t sticking, as well as how to fix the issue.
How They Work?
Before we get into the details of fixing your orbital sander pad, let’s first take a look at how they work.
The discs on the end of the tool are covered in abrasive material which helps it grind away at the surface.
The discs are held in place by a combination of gravity and vacuum suction. The spinning motion creates a low-pressure area which sucks the disc onto the sander pad, holding it firmly in place while you work. This is why it’s important to ensure your pads are securely fastened before you start using them. [2]
Dust
Dust and dirt can cause your orbital sander’s pads to stop sticking. If this happens, don’t panic! Below are some tips on how you can get back up and running in no time.
- Check the dust bag or vacuum: Dust from sanding accumulates quickly and if it is not properly removed, it will stick to your sander’s pads. Make sure that you empty the dust bag or vacuum out after each use.
- Clean the pads: If the dust is not removed, it can accumulate and cause problems with sticking. Use a soft brush to gently remove any dirt and debris from the pad surface.
- Replace the pads: If the dust is still causing your sander’s pads to not stick, it may be time to replace them. You can purchase new pads at any hardware store or online.
- Use double-sided tape: Double-sided tape can help keep your orbital sander’s pads in place. Apply a thin layer of tape to the backside of the pad and stick it to your sander’s base plate. This will help keep it from slipping off during use. [2]
Cleaning
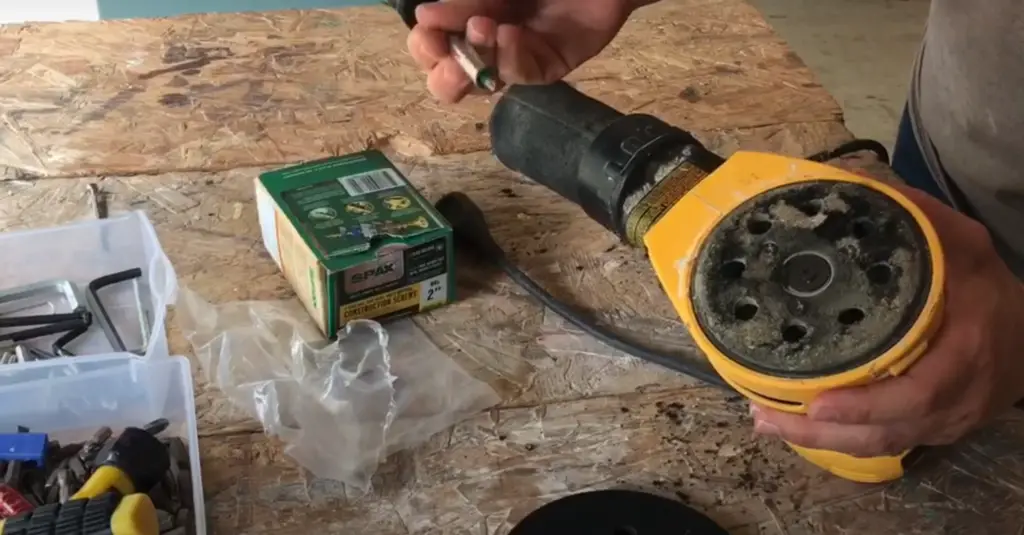
The first step in rectifying an uncooperative orbital sander pad is to make sure it is clean. This begins by disconnecting the sanding machine from its power source and removing the dust bag, if one has been attached. Then, use a vacuum to remove any debris that might have accumulated on the surface of the pad. After that, using a damp cloth, wipe the pad to remove any dust and dirt from it. [2]
Reuse
Most sander pads are designed to be reused. The key is to properly clean them after each use, so they will stick properly going forward. To do this, start by unplugging the sander and removing the pad from the machine. Use a vacuum cleaner or brush to gently remove any dust or debris from the pad. Once it is clean, make sure to inspect the pad for any signs of wear or damage. If the backing has been worn away, replace it with a new one for best results.
Once the sanding dust and debris have been removed, it’s time to bring back some grip. Begin by spraying aerosol adhesives on the back of the sander pad. Allow it to dry completely before placing the pad back onto the machine. Once it is firmly in place, your orbital sander should be ready to go! [2]
Why Do the Sanding Discs Keep Flying Off my Sander?
If your orbital sander discs won’t stay put, chances are you have the wrong grade of sandpaper. Sanding discs are rated by their grit size – from coarse (60-80) to very fine (600 and up). The coarser the disc, the more aggressive it is. Too coarse a disc will tear away too much material, making it difficult to get a good finish.
When sanding with a machine like an orbital sander, you should always use the finest grade of disc that will do the job. If you’re not sure which one is right for the task at hand, consult your owner’s manual or ask an expert at your local home improvement store.
Also, make sure the disc is properly positioned and pressed firmly against the sander. If your discs keep slipping off during sanding, check that they are properly attached to the sander pad. It’s not uncommon for discs to come loose over time – even when using the right disc type. [4]
Where To Buy Replacement Sander Pads?
One of the most common questions people have when their orbital sander pads aren’t sticking is where to buy replacement sanding pads. Fortunately, there are a variety of options available depending on the type of sander you own and your budget.
If you purchased your orbital sander from a local hardware store or online retailer, they should have replacement sanding pads available for purchase. In addition, many online retailers specialize in selling replacement sander pads and offer a wide variety of sizes, shapes, materials, and grits.
Another option is to visit an auto parts store or lumber yard that may carry adhesive-backed sanding discs for use with orbital Sanders. These discs are pre-coated with adhesive on one side so they can quickly and easily be installed onto the sander’s pad. [4]
How to Replace a Sander Pad?
Replacing a sander pad is an essential part of keeping your orbital sander in good working order. If the pads aren’t sticking, then it can be difficult to get a smooth finish on your projects. Here are some steps that you can take to replace the pad:
- Unplug the power source for your sander and remove the old pad.
- Clean off any remaining adhesive from the base of the sander with a damp cloth or scraper, to ensure that the new pad sticks properly.
- Most pads come with an adhesive backing which you will need to peel off before applying it onto the sander’s base plate. Make sure that the pad is centered before pressing it firmly into place.
- Once the pad is stuck, plug in the sander and turn it on to make sure that everything is working properly. [4]
The Fix for Sanding Discs that Won’t Stick to Your Sander
Step 1
If your sanding disc won’t stick to your sander, it could be because the pad is dirty. Begin by cleaning the pad with a damp cloth. Make sure to get all of the dust off and then dry it completely before moving onto step 2. [1]
Step 2
If the pad is still not sticking, it may be because there are oils or other contaminants on its surface.
After applying the solvent cleaner and allowing it to sit for 10 minutes, wipe away with a cloth and then dry the pad completely. [1]
Step 3
If your sanding disc is still not sticking to the sander, it could be because the adhesive on the bottom of the disc has become worn or damaged. To remedy this issue, you can apply a new layer of adhesive to both the bottom of the disc and the sander’s pad. We recommend using a strong adhesive such as super glue, epoxy, or two-sided tape. [1]
Step 4
If none of the above steps have worked, it may be time to invest in a new sanding disc and/or sander pad. With proper care and maintenance, these items should last you for many years to come. [1]
Alternate Reason Your Sandpaper Will No Longer Stick
If your orbital sander’s pad is no longer sticking to the paper, there could also be another reason why. Your sander may not have the correct tension for the sandpaper you are using. Sander pads require certain levels of tension in order to properly hold and secure the sandpaper in place. You should consult your user manual or contact the manufacturer to determine what tension settings are recommended for your particular make and model of sander. [3]
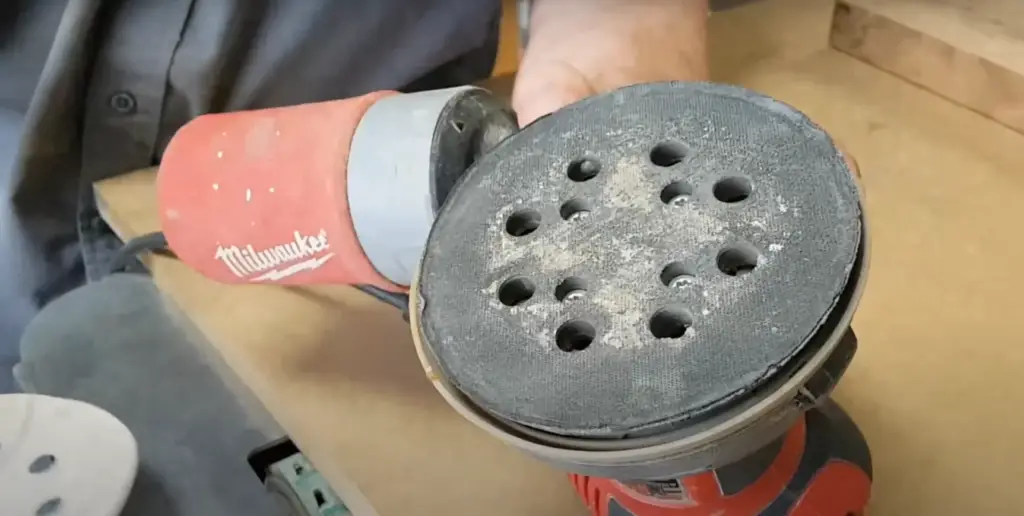
How to Check Your Orbital Sanders Backing Pad for Damage
Your orbital sander’s backing pad can cause your sanding pad to not stick if it is damaged or has a buildup of sawdust and debris on it. To check the backing pad, turn off the power and unplug the tool from the wall. If you have one, use a dust mask for safety. Then take a look at the backing pad. If it is clogged with sawdust or debris, you will need to clean it off. To do this, use a soft brush and a vacuum cleaner attachment to gently remove the dust and debris from the surface of the pad. [3]
Tips for Preventing Sandpaper from Falling Off
- Make sure the orbital sander you are using is properly maintained and lubed. Check for irregularities in the disc pads, such as misalignment or damage before use.
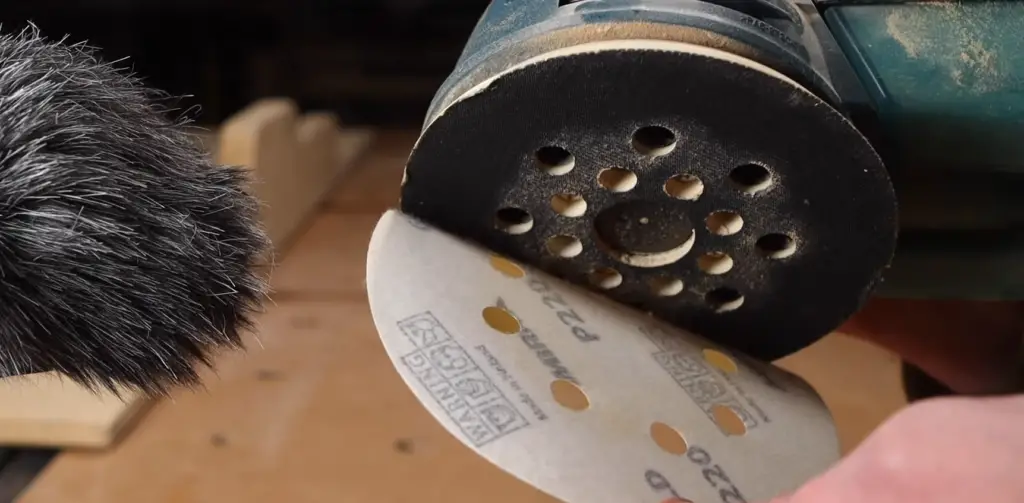
- Fit the sandpaper to the pad correctly – it should be flat with no folds, wrinkles or bubbles on one side of the pad.
- Use a backing plate on the orbital sander to ensure that the sandpaper is held firmly in place.
- Always use proper adhesive when attaching sandpaper to the disc pad – ordinary glue or tape can cause the paper to slip off.
- Avoid using too much pressure when sanding as this can cause the sandpaper to slip off the pad.
- Clean and inspect the disc pads frequently to ensure that there is no dirt or debris that could prevent a good adhesive bond between the pad and sandpaper.
- Use high-quality, abrasive-resistant discs for best results when working with abrasive materials. [3]
How To Change Backing Pad On Orbital Sander?
Changing the backing pad on an orbital sander is relatively straightforward. Before beginning, you will want to make sure that the sander is unplugged and that it has completely cooled off. Then you can proceed with these steps:
- Loosen the screws holding the old backing pad in place, but do not remove the screws.
- Gently lift the backing pad off of the sander’s platform.
- Attach a new backing pad in its place using the same screws from before, but make sure to tighten them securely to ensure that it will not come loose during use.
- Plug in your orbital sander and turn it on to test if it is working properly. [3]
Can You Replace The Velcro Pad On An Orbital Sander?
Yes, you can replace the velcro pad on your orbital sander. In fact, this is a great way to ensure that your orbital sander continues to run efficiently and effectively. Replacing the velcro pad is relatively straightforward; all you need is some replacement velcro material of either adhesive-backed or self-adhesive type, a pair of scissors and a screwdriver.
To replace the velcro pad, first remove the sander’s base plate. This is usually done by unscrewing 4-6 screws found on the underside of the sander. If you have trouble removing any of these screws, try using some WD-40 or penetrating oil to help loosen them. Once the screws are removed, the base plate can be lifted off to expose the velcro pad underneath. [3]
How To Clean Orbital Sander Pad?
If you find that the pad on your orbital sander is not sticking, then you may need to clean it. This can be done by first removing the pad from the sander and cleaning it with a damp cloth or sponge. It’s important to make sure all of the dust and debris is removed, as this can prevent the adhesive from sticking properly. After the pad is cleaned and dry, you can place an appropriately-sized piece of self-adhesive sandpaper on it. [3]

FAQ
Why does the pad keep falling off my sander?
The most likely reason your sander pad is not sticking to the sander is because of a clogged dust port. This can limit the air flow and cause the pad to loose suction. You should clean out any debris from the dust port if this is an issue.
Another possible reason could be a worn or damaged backing pad. If the backing pad is worn down or too soft, it won’t provide enough grip for the sander pad to stay stuck. Replacing the backing pad may be necessary in this case.
Why is my Milwaukee orbital sander pad not sticking?
The same reasons that can cause any orbital sander pad to not stick, such as a clogged dust port or worn out backing pad, can be the cause of your Milwaukee orbital sander pad not sticking. To rectify this issue, first check and clean the dust port for any debris.
How do you lubricate an orbital sander?
To lubricate an orbital sander, you should use a light machine oil or silicone spray. Apply a thin layer of the lubricant to the bearing area on both sides of the backing pad and work it in by running your finger along it. This will help keep the bearings moving freely and prevent any damage. You should also apply some lubricant to the dust port area if it is clogged.
How do you unclog sanding pads?
If your sanding pads become clogged then you can use a vacuum cleaner or compressed air to clear the dust from them. You should also check and clean the dust port on the sander as this is often the cause of clogged sanding pads. If you still find that your pads are not sticking correctly after cleaning, then it may be necessary to replace them.
How long does it take to soak sandpaper?
It depends on the type of sandpaper being used. Generally, it takes a few minutes to soak up water if the sandpaper is a closed-coat variety. Open-coat varieties take longer, usually between 10 and 15 minutes. To speed up the process you can place the sandpaper in warm or hot water for faster absorption.
Can you reuse sanding pads?
Yes, you can reuse sanding pads if they are in good condition. However, it’s important to clean them regularly to keep them from becoming clogged with dust and debris. You should also check the pad for any signs of wear or tear and replace the pad if necessary.
Can you wash sanding pads?
Yes, you can wash sanding pads but it is best to do so with warm water and a mild detergent. It is important to make sure that all of the residue from the previous job has been removed before reusing the pad. You can also use compressed air or a vacuum cleaner to remove any dust or debris from the sanding pad.
Useful Video: Stop Melting Your Hooks (why sanding discs fly off your sander)
Conclusion
Orbital sander pads not sticking can be a frustrating problem, but it doesn’t have to be. With the right tools and materials, you can make sure your orbital sander is working correctly. Be sure to check the condition of the pad and ensure it’s clean before use. Look for any signs of wear or damage on both the base and the pad, and clean away any dust or debris. Once it’s fully attached, you can start sanding your project with confidence. Good luck!
References
- https://sawsonskates.com/fix-sanding-discs-that-wont-stick/
- https://www.ehow.com/how_7725268_replace-pad-random-orbital-sander.html
- https://adeptwoodworker.com/sandpaper-keep-falling-off-your-orbital-sander-3-quick-tips/
- https://www.abbottsathome.com/dewalt-sanding-pad-repair-orbital-sander/