

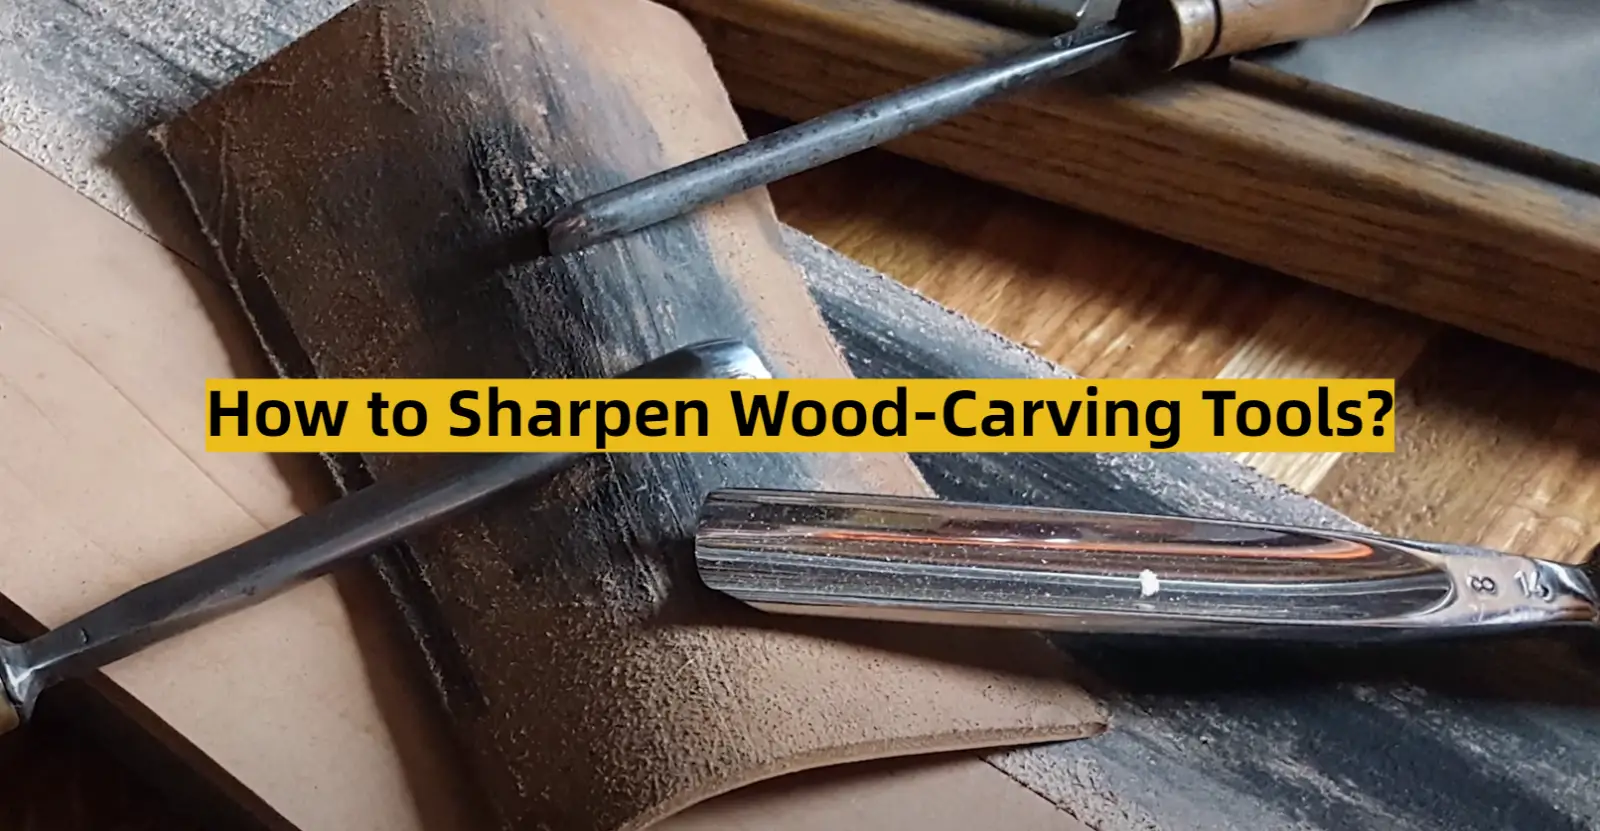
Wood carving is an amazing skill that requires a lot of practice to perfect. One of the most important skills for any wood carver is learning how to sharpen their tools correctly. Knowing how to properly sharpen wood-carving tools will not only make your artwork look better, but it will also help you avoid potential injuries. In this article, we’ll discuss how to sharpen wood-carving tools and the right methods you should use.
Sandpaper Approach For Sharpening Carving Tools
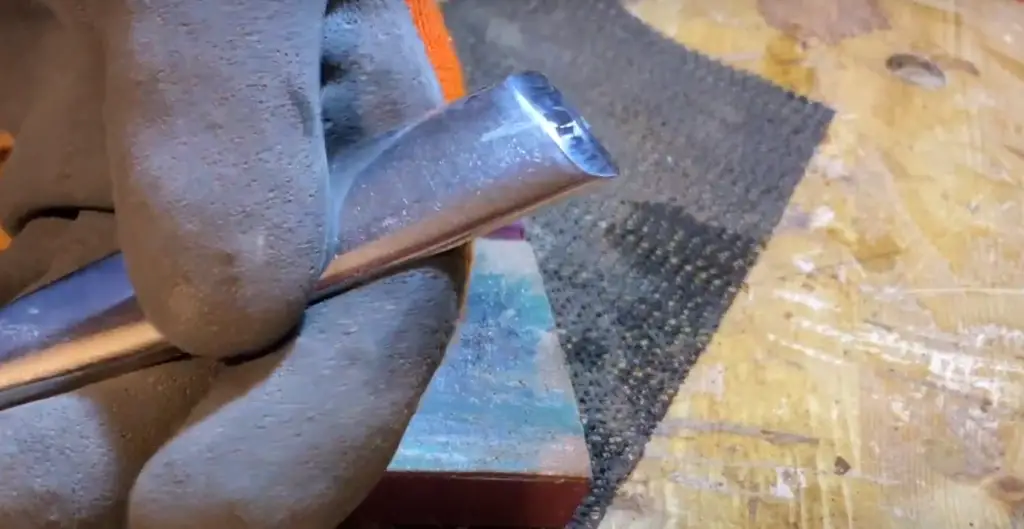
The most common and simplest method for sharpening wood-carving tools is to use sandpaper. This method is ideal for beginners since it doesn’t require any special equipment or specific skills. All you need to do is cut a piece of medium grit sandpaper and wrap it around a flat surface, like a piece of wood or a flat stone. Then, you can start sharpening your wood-carving tools by running them back and forth along the sandpaper until you get the desired result.
When using this method, be sure to maintain an even pressure as you sharpen your wood-carving tool. This will help ensure that your tool is sharpened evenly and that the edge is consistent. Additionally, you must change the sandpaper periodically to make sure your tool remains sharp. [2]
Leather Strop Approach For Sharpening Carving Tools
If you’re looking for a quick and easy way to sharpen your wood-carving tools, the leather strop is your best bet. This method relies on the use of a piece of leather (or similar material) into which an abrasive compound has been rubbed. It’s then used to polish already sharpened edges.
To sharpen your carving tools with a leather strop, start by honing the edges of the tool using a honing stone. Once that’s done, you can begin stropping.
Then, turn the blade around and rub it in the opposite direction. Repeat this process several times to work the abrasive compound into the edge of the blade. Be sure not to go too fast or press down too hard – both can damage your tool’s edge.
Finally, use a cloth or piece of soft leather to wipe the excess compound off the blade. It’s also important to keep your strop clean between sharpening sessions – this can be done by wiping it down with a cloth. [2]
Stone Approach For Sharpening Carving Tools
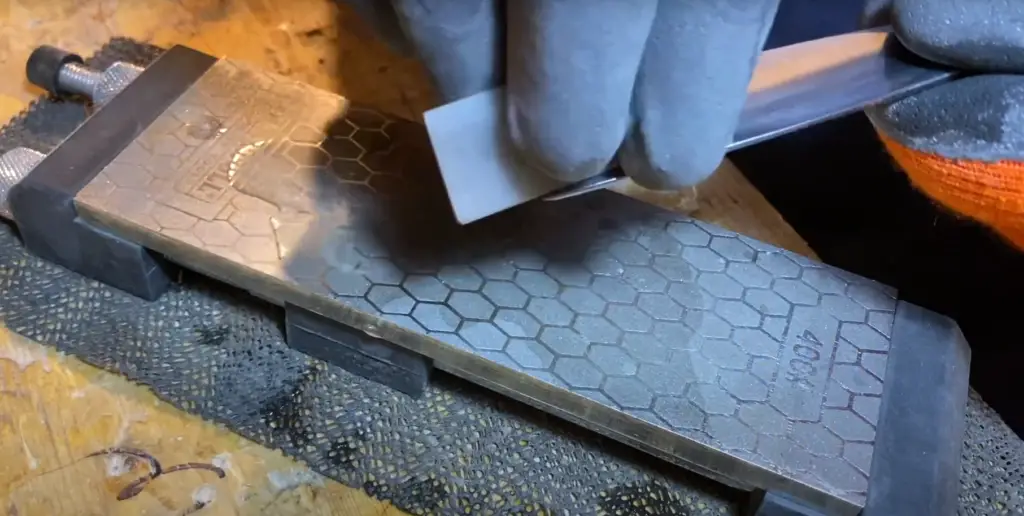
Sharpening carving tools with a stone is the most traditional approach, and it’s still popular today. You can use a water or oil stone for this process; experts usually recommend using an oilstone because its lubrication makes it easier to sharpen the tool.
To sharpen your carving tool properly, begin by placing the stone on a flat, stabilizing surface. Place the bevel of the cutting edge on the stone and move it in a circular motion with light pressure. Make sure that you angle the blade so that only one side is touching the stone. After repeating this for several minutes, flip over your tool and repeat on the other side of the cutting edge. [2]
Sharpening Approaches For Gouges Specifically
Sharpening gouges is a bit more complicated than sharpening other wood-carving tools. Gouges are usually beveled on both sides, which means they need to be sharpened using an angle guide or honing guide and stone for each side. The primary difference between sharpening different types of gouges lies in the shape of the bevel.
The two main shapes of gouges are “fishtail” and “V-parting”. Fishtail gouges have curved wings that look like a fish’s tail, while V-parting gouges have more acute angles at the sides.
Fishtail Gouge sharpening: To sharpen a fishtail gouge, you should use a round honing guide and hold it against the curved bevel. Start with a coarse stone and move to finer stones as you sharpen. Use medium pressure and make sure you keep the angle consistent throughout your stroke.
V-Parting Gouge sharpening: For V-parting gouges, use a honing guide with two slots. Place the gouge in one of the slots and sharpen from both sides. Try to maintain an even angle throughout your stroke, making sure you don’t apply too much pressure. [2]
How to Sharpen a Wood Carving Knife
Step 1: Find the Sharpening Angle
When sharpening a wood-carving knife, it’s important to find the right angle. Most wood carving knives should be sharpened at an angle of 15 to 20 degrees. An easy way to make sure you get the correct angle is by using a sharpening guide. This tool helps ensure that you always maintain the same sharpening angle and can be incredibly helpful when sharpening multiple knives at once. [1]
Step 2: Expose or create the Burr
Once you know the proper angle to sharpen your knife, you need to expose or create a burr. A burr is a small ridge of metal that forms near the edge during sharpening and helps keep the blade sharp for longer. To expose or create a burr, start by putting your knife against the sharpening stone at an angle of 15 to 20 degrees and apply medium pressure. Then, swipe the blade across the stone in a sweeping motion, moving from heel to tip. Once you have swiped your blade across the stone several times, check for a burr on the opposite side of your edge. [1]
Step 3: Remove the Burr
Once you have exposed or created the burr, it’s time to remove it. To do this, flip your knife over and hold your blade flat against the sharpening stone while applying medium pressure. Then, swipe your blade in a sweeping motion from heel to tip until you no longer feel any bumps or ridges on either side of the blade. This will help remove any burr and create a smoother edge. [1]
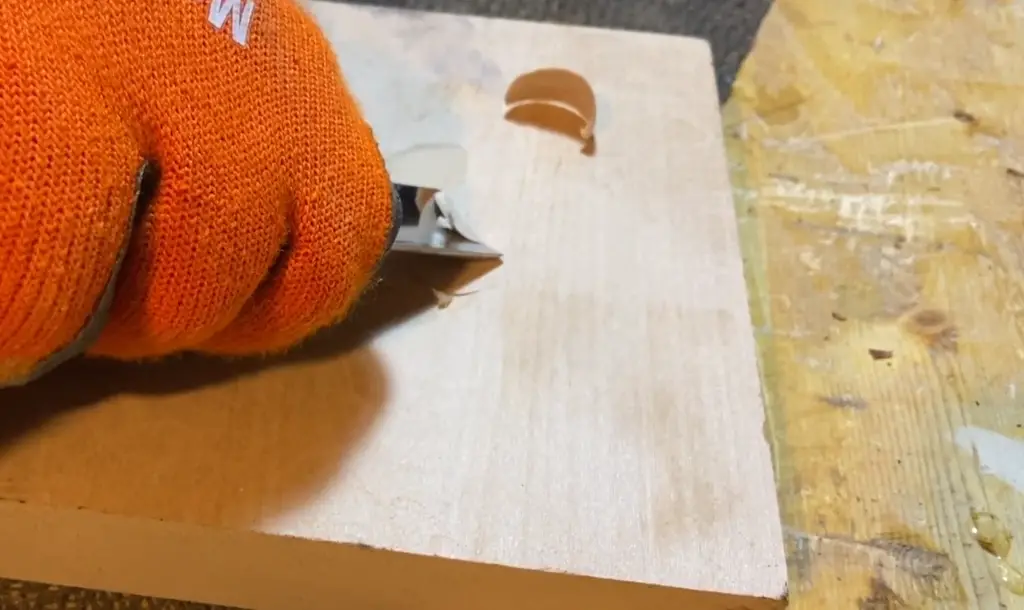
Step 4: Confirm the sharpness of the sharpened knife by doing a paper test
Once you have finished sharpening your knife, it’s important to check the sharpness of the blade by doing a simple paper test. To do this, simply take a piece of paper and place it on a flat surface. Then, lightly swipe your blade across the paper in one smooth motion from heel to tip. If the blade cuts through the paper cleanly, your knife is sharp and ready to use. If not, repeat steps 2 and 3 until you get the desired result. [1]
How to sharpen a wood carving Flat Chisel
Step 1: Getting Started
Before you begin sharpening your wood carving tools, always wear safety goggles and gloves. You don’t want to accidentally cut yourself while sharpening! [1]
Step 2: Start Sharpening until Burr is formed
Begin by sharpening the flat chisel with a file. Start filing in one direction until a burr starts to form along the edge of the tool. [1]
Step 3: Remove the Burr
Once you have created a burr, use the file to remove it. Make sure to move in one direction and keep filing until all of the burr is gone. [1]
Step 4: Create a Bevel Edge on the Chisel
At this point, you can create a bevel edge on the chisel with your file. This will help to create a sharper edge and make it easier for you when carving. Begin by filing at one angle, then move on to the next angle until all of the angles are filed in. [1]
Step 5: Finish Sharpening
Once the beveled edges have been created, use a fine stone or wet/dry sandpaper to finish sharpening the chisel. Start with a coarse grit and gradually move up to finer grits until you have reached the desired sharpness. [1]
Sharpening a Skew Chisel
When it comes to sharpening a skew chisel, the process is quite similar to that of a regular chisel. First, you need to prepare your workspace and gather the tools you need – namely a whetstone, honing guide, and an angle gauge.
Next, secure your skew chisel in the honing guide and use the angle gauge to ensure that you’re using the correct grinding angle. Once you’ve done that, begin sharpening your skew chisel by running it across the whetstone in a slow side-to-side motion.
Finally, remove the burr by stoning it away with a honing oil-lubricated stone or leather strop. Once you’ve done this, your skew chisel will be ready to use in your woodworking projects! [2]
Honing vs. Sharpening tools
One of the most important things to do when sharpening wood-carving tools is to differentiate between honing and sharpening. Honing is a process that helps maintain the edge of the blade, keeping it in top working condition. Sharpening actually brings back or creates a brand new edge on a tool. It’s important to understand both processes in order to effectively use and care for your wood-carving tools.
Honing a tool is often done with a honing stone that has an abrasive surface with either oil or water. This will help remove tiny bits of metal from the edge of the blade, creating a smooth and sharp cutting edge. The process should be done regularly to help maintain the edge of your tools.
Sharpening a tool is more complex than honing and requires special sharpening stones, which are usually shaped like blocks or cylinders. Depending on how damaged the blade is, you may need to use several different types of sharpening stones. [2]
How often do you sharpen wood carving tools?
The frequency of sharpening your tools depends on how often you use them. It is recommended to sharpen a tool after every few uses, or when it begins to feel dull. You should also inspect your tools for any signs of wear and tear, such as nicks and chips in the blade. If you are using harder woods, you may need to sharpen your tools more often. [2]
What Is The Best Way To Sharpen Wood Carving Tools?
When it comes to sharpening wood-carving tools, there are several ways you can go about it. It really depends on the particular tool and how dull it is. Generally speaking, the best way to sharpen wood-carving tools is with a set of specially designed files or stones specifically made for that purpose. You should also use sandpaper or a fine ceramic abrasive wheel to clean the edges of your tools after sharpening. [2]
Tips For Sharpening Wood Carving Tools
Choose the Right sharpening Stone
When it comes to sharpening wood-carving tools, the type of sharpening stone you use is very important. Generally speaking, hard stones are best for carving tools since they maintain an edge longer than softer stones. However, there are also some oilstones designed specifically for carving tool sharpening that work very well. Your local woodworking or hardware store should have a wide selection of sharpening stones to choose from. [1]
Prepare the Stone
Before you begin sharpening your wood-carving tools, be sure to prepare the stone first. This will help ensure that you create an even, consistent edge on your tools. Start by soaking the stone in water for at least 15 minutes. This will help to soften any imperfections on the stone’s surface and make it easier for your tools to slide across it during sharpening. [1]
Maintaining your sharpening and carving tools
Once you’ve sharpened your wood-carving tools, it’s important to keep them in good condition. Make sure to clean and oil the blades after every use. This will help prevent rust and keep them in optimal working order for years to come. Additionally, be sure to store your carving tools properly when not in use. This means storing them in a dry, temperature-controlled area away from direct sunlight and moisture. With proper care and maintenance, your wood carving tools can last for many years. [1]
Safety tips while sharpening your wood carving tools
Sharpening wood-carving tools can be hazardous if not done properly. Always wear protective eyewear and gloves while sharpening your tools to protect yourself from any flying debris. Additionally, never sharpen your tools on a surface that is not flat or secure as this could result in injury. Finally, always use the correct technique when sharpening your tools. To learn more about proper tool-sharpening techniques, check out our guide on How to Sharpen Wood-Carving Tools. [1]
FAQ
What is the correct way to sharpen a wood chisel?
The correct way to sharpen a wood chisel is by first sharpening the bevel of the blade. You should use a combination of waterstones, oil stones, and sandpaper to do this. Start with an 800 grit stone and work your way up in increments until you reach a 4000-grit stone. It’s important to use a steady, even stroke until the bevel is sharp. Once you’ve achieved that, then you can move on to honing and burnishing.
How do you sharpen wood chisels by hand?
Sharpening a wood chisel by hand begins with the same process as sharpening it with stones. You’ll need to start with an 800-grit stone and work your way up in increments until you reach a 4000-grit stone. Once the bevel is sharp, you can move on to honing and burnishing. For honing, use a leather strop and apply a honing compound to the blade before gently stroking along the bevel in one direction until it’s sharp. For burnishing, use a felt wheel and apply a burnishing compound to the blade before gently stroking back and forth on the bevel until it has a mirror-like sheen.
Do you push or pull when sharpening a chisel?
When sharpening a chisel, you should always push the blade away from you. This ensures that the cutting edges of the bevel remain sharp and prevent any accidental cuts or damage to your hands. It also helps to keep an even stroke when sharpening with stones.
How to sharpen chisels cheaply?
Sharpening chisels on the cheap doesn’t mean you have to sacrifice quality. All you need are some basic materials and tools, like an 800-grit stone, a honing compound, and a burnishing compound. You can also use sandpaper if you don’t have access to waterstones or oil stones. Start by sharpening the bevel with the stone or sandpaper and work your way up in increments until you reach a 4000-grit stone. Then, use the honing compound on a leather strop to hone the blade and finally use the burnishing compound on a felt wheel to give it a mirror-like sheen.
What angle do you sharpen a wood carving chisel?
When sharpening a wood carving chisel, it’s important to keep the angle at 25-30 degrees. This will ensure that the bevel is sharp enough and won’t become dulled or imperfect over time. It also helps to keep an even stroke when sharpening with stones. If you’re honing or burnishing, make sure to always stroke in one direction. This will ensure that the bevel remains sharp and won’t become dulled or imperfect.
Useful Video: How to Sharpen Your Wood Carving Knives (The Right Way)
Conclusion
Sharpening wood-carving tools is an essential part of wood carving as it helps to keep the blades and cutting edges in good condition. It can be done either with a wet stone, a file or a power sharpener. Each method has its own advantages and disadvantages so it’s important to select the one that works best for you and your tools. If done correctly, sharpening can help to prolong the life of your wood-carving tools and ensure that they are always in top condition when needed. With regular maintenance and proper storage, your wood-carving tools will stay sharp for a long time and ensure that your projects turn out just as you want them to!
We hope that this guide on How to Sharpen Wood-Carving Tools has been helpful and you now have a better understanding of how to keep your tools sharp and ready when you need them. Remember, taking the time to sharpen your blades before starting any wood carving project will help you create beautiful pieces of art with ease. Good luck!
References
- https://garrettwade.com/blog/the-ultimate-guide-to-sharpening-wood-carving-tools/
- https://woodiswood.com/ultimate-guide-to-sharpening-wood-carving-tools/