

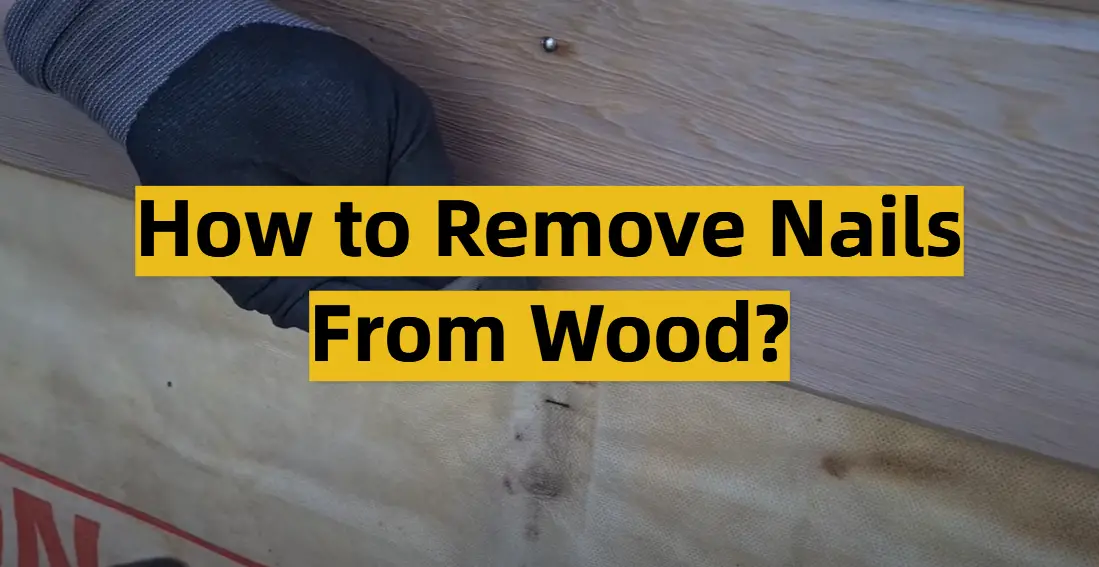
They say that the key to a successful woodworking project lies in keeping calm and carrying on, but what happens when you need to remove those pesky nails from your carefully crafted masterpiece? Fear not, because this article has got you covered with some tips and tricks that will make nail removal a breeze. Whether you’re a seasoned DIY enthusiast or a novice woodworker, our step-by-step guide on how to remove nails from wood will have you feeling confident and ready to tackle any woodworking project that comes your way. So, grab your toolbox, put on your work gloves, and dive into the world of nail removal with finesse and ease.
14 Best Ways To Remove Nails From Wood
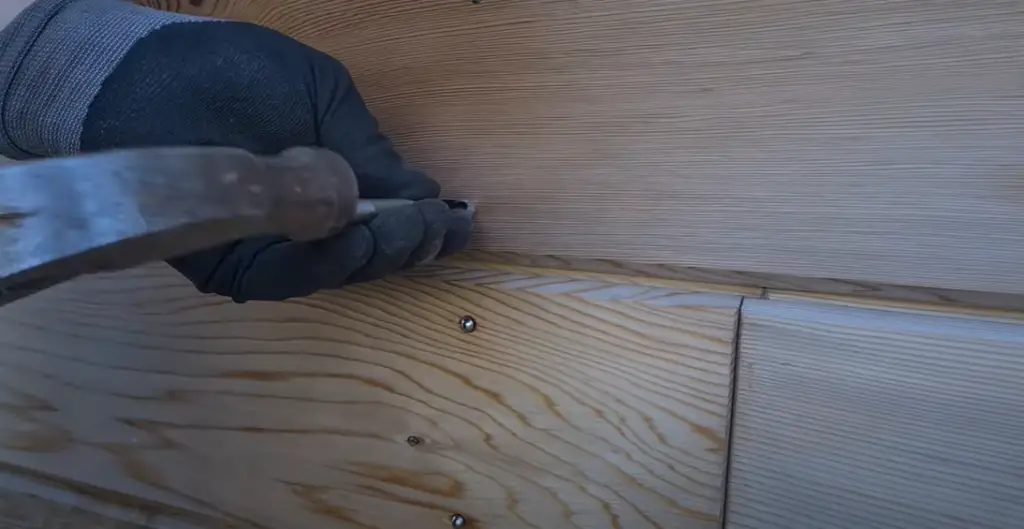
Use A Claw Hammer
A claw hammer, with its versatile design and sturdy construction, is the go-to tool for effortlessly removing nails from wood. It’s a user-friendly tool that requires no special skills or additional equipment. To successfully remove a nail using a claw hammer, begin by ensuring that the head of the nail is adequately exposed, allowing for easy gripping. Then, position the head of the hammer against the nail head and gently strike it multiple times until the nail loosens enough to be easily extracted. With its reliable functionality and straightforward technique, the claw hammer proves to be an indispensable companion for any woodworking project.
Try A Nail Jack
A nail jack is a highly specialized tool that is specifically designed for the purpose of effortlessly extracting nails from wood surfaces. With its distinctive long and narrow shape, the nail jack features two branches positioned at the top, meticulously crafted to ensure a firm and secure grip onto the head of the nail. To effectively utilize this tool, simply position the nail jack against the nail head, ensuring that one branch is placed underneath the shank while the other rests firmly on top. With a gentle rocking motion, you can effortlessly loosen the nail, and then, with the assistance of your other hand, confidently and effortlessly remove the nail from the wood surface.
Get A Nail Kicker
A nail kicker is a powerful and highly effective tool that can quickly and effortlessly extract nails from wood. Its unique design features two handles, allowing the user to firmly grip the device and securely execute the removal process. To successfully deploy this tool on your project, place its head directly above the nail head and press down with both hands until you feel a slight give. Once the nail loosens, it can easily be extracted from the wood surface. With its simplistic design and reliable performance, a nail kicker is a must-have tool for any serious woodworker or DIY enthusiast.
Try A Set Of Needle Nose Pliers
Needle nose pliers are an incredibly versatile tool, capable of effectively removing nails from a variety of different materials. To successfully remove a nail with this tool, begin by ensuring that the head of the nail is adequately exposed. Then, firmly grasp the head of the nail using the tip of your needle nose pliers and gently twist it until you feel a slight give. Once the nail has loosened enough, it can easily be extracted from the wood surface. With its convenient design and reliable functionality, needle nose pliers are a great choice for any project that requires precise nail removal.
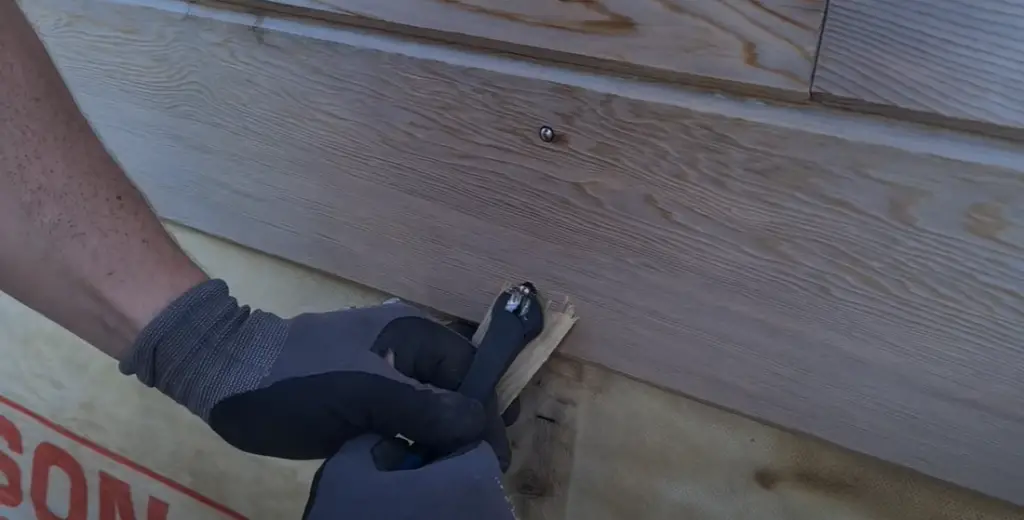
Get A Regular Pry Bar
Pry bars are a great tool for removing nails from wood surfaces. To successfully deploy this tool, begin by ensuring that the head of the nail is adequately exposed. Then, position one end of the pry bar against the head of the nail and apply steady pressure until it loosens enough to be easily extracted. With its simplistic design and sturdy construction, a regular pry bar is a must-have tool for any serious woodworking or DIY enthusiast.
Cut Through With A Reciprocating Saw
If all else fails, a reciprocating saw can be used to easily and efficiently cut through nails without damaging the surrounding wood. To successfully deploy this tool, begin by ensuring that the head of the nail is adequately exposed. Then, position your saw blade directly above the shank of the nail and slowly cut through it until you reach your desired depth. With its convenient design and reliable performance, a reciprocating saw is the perfect tool for any serious woodworking or DIY enthusiast.
Wrecking Bar For Construction Projects
The wrecking bar is another great tool for quickly and efficiently removing nails from wood, especially in construction projects. Its sturdy design and powerful functionality make it the perfect choice for breaking down large boards or beams that may contain numerous nails. To successfully deploy this tool, begin by ensuring that the head of the nail is adequately exposed. Then, position one end of the wrecking bar against the head of the nail and apply steady pressure until it loosens enough to be easily extracted. With its convenient design and reliable performance, a wrecking bar is a must-have tool for any serious woodworking or DIY enthusiast.
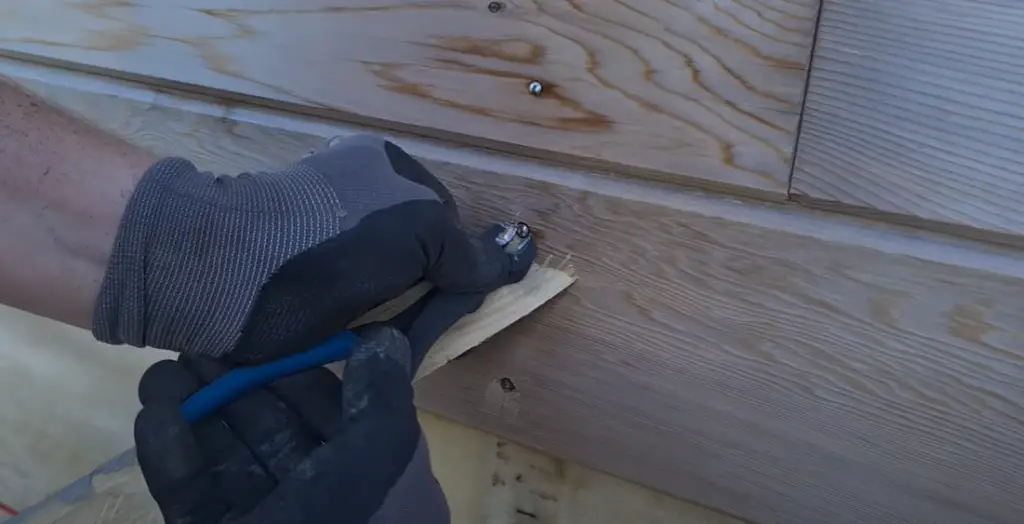
Nail and Staple Pulling Pliers
Nail and staple pulling pliers are highly specialized tools that are specifically designed to extract nails and staples from wood surfaces. With their impressive versatility and powerful performance, these pliers can quickly and efficiently remove nails and staples without damaging the surrounding wood.
To successfully deploy this tool, begin by ensuring that the head of the nail or staple is adequately exposed. Then, firmly grasp the head of the nail or staple using the tip of your pliers and gently twist it until you feel a slight give. Once the nail or staple has loosened enough, it can easily be extracted from the wood surface. With their robust design and reliable performance, these specialized pliers are a must-have tool for any serious woodworker or DIY enthusiast.
Trim Removal Pry Bar
The trim removal pry bar is an excellent tool for effectively removing trim and other fasteners from a variety of different materials. To successfully deploy this tool, begin by ensuring that the head of the nail or staple is adequately exposed. Then, position one end of the pry bar against the head of the nail or staple and apply steady pressure until it loosens enough to be easily extracted. With its convenient design and reliable performance, a trim removal pry bar is the perfect tool for any project that requires precision fastener removal.
Nail Extracting Nipper Pliers For Brads
Nipper pliers are highly specialized tools that are specifically designed for extracting brads, or small nails, from wood surfaces. To successfully deploy this tool, begin by ensuring that the head of the nail is adequately exposed. Then, firmly grasp the head of the nail using the tip of your nipper pliers and gently twist it until you feel a slight give. Once the brad has loosened enough, it can easily be extracted from the wood surface. With its unique design and reliable performance, a nipper plier is the perfect tool for any project that requires precise nail removal.
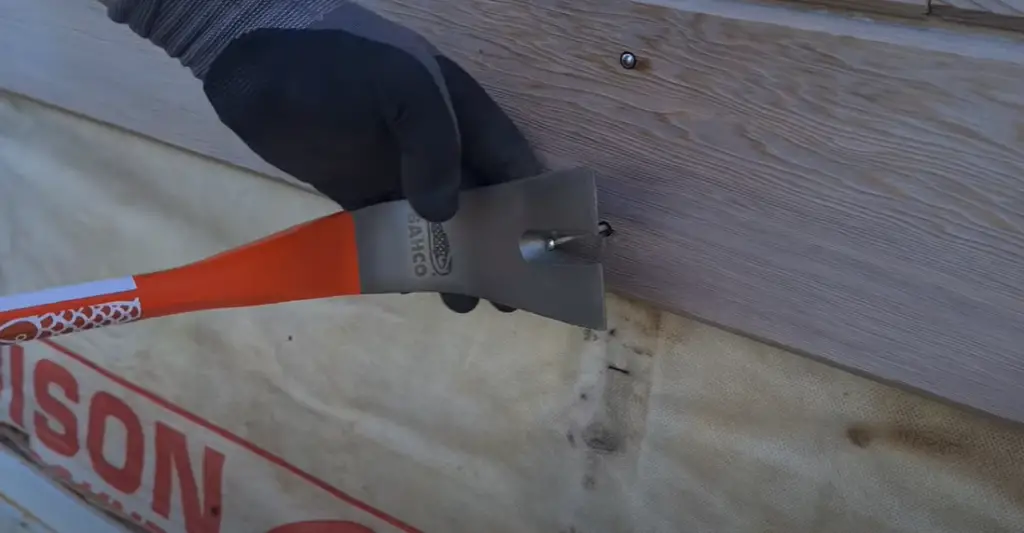
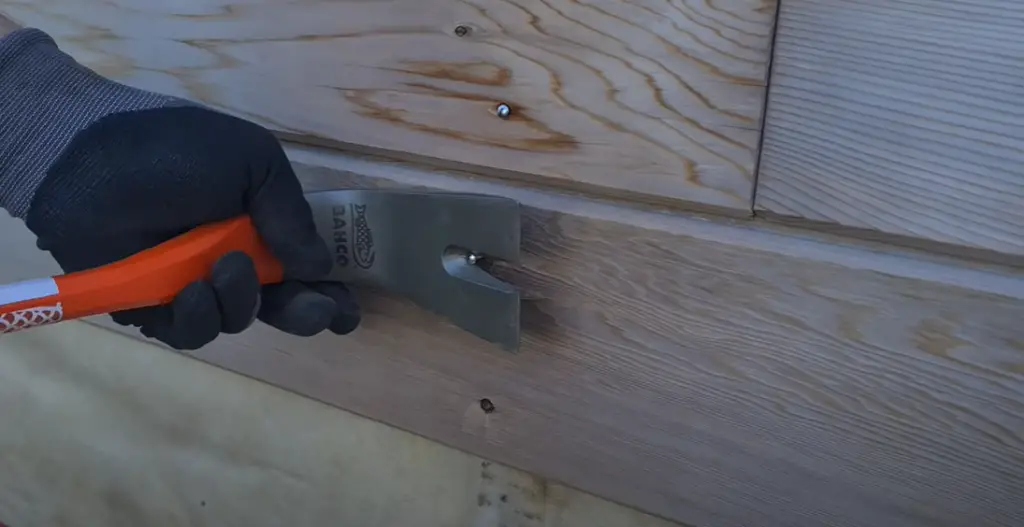
Nail Puller Cat’s Paw For Carpenters
The nail puller cat’s paw is a powerful tool that can quickly and efficiently remove nails from wood. Its unique design features two handles, allowing the user to firmly grip the device and securely execute the removal process. To successfully deploy this tool on your project, place its head directly above the nail head and press down with both hands until you feel a slight give. Once the nail has loosened enough, it can easily be extracted from the wood surface. With its robust construction and reliable performance, a cats paw is a great choice for any serious carpenter or DIY enthusiast.
Hammer Claw For Removing Nails
The hammer claw is an incredibly useful tool for removing nails from wood surfaces. To successfully deploy this tool, begin by ensuring that the head of the nail is adequately exposed. Then, position one end of the hammer’s claw directly above the shank of the nail and tap firmly until it loosens enough to be easily extracted. With its simplistic design and reliable performance, a hammer claw is an essential tool for any serious woodworking or DIY enthusiast.
Crescent Nail Puller For Faster Removal
The Crescent nail puller is an efficient tool for quickly and easily removing nails from wood. To successfully deploy this tool, begin by ensuring that the head of the nail is adequately exposed. Then, position one end of the nail puller against the head of the nail and apply steady pressure until it loosens enough to be easily extracted. With its convenient design and reliable performance, a Crescent nail puller is the perfect tool for any project that requires fast and efficient nail removal [1].
Tips For Removing Nails From Wood
Protect The Wood Surface
Whenever you’re removing a nail from wood, it’s important to take extra precautions to protect the wood surface from any potential damage. One effective way to do this is by placing a soft, thick cloth or a thin piece of cardboard between the pry bar and the wood surface. By doing so, you create a cushioning layer that helps distribute the pressure more evenly, reducing the risk of gouging or scratching that could otherwise mar the surface. Taking this simple yet effective step can go a long way in preserving the integrity and appearance of the wood.
Let Wet Wood Dry
When attempting to remove a nail from wet wood, it’s always best to let the wood dry first. This is because when wood is wet, it absorbs and holds more moisture, which causes the wood fibers to expand and contract. This increased moisture content weakens the structural integrity of the wood, making it more prone to splitting or breaking. By allowing the wood to dry completely, you give it a chance to regain its original strength and stability. This not only makes the nail removal process easier and less risky, but it also helps to preserve the overall quality and longevity of the wood itself. So, be patient and wait for the wood to dry before proceeding with the nail removal process to ensure the best possible outcome.
Check The Wood For Signs Of Corrosion
Before removing the nail, it’s crucial to carefully inspect if any corrosion has occurred due to oxidation and rust. Corrosion can weaken the surrounding materials, making the extraction process more challenging. If there is any indication of corrosion, it may be necessary to use a fine metal brush or sandpaper to delicately remove the corroded area before attempting to extract the nail. This meticulous step will help ensure that no further damage is caused during the removal, preserving the structural integrity and minimizing the risk of additional complications.
Watch For Wood Splitting And Splinters
When removing a nail from wood, it’s essential to be aware of the risk of splitting and splintering. Splitting is caused by applying too much pressure in an attempt to pry out the nail head, while splinters are small fragments that can break off due to excessive force or vibration. To avoid these problems, use gentle yet firm pressure when applying any kind of leverage, such as a hammer or pry bar. Additionally, it’s important to keep all tools clean and well-maintained to minimize the risk of wood splitting and splintering.
Use Scrap Wood To Increase Your Leverage
If the nail is stuck or otherwise difficult to extract, you can increase your leverage by placing a piece of scrap wood between the pry bar and the surface of the wood. This extra padding helps to distribute pressure more evenly and reduce any potential damage from occurring. Make sure to use scrap wood that’s thick enough so as not to dent or scratch the original surface but thin enough to allow optimal leverage. This simple yet effective trick can help make the nail removal process significantly easier and less risky.
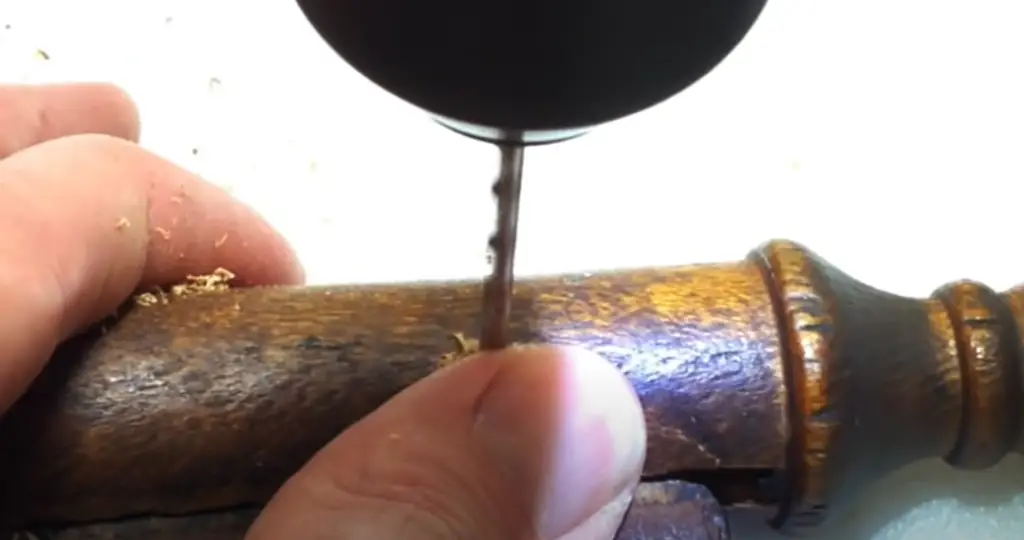
Consider Drill Bits For Extra Tough Nails
In cases where a stubborn nail is still proving difficult to extract, you may want to consider using a drill bit to remove the head of the nail first. Before doing so, take the necessary precautions to protect the wood surface. Drill slowly and steadily, using a low motor speed and proper lubrication with mineral oil or cutting fluid. This should help loosen the nail head and make it easier to remove. Once the head of the nail is exposed, you can move on to more traditional methods of extraction such as prying or hammering.
How to remove nails from wood? Step-by-step guide
Removing nails from wood can be a daunting task, but with the right tools and knowledge, it doesn’t have to be. This step-by-step guide will show you how to easily remove nails from wood in no time!
First, gather your supplies:
- Hammer
- Pry Bar
- Crowbar
- Nail Set
- Safety glasses
Now that you have all the supplies, it’s time to begin.
- Start by using the hammer to gently tap around the nail, this will help loosen it up and make removal easier.
- If tapping doesn’t work, use a nail set or pry bar to gently lift the nail up. If the nail is stubborn, use a crowbar to provide more leverage.
- Be sure to wear your safety glasses while removing nails from wood as flying debris can be dangerous!
- Once the nail has been lifted, you can either use pliers or needle-nose pliers to remove it completely from the wood surface.
- Finally, fill the hole with wood putty or a wood filler of your choice to make the surface smooth and even.
And there you have it! You’ve successfully removed a nail from wood with ease and confidence. With the proper tools and know-how, anyone can easily tackle nail removal tasks in no time! Good luck on your next project!
Tips and tricks:
- Always wear safety glasses while hammering or prying nails from wood.
- To make the task easier, try pre-drilling a small pilot hole near the nail head before prying it out.
- If you don’t have access to a crowbar, a flathead screwdriver can be used as an alternative.
- If the wood surface is too damaged, you can use a wood patching compound to repair it.
- When hammering nails in or out, make sure you are using a rubber mallet rather than a regular hammer so as not to damage the wood.
- If possible, try to keep track of where all your nails came from so you can reuse them in future projects.
- Always dispose of any old and rusty nails properly, as they can be hazardous to health.
- When removing multiple nails, start with the smallest ones first and work your way up to the bigger ones. This will make it easier for you to remove them.
- If you find yourself struggling with a particularly stubborn nail, try heating it up with a heat gun or torch to expand and loosen the metal. This will make it easier to remove.
- Remember to always use caution when removing nails from wood! Safety should always come first.
Now that you know how to easily remove nails from wood, you can tackle any project without fear! Have fun and happy hammering [2]!
What to avoid when removing nails from wood?
When removing nails from wood, there are a few things to keep in mind. First and foremost, be sure to use the proper tools for the job. An incorrect tool can cause more damage to the wood than necessary, resulting in an uneven surface or unsightly gaps after the nail has been removed. It’s also important to take your time when removing the nail, as speed can often cause damage to the wood or increase the risk of an injury. Additionally, when using a hammer and pry bar, use gentle taps instead of sharp blows to avoid breaking the wood around where you are trying to remove it. Finally, don’t forget about safety gear – eye protection is essential for protecting your eyes if pieces of nail or wood splinter and fly up. With the right approach, you’ll be able to remove nails from wood safely and quickly!
When installing nails into wood, it is important to ensure that they are installed securely. Using a hammer with enough force can help drive the nail in deeply, but not so hard as to cause damage to the surface of the wood. If you’re not sure how much force to use, a few light taps with the hammer should do the trick. You may also want to consider using nails that are correctly sized for the job – too small and they won’t hold well; too large and they can damage or split the wood.
When painting or staining wood, it is important to make sure that all nails are properly sealed with caulk or another sealant. This will help keep moisture from seeping into the wood, which can cause it to war and weaken over time. Additionally, be sure to use the right paint or stain for your project – depending on the type of wood being used, you may need a different product than what is typically used. With these tips, you’ll be able to ensure that your nails are properly sealed and protected from the elements!
By following these tips, you can be sure that your next home improvement project involving nails is a success. Whether you’re installing or removing them, taking the right precautions will help ensure your project lasts for years to come. With careful attention and the proper tools, you’ll be able to complete any task with ease [3]!
FAQ
What is the easiest way to remove nails from wood?
The easiest way to remove nails from wood is by using a hammer and nail set. Start by tapping the top of the nail with a hammer to loosen it slightly, then use the claw end of the hammer or a bent nail set to pull out the nail. If you don’t have either a hammer or nail set, you can try using pliers to grab the head of the nail and pull it out. To minimize any damage to the wood, work slowly and carefully. It may also help to use a block of wood between the hammer and the piece you’re working on to provide a cushion against inadvertent hammering. Once the nails are out, fill in any holes with wood filler or sawdust mixed with glue. Finally, sand the area smooth before refinishing for a professional look.
What should I do if the nail is stuck in the wood?
If the nail is stuck in the wood, it may be necessary to use a drill or reciprocating saw to cut around the shank of the nail and then pull out with pliers. If you’re dealing with a larger nail, an angle grinder can be used to cut away the nail. Be sure to wear safety goggles when using power tools to prevent any debris from getting in your eyes. Once the nails are removed, fill in any holes with wood filler or sawdust mixed with glue and sand the area smooth before refinishing.
What should I do if the nail has been painted over?
If the nail has been painted over, you may need to use a paint scraper or heat gun to remove some of the paint before attempting to pull it out. If the nail is rusted, it may be necessary to soak it in a rust-removing solution such as white vinegar or lime juice for several hours. Once the paint or rust has been removed, use a hammer and nail set to loosen it slightly, then pull out with pliers or a bent nail set. Finally, fill in any holes with wood filler or sawdust mixed with glue and sand the area smoothly before refinishing for a professional look.
What is the best way to prevent nails from becoming stuck?
The best way to prevent nails from becoming stuck is to drive them in straight and flush with the surface. This helps reduce the chances of them getting wedged in between boards or snagging on fibers. It can also be helpful to pre-drill pilot holes for longer nails. Doing this will reduce the amount of force needed when hammering them, which can help minimize any damage to the wood. If you’re dealing with a lot of nails, it’s also recommended to invest in an electric or pneumatic nail gun. This can save you time and give you more control when hammering.
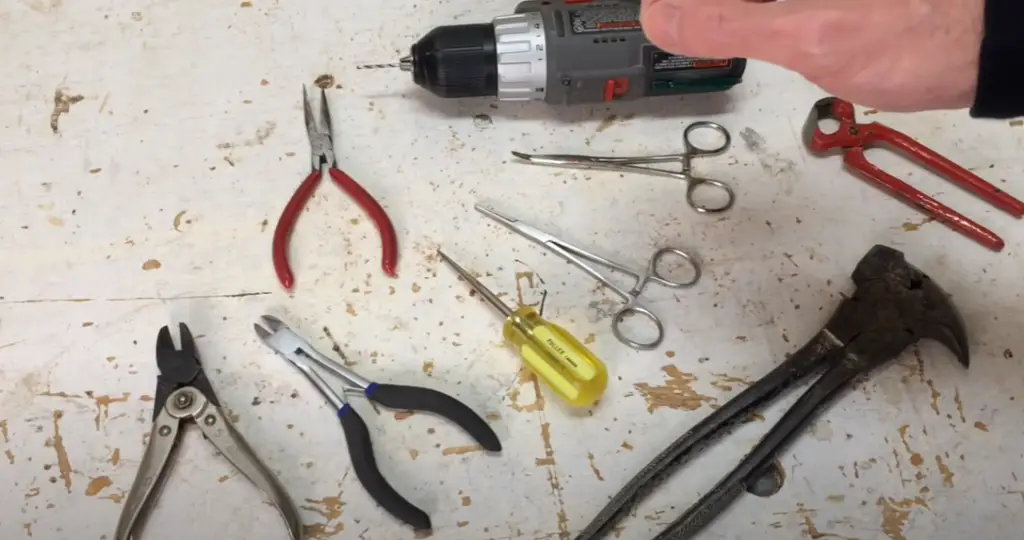
What tools are required for removing nails?
The most common tools used for removing nails are a hammer and nail set, pliers, drill or reciprocating saw, angle grinder, paint scraper, and heat gun. Depending on the size of the nail and its location in the wood, you may need to use multiple tools for complete removal. Be sure to wear safety goggles when using power tools to prevent any debris from getting in your eyes. Once the nails have been removed, fill in any holes with wood filler or sawdust mixed with glue and sand the area smoothly before refinishing.
How do you get nails out of wood without damaging wood?
To get nails out of wood without damaging the wood, start by tapping the top of the nail with a hammer to loosen it slightly. Then use the claw end of the hammer or a bent nail set to pull out the nail. If you don’t have either a hammer or nail set, try using pliers to grab the head of the nail and pull it out. To minimize any damage to the wood, work slowly and carefully. It may also help to use a block of wood between the hammer and the piece you’re working on to provide a cushion against inadvertent hammering. Once the nails are out, fill in any holes with wood filler or sawdust mixed with glue. Finally, sand the area smooth before refinishing for a professional look.
Do I need to use a hammer and nail set for every type of nail?
No, you do not necessarily need to use a hammer and nail set for every type of nail. For instance, if the nails are small, you may be able to grab the head with pliers and pull them out. However, if the nails are larger or deeply embedded, it may be necessary to use a hammer and nail set to loosen them before removing them. In some cases, you may need to use a drill or reciprocating saw to cut around the shank of the nail before pulling it out with pliers. Finally, if you’re dealing with a lot of nails, an electric or pneumatic nail gun can save you time and give you more control when hammering.
What are the precautions that I should take while removing nails from wood?
When removing nails from wood, it’s important to wear safety goggles to protect your eyes from any debris that might fly off as a result of hammering or cutting. You should also work slowly and carefully to minimize any damage to the wood. It may also help to use a block of wood between the hammer and the piece you’re working on to provide a cushion against inadvertent hammering. Be sure to unplug any power tools when not in use, and keep your hands clear of the blade or bit at all times. Finally, wear gloves to protect your hands during the removal process.
Can I use a nail gun to remove nails?
No, you should not use a nail gun for removing nails. Nail guns are designed to fire nails into wood, not pull them out. The best tools for removing nails are hammers and nail sets, pliers, drills or reciprocating saws, and angle grinders. Depending on the size of the nail and its location in the wood, you may need to use multiple tools for complete removal. Be sure to wear safety goggles when using power tools to prevent any debris from getting into your eyes. Once the nails have been removed, fill in any holes with wood filler or sawdust mixed with glue and sand the area smoothly before refinishing for a professional look.
Useful Video: How to remove flush nails from wood panel with minimal damage
Conclusion Paragraph
To remove nails from wood or other materials correctly and safely, it is important to use the right tools. The best tool for removing nails from wood is a pair of pliers or an electric nail removal tool. If you do not have either of these available, you can also use a hammer and chisel or claw hammer to remove nails from wood. With any method, always wear safety glasses, gloves, and ear protection to prevent injury. By following these steps, you can easily and safely remove nails from wood or other materials with minimal damage.
References:
- https://mamaneedsaproject.com/how-to-remove-nails-from-wood/
- https://startwoodworkingnow.com/how-to-remove-nails-from-wood/
- https://www.safetycompany.com/safetyblog/5-safety-tips-to-follow-when-removing-nails-from-wood/