

A broken drill bit can be a real pain. Not only is it frustrating, but it can also be dangerous if you’re not careful. In this article, we will walk you through the steps on how to remove a broken carbide drill bit safely and efficiently. We’ll answer some common questions along the way, and provide some helpful tips to make the process as smooth as possible. So, whether you’re a DIYer or a professional contractor, read on for all the information you need to know about removing a broken drill bit!
Safest way to Remove a Broken Drill Bit
Remove a broken drill bit with locking pliers
If you’ve ever broken a drill bit, then you know how frustrating it can be.
Traditional pliers might slip and cause you to cut yourself, but locking pliers are designed to grip objects tightly. This makes them the perfect tool for the job. Plus, they’ll give you extra leverage and stability when removing the drill bit. So next time you’re faced with a broken drill bit, reach for the locking pliers. They’re the safest and easiest way to get the job done.
Locking pliers are a great way to remove a broken drill bit from a chuck. To use them, start by positioning the jaws of the locking pliers around the broken drill bit. Make sure that the jaws are positioned close to where the drill bit meets the chuck. Then, squeeze the handles of the locking pliers together to get a tight grip on the drill bit. Now, twist the locking pliers in a counterclockwise motion until the drill bit pops out of the chuck. Once the drill bit is removed, inspect the jaws of the locking pliers to make sure that they’re not damaged. If they are, replace them before using them again. Locking pliers are definitely the safest way to remove a broken drill bit, but they’re not always the most convenient option. If you don’t have a pair of locking pliers handy, or if they’re not strong enough to remove the drill bit, then you may need to resort to other methods. [1]
Exposing more of the bit
If you’ve ever tried to remove a stuck carbide drill bit, you know it can be a real pain. But there’s no need to call a professional – with a little elbow grease, you can usually get the job done yourself. The first thing to try is breaking off the end of the bit with a hammer. This will expose more of the shank, making it easier to grip.
Once you’ve done that, you should be able to get a good grip on it and give it a sharp tug. With any luck, the carbide drill bit will come right out. [1]
Attach the locking pliers
Trying to remove a stuck drill bit can be frustrating, but there are a few things you can do to make the process easier. The first step is to attach the locking pliers to the end of the drill bit. This will help to grip the bit and prevent it from spinning when you try to remove it. Next, use a hammer to tap on the end of the locking pliers. This will help loosen the grip of the drill bit on whatever it is stuck in. Finally, use the locking pliers to twist the drill bit out of the material it is stuck in. With a little patience and effort, you should be able to remove even the most stubborn drill bit. [1]
Unscrew the broken drill bit
At some point, every do-it-yourselfer will have to deal with a broken drill bit. They’re notoriously difficult to remove, but with a little patience and the right tools, it’s not impossible. First, try using a pair of pliers to unscrew the drill bit from the chuck. If the drill bit is stuck, you may need to use a hammer to tap on the pliers. Be careful not to damage the chuck while doing this. If you can’t remove the broken drill bit with pliers, you may need to use a carbide drill bit removal tool. These tools are specifically designed to remove broken carbide drill bits from chucks. Once you’ve removed the broken drill bit, inspect the chuck for any damage. If there is damage, you may need to replace the chuck before continuing. [1]
How to remove a Broken Drill Bit using a Screw Extractor
Prepare the bit to be drilled
If you’re using a screw extractor, the first thing you need to do is remove as much of the broken drill bit as possible. This will give you a better chance of getting a good grip on the bit so you can start extracting it. To remove the broken drill bit, start by using a pair of pliers to grip the bit and twist it back and forth until it comes loose. If the bit is too lodged in the screw to be removed with pliers, you may need to use a hammer and chisel to break it up before you can remove it. Once you’ve removed as much of the drill bit as possible, you’re ready to start extracting the screw. [1]
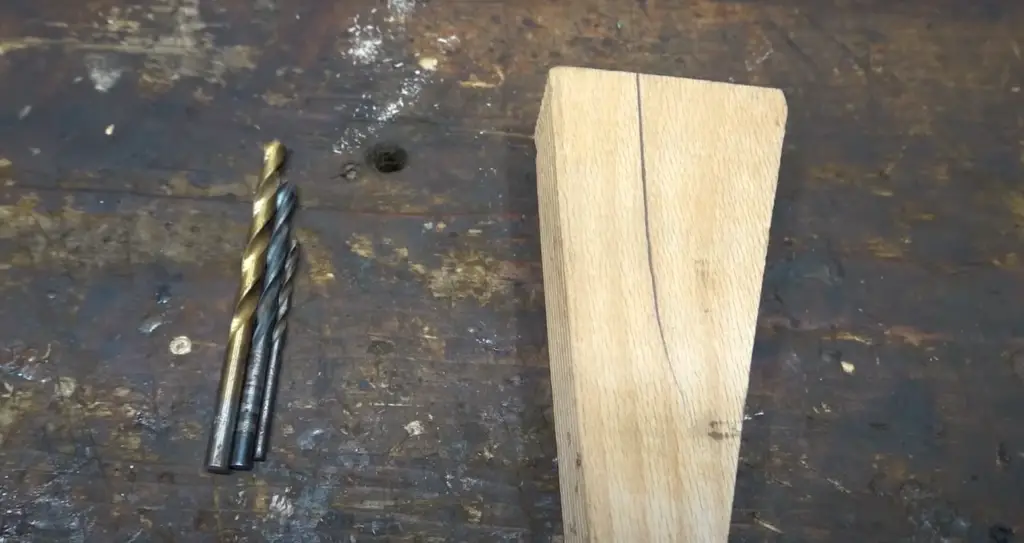
Drill a pilot hole
Drilling a pilot hole is the first step in using a carbide drill bit. You’ll need to use a drill bit that’s slightly smaller than the outside diameter of your carbide drill bit. Drill the pilot hole as straight as possible. To do this, remove the drill bit and insert your carbide drill bit into the chuck of your drill. Make sure that the carbide drill bit is inserted all the way into the chuck so that it’s snug and secure. After you’ve done this, you’re ready to start drilling into your material. Start drilling slowly and increase your speed as you go. Keep going until your carbide drill bit breaks through to the other side of the material. [1]
Remove the broken drill bit
Removing a broken carbide drill bit can be frustrating, but there are a few different methods you can try. The most common method is to use a pair of pliers. Simply grip the drill bit with the pliers and twist it back and forth until it loosens. Once it’s loose, you should be able to pull it out with your fingers. If the drill bit is still stuck, you can try using a hammer to lightly tap on the end of the pliers until the drill bit comes loose.
If you’re having trouble removing the drill bit with pliers, you can also try using a power drill. Simply set the power drill to reverse and hold onto the end of the carbide drill bit while you allow the drill to do the work.
Once the drill bit is removed, you’ll need to clean up the hole that’s left behind. You can do this by using a wire brush or a drill bit that’s slightly larger than the hole. Start by drilling into the hole at a low speed and then gradually increase the speed as you work your way around the perimeter of the hole. When you’re finished, you should have a clean, drilled hole that’s ready for your next project! [1]
Alternate methods to remove a broken drill bit
Loosen the broken bit
Have you ever had a drill bit break while you were using it? It can be really frustrating, especially if you’re in the middle of a project. Lucky for you, there are a couple different ways you can go about loosening the broken bit. The first is by using a hammer and chisel to try and break it free. You’ll want to place the chisel on the side of the bit that’s sticking out of the chuck and then hit it with the hammer. This method doesn’t always work, but it’s worth a try before moving on to something else. If the chisel method doesn’t work, don’t worry – there’s another way. Another way to loosen the broken bit is by using an impact driver. If you have one, simply set it to reverse and put it on the end of the drill bit that’s sticking out. Once it’s snug, give it a few good whacks with a hammer until the bit comes loose. With either method, be careful not to damage the chuck. Once you’ve gotten the bit loose, you should be able to finish your project without any problems. [1]
Pull the drill bit that is not sticking out
At some point, every handy person will need to remove a drill bit that is stuck in a chuck. With a little patience and the right tools, this is a relatively easy task. First, use a pair of needle nose pliers to grasp the drill bit. If the drill bit is stuck, you may need to use a hammer to tap it out. Next, use a small screwdriver or punch to drive the broken carbide drill bit out of the chuck.
Finally, clean out any debris from the chuck with a brush or compressed air. With these simple steps, you’ll have your chuck working like new in no time. [1]
Drill into the bit
When a carbide-tipped drill bit breaks, it can be frustrating and difficult to remove. If you find yourself in this situation, don’t worry – there’s an easy way to remove the broken bit. All you need is a drill and a small bit.
Here’s what to do: start by drilling into the center of the carbide tip, angling the drill slightly so that it penetrates the side of the bit. Be careful not to damage the work surface. Continue drilling until you’ve created a pilot hole all the way through the carbide tip. If possible, try to stop just before you reach the shank of the bit; this will make it easier to remove later on.
Once you’ve drilled all the way through, remove the drill bit from the broken carbide drill bit. You may need to use a pair of pliers to grip the shank of the bit and pull it out. If the pilot hole is too small or the carbide tip is too hard, you may need to use a larger drill bit. Start with a ½-inch drill bitt and go up from there until you find a size that works.
With a little patience, you should be able to remove even the most stubborn broken carbide drill bits. Now get back to work! [1]
Remove the broken bit
If you find yourself with a broken drill bit, don’t panic. There are a few different ways to remove the broken bit, and with a little patience, you’ll have your drill up and running in no time. The first method is to use a regular drill. Simply attach the drill to the broken bit and set it to reverse. Slowly start drilling, and the bit will eventually become loose and fall out. If the bit is still stuck after drilling, you can try using a carbide removal tool. These tools are specifically designed to remove broken bits from drills. With a carbide removal tool, you’ll need to apply pressure to the broken bit and turn it counterclockwise. With a little patience, the broken bit will come out and you can get back to work. [1]
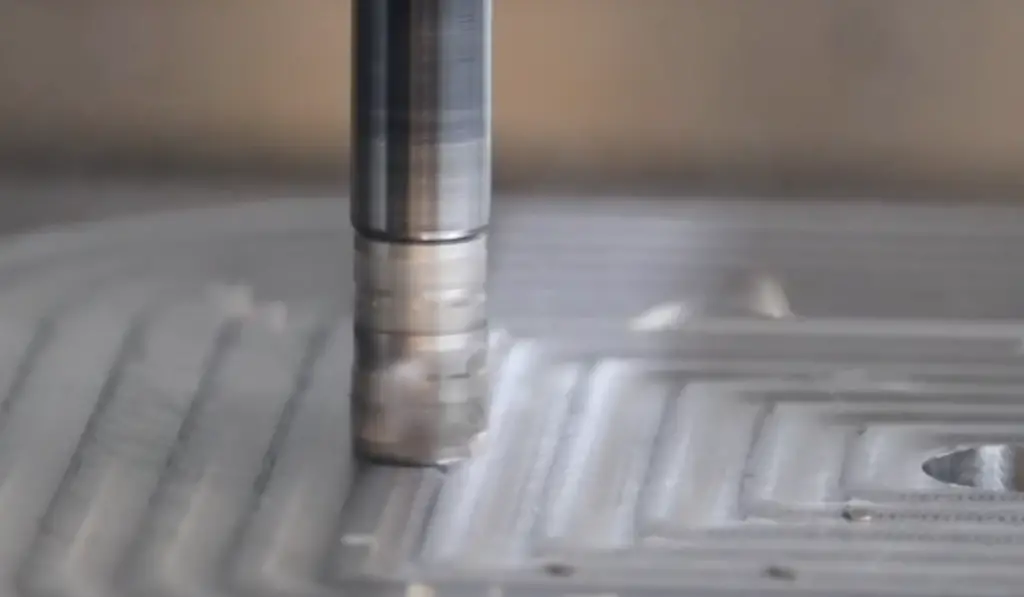
Carbide End Mill method to remove a broken drill bit
Carbide drill bits are great for drilling through tough materials, but they can be difficult to remove if they break. The Carbide End Mill method is a simple and effective way to remove broken carbide drill bits. All you need is a carbide end mill, a drill press, and a vise or clamp. First, attach the carbide end mill to the drill press. Next, position the drill press so that the carbide end mill is centered over the broken carbide drill bit. Finally, start the drill press and let it run until the carbide end mill has reached the bottom of the broken carbide drill bit. Once the carbide end mill reaches the bottom of the broken carbide drill bit, it will push it out of the hole. Be sure to wear safety glasses when using this method to remove broken carbide drill bits. [1]
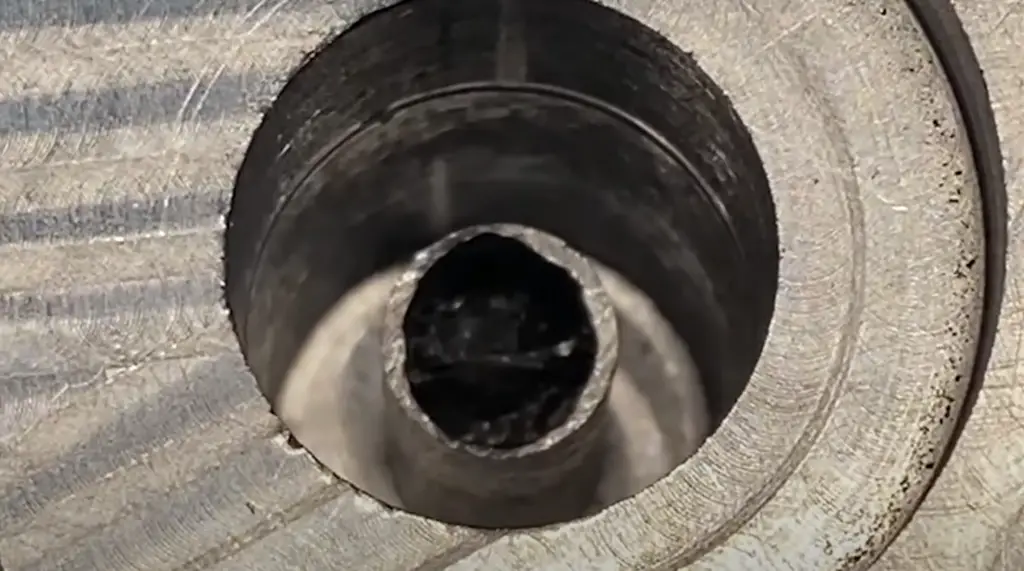
Watch a Broken Drill Removed From Manifold
If you need to remove a broken drill bit, there are a few different ways you can do it. One option is to use a pair of pliers. Make sure the jaws of the pliers are big enough to grip the shank of the drill bit, then place them on either side of the shank and twist in opposite directions. The force should break the bond between the carbide and steel, and the drill bit will come out easily.
Another option is to use a drill-bit extraction kit. These kits contain a number of small tools that can be used to remove broken drill bits. The exact method will vary depending on the kit, so be sure to read the instructions carefully before using it. With a little patience, you should be able to extract the drill bit without any difficulty. [1]
How to prevent breaking a bit while drilling?
If you’ve ever had a carbide drill bit break while you were drilling, you know how frustrating it can be. Not only does it ruin your project, but it can also be dangerous.Luckily, there are a few things you can do to help prevent breaking a carbide drill bit. First, make sure you’re using the proper drill bit for the job. There are different types of carbide drill bits for different materials, so it’s important to choose the right one. Second, be sure to keep the drill speed slow when starting to drill. As the drill bit gets hot, it will expand and can break if the speed is too high. Finally, another way to help prevent breaking a carbide drill bit is by using a coolant when drilling. A coolant helps keep the temperature of the drill bit down, which in turn helps prolong its life. Water can be used as a coolant, but there are also commercial products available specifically for this purpose. By following these tips, you can help prevent breaking a carbide drill bit and save yourself time, money, and frustration. [1]
FAQ
How to remove a broken drill bit from brick?
If you find yourself in the frustrating situation of having a drill bit stuck in brick, there are a few things you can try to remove it. First, start by gently tapping the end of the drill bit with a hammer. This may loosen the bit enough that you can remove it. If the drill bit is still stuck, use a cold chisel and hammer to carefully chip away at the brick around the drill bit until you can remove it.
With a little patience and care, you should be able to get that drill bit out in no time.
How to remove a small drill bit that stuck in metal?
If you’ve ever tried to remove a small drill bit that’s stuck in metal, you know it can be a real pain. The good news is that there are a few different methods you can try to get that drill bit out. For example, you can use a pair of needle-nose pliers to grab onto the end of the drill bit and apply pressure until it pops out. If the drill bit is being particularly stubborn, you can try heating up the metal around it with a torch. This will cause the metal to expand, making it easier to remove the drill bit. Another option is to use an extractor set. These sets come with a variety of tools that can be used to remove stubborn screws and nails. Simply follow the instructions that come with your set and you should be able to get that drill bit out in no time.
How to prevent overheating of a drill bit?
As anyone who has ever tried to drill through a piece of hardwood knows, overheating is a leading cause of drill bit breakage. The good news is that there are a few simple steps you can take to prevent your drill bit from overheating. For example, using a lower speed setting will help to reduce friction and heat build-up. You can also apply lubricant to the drill bit before use. This will help to keep the bit cool during drilling. In addition, it’s important to drill in short bursts rather thanathlon trying to drill through the material in one go. This gives the drill bit time to cool down between uses. Finally, avoid using the drill bit on hard materials whenever possible. Softer materials are much easier to drill through and cause less wear on the drill bit. By following these tips, you can help prolong the life of your drill bit and prevent costly breakage.
Why do drill bits break down?
Carbide drill bits are subject to a lot of wear and tear. The constant friction and heat from drilling can cause the carbide to break down over time. In addition, if the drill bit is not properly lubricated, it will also break down faster.
Another common reason for carbide drill bits breaking is that they are not used correctly. For example, if you try to drill through a material that is too hard, the carbide will likely break. Also, if you use too much pressure when drilling, this can also cause the carbide to break.
Finally, another reason why carbide drill bits may break is because they were not made with high-quality materials. If the company that made your drill bit did not use high-quality carbide, then it is more likely to break. However, if you take care of your carbide drill bit and use it correctly, it should last for a long time.
Useful Video: Amazing Secret!!! How to Remove a Broken Tap/Bolt or Drill Bit, Easily
Conclusion
In conclusion, there are several reasons why carbide drill bits may break. The most common reason is due to wear and tear. However, if you use your drill bit correctly and lubricate it properly, you can help prevent the carbide from breaking. Finally, make sure to buy a high-quality drill bit so that it lasts longer. Thanks for reading! I hope this article was helpful.
References
- https://machinehandyman.com/how-to-remove-a-broken-drill-bit/