

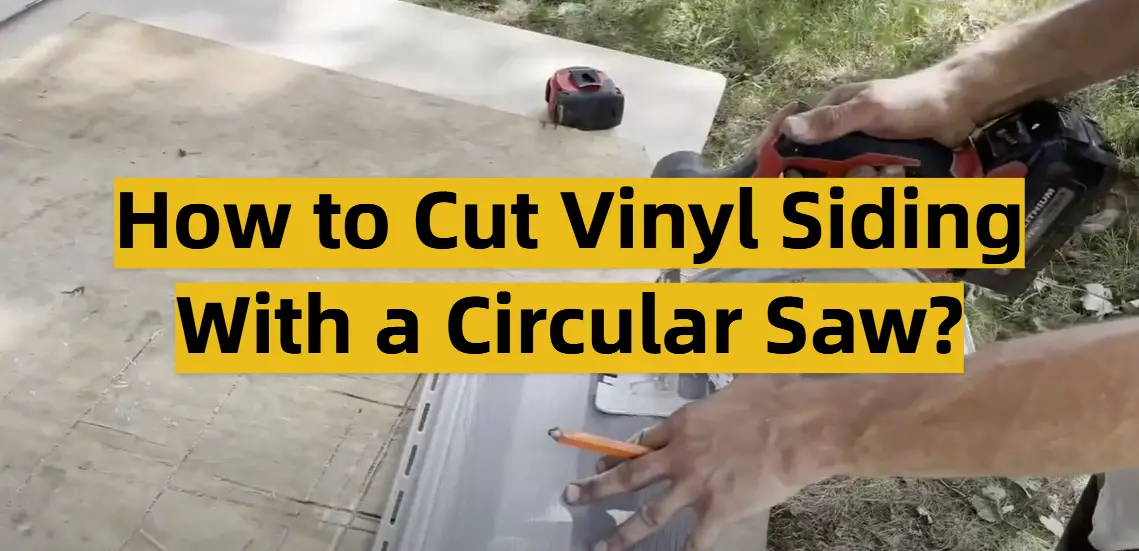
Welcome to the ultimate guide on cutting vinyl siding with a circular saw, that will unleash the power of the mighty saw and bring it straight into your house! If you’ve ever wondered how professionals achieve flawless cuts and seamless results when working with vinyl siding, then you’ve come to the right place. Prepare to embark on a journey that will equip you with all the knowledge and techniques needed to tackle this unique material with confidence and precision. So, grab your safety goggles and rev up your circular saw because it’s time to dive into the world of vinyl siding cutting mastery!
What is vinyl and how is it used?
Vinyl is a type of plastic that is used for many different purposes. It is strong and durable, making it ideal for outdoor applications such as siding, fencing, decking, and roofing. Vinyl also has the added advantage of being relatively easy to cut and install. This makes it ideal to do-it-yourself projects where saving time and money is key.
When it comes to cutting vinyl siding, there are a few different methods that you can use. The most common way to cut vinyl siding is with a power saw but you can also use hand saws or even special cutting tools for more detailed work. Each method has its own advantages and disadvantages so be sure to research which one will best suit your needs.
Once you have the right tools and safety measures in place, it is time to start cutting your vinyl siding. Start by measuring where you need to cut and mark those measurements on the siding with a marker or pencil. Make sure that your measurements are accurate before you start cutting as any mistakes here will be costly.

You are now ready to start cutting your vinyl siding. Power saws are the quickest way, but make sure you have a secure surface and that you are using the appropriate blade for the job. Hand saws can also work in certain cases, but they will take more time and require more effort on your part.
How to prepare vinyl for cutting?
Cutting vinyl siding can be a tricky process that requires the right preparation. Before you begin, it’s important to make sure your cutting tools are sharp and calibrated properly to ensure the best results. Here are some tips for prepping your vinyl siding for cutting:
- Measure the area you need to cut with a tape measure or ruler.
- Make sure to mark the area with a marker or chalk line for accuracy.
- Use a utility knife to score your cut line so that it is easy to follow when you use the saw.
- Secure the vinyl siding in place using clamps if necessary, so it does not move while cutting.
- Check that the blades on your saw are sharp and calibrated properly before you begin cutting.
- Wear safety gear, such as gloves, eye protection, and a dust mask to protect yourself from any flying debris.
- Make sure to cut slowly and steadily for the best results.
- Discard excess material in a safe place away from your work area.
- Clean up any sawdust or debris after you are finished cutting the vinyl siding.
These steps should help you ensure that your project turns out just the way you want it to! Whether you’re a beginner or a pro, keeping these tips in mind will make sure that your vinyl siding is cut safely and accurately.
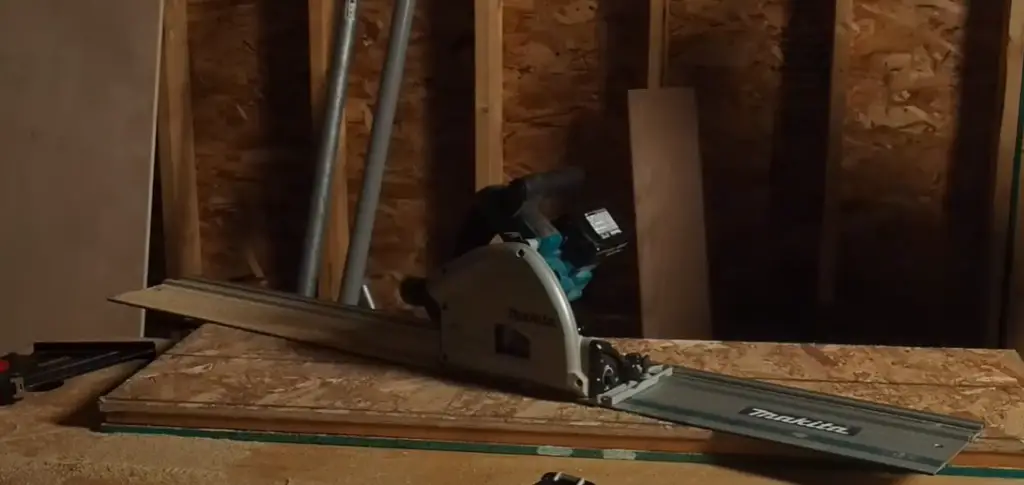
Method of Cutting Vinyl Siding #1: Short Vertical Cuts With a Circular Saw
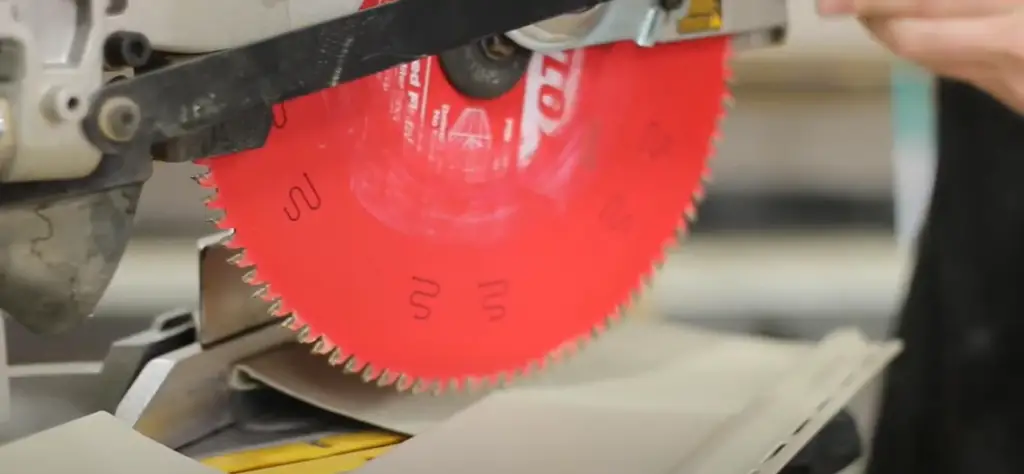
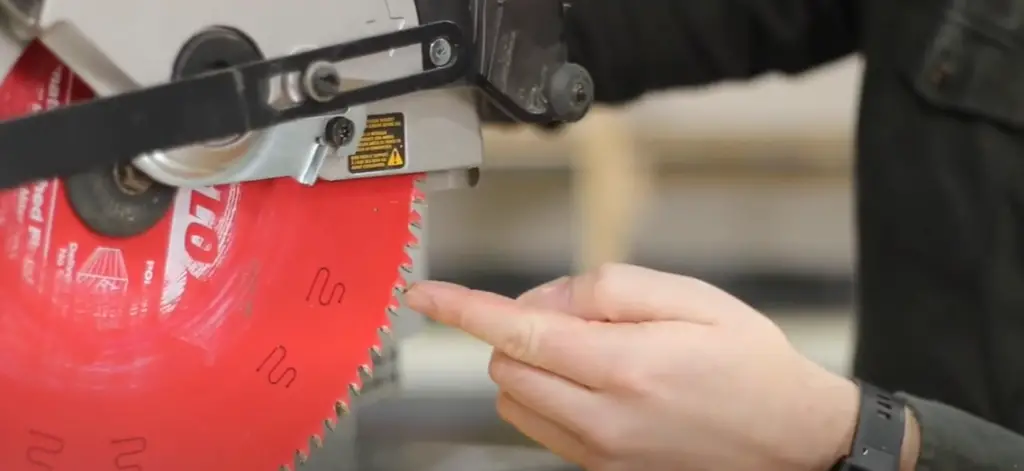
Step 1: Mount the Fine-Finish Blade in the Saw
Before starting the cutting process, it is crucial to ensure that you have the right blade for the job. For cutting vinyl siding, a fine-finish blade is highly recommended as it provides a smoother cut and helps minimize chipping and other imperfections that may occur. This type of blade is specifically designed to handle the unique characteristics of vinyl siding, ensuring precise and clean cuts.
Once you have obtained the appropriate blade, it is important to securely mount it in your saw following the instructions provided by the manufacturer. This ensures that the blade is properly aligned and securely fastened, allowing for safe and efficient cutting. Taking the time to properly prepare and equip yourself with the right tools will contribute to achieving the best possible results in your cutting project.
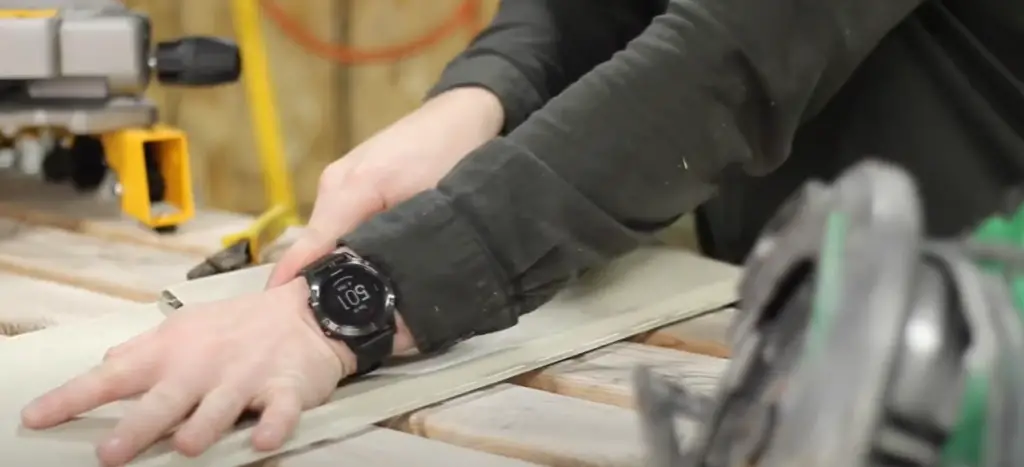
Step 2: Measure and Mark Where You Want to Cut
Once you have meticulously mounted the fine-finish blade in your trusty saw, it’s time to delve into the precise art of measuring and marking. Depending on the dimensions of the vinyl siding panel, you may find yourself reaching for a trusty tape measure or perhaps an alternative ruler for longer lengths. Ensuring the utmost accuracy in your measurements is of paramount importance, as any errors made at this stage can prove to be quite costly. With your measurements meticulously recorded and your desired cut line precisely marked, you are now poised and ready to embark on the exhilarating journey of cutting with absolute finesse.
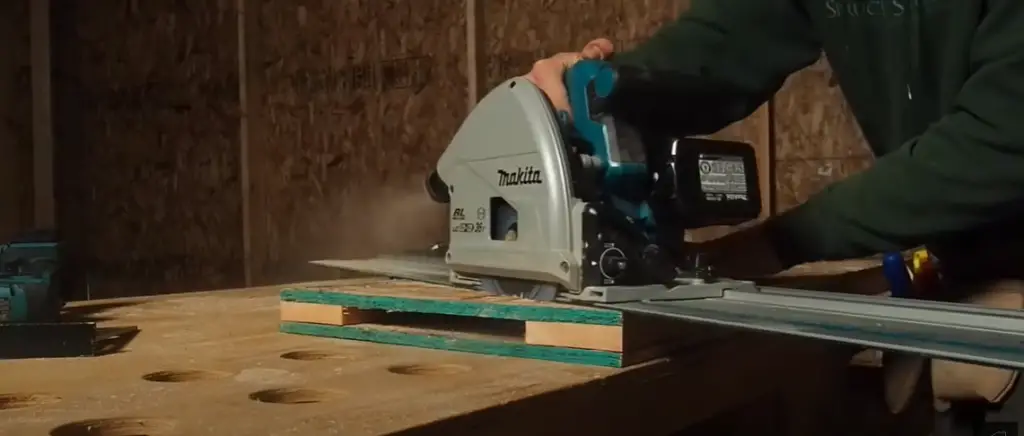
Step 3: Position the Siding and Make the Cut
Once you have measured and marked where you want to cut, it is time to position the siding panel in your saw. Securely hold the siding panel with one hand while using your other hand to guide the saw through the cutting line. It is important to use a slow and steady pace so that the blade does not overheat or become dull.
Once you have finished cutting, carefully remove the siding panel and inspect your work for any imperfections or discrepancies. If everything looks good, you are now ready to move on to the next section of cutting. Repeat this process until all desired sections are cut and be sure to discard any waste material properly when done.
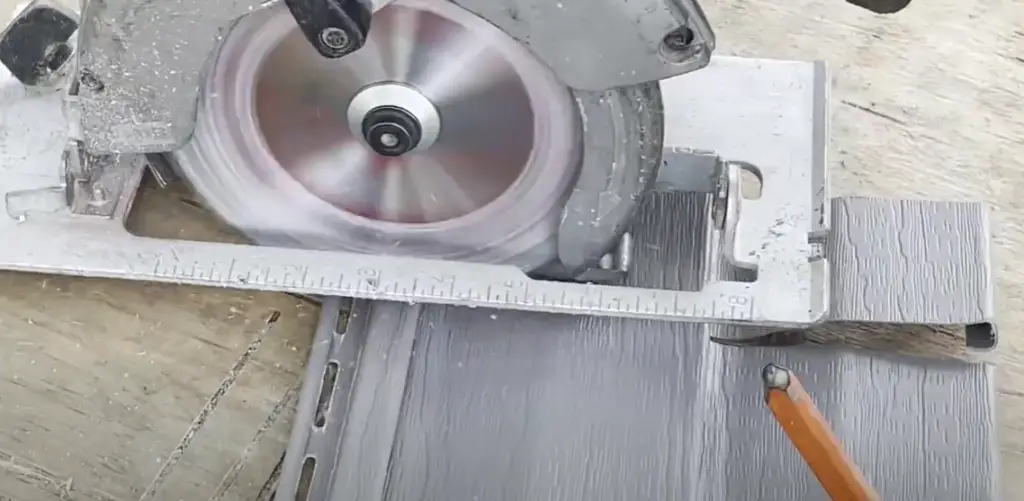
Step 4: Cut Along the Line
After you have successfully made the initial cut, it is time to make the final cuts along the line. To do this, slowly run your saw blade along the marked cutting line until you reach the end of the panel. This will ensure that all sections are perfectly aligned and that there are no gaps or overlaps in between. If possible, use a straight edge such as a ruler to help guide the saw for more accurate cuts.
Following these simple steps will help ensure that your vinyl siding is properly and safely cut. Remember to take all necessary safety precautions and equip yourself with the proper tools before starting any cutting project. With a bit of patience and practice, you can be sure to achieve satisfactory results in no time [1]!
Method of Cutting Vinyl Siding #2: Long Vertical Cuts With Tin Snips
For this method, the tin snips are used to make long vertical cuts along the siding. It is important to cut slowly and carefully to create a precise line. Make sure that you keep your eye on the spot where you want to cut and use both hands to steady the snips. When making straight cuts, it is helpful if one hand is pushing the snips forward and the other is keeping them steady.
When cutting curves or angles, you may need to use only one hand to control the tin snips. However, it is still important to guide them with precision so that you can get a clean cut. For most cuts, start in the middle of the siding then work your way out from there. This will help ensure that the cuts are even and symmetrical.
It may also be helpful to use a square or ruler to guide you as you make your cuts. Once you have finished making all of the necessary cuts, it is time to install the siding on your home. Be sure to follow all installation instructions carefully to avoid any problems down the line. With proper cutting and installation, vinyl siding can be a great way to add style and protection to your home.
If you need assistance with making or installing your vinyl siding, contact a professional contractor for help. They can provide the necessary expertise so that you can be sure that your new siding looks perfect when finished. It is also important to keep up with maintenance to ensure that your siding continues to look great for years to come. A few simple steps, such as cleaning the vinyl periodically and checking for any signs of damage, can extend the life of your siding significantly [2].
Method of Cutting Vinyl Siding #3: Horizontal Cuts With a Utility Knife
Step 1: Measure the Piece You Need to Cut
The first step to cutting vinyl siding with a utility knife is to carefully measure the specific piece you need to cut. You can utilize a measuring tape or any other reliable measuring device to ensure precise measurements. It is important to take into consideration any curves or angles that may arise during the cutting process, as they can significantly affect the accuracy of your cuts. By paying attention to these details, you can ensure that your vinyl siding is cut with utmost precision and fits seamlessly into its designated spot.
Step 2: Mark Where to Cut on the Siding
Once you have carefully measured and determined the precise location to cut the vinyl siding, take a moment to pause and analyze. Using a marker or pencil, make deliberate and accurate marks exactly where the cut needs to be made. It’s crucial to measure twice and thoroughly verify your measurements before making any permanent marks on the siding. This meticulous approach will help you avoid unnecessary errors and ensure a precise cut. For added precision, consider utilizing a straight edge, such as a wooden ruler, to guide your markings. This will guarantee that your lines are flawlessly straight, making it considerably easier to cut along the marked line with confidence and finesse.
Step 3: Cut the Vinyl Siding
Once you have precisely measured and marked your desired measurements using a reliable measuring tool, such as a tape measure, you can proceed to the next step with confidence. Take a moment to double-check your markings to ensure accuracy before moving forward.
Now, armed with a utility knife with a sharp blade, you can begin the careful and accurate cutting process. It is crucial to handle the utility knife with caution and precision, applying just the right amount of pressure while maintaining a steady hand. Remember to keep a firm grip on the knife, but also be mindful of not applying excessive force that could potentially damage the vinyl siding.
As you start cutting, gently guide the utility knife along the marked line, making sure to follow it as closely as possible. Take your time and proceed slowly, allowing the knife to glide smoothly through the material. By moving in a deliberate and controlled manner, you can ensure that the resulting cut is both uniform and accurate.
It’s worth noting that due to the slightly thicker nature of vinyl siding compared to other commonly used siding materials, you may find it necessary to go over the same line a few times to achieve a clean cut. This additional attention to detail will ensure that your project is executed flawlessly, leaving you with a finished result that you can be proud of.
Remember, patience and precision are key when working with vinyl siding. Taking the time to execute each cut carefully will ultimately yield the best results, allowing you to achieve the professional look you desire for your siding project.
Step 4: Sand or File Any Rough Edges
Once you have successfully cut the vinyl siding to your desired measurements, it is crucial to take a few additional steps to ensure that your project looks as great as it should. One of these important steps is sanding or filing any rough edges. By carefully smoothing out the edges of the vinyl siding, you can enhance the material’s overall appearance, giving it a more professional and refined look.
Not only does this attention to detail improve the aesthetic appeal, but it also ensures that all the pieces fit together seamlessly, leaving no room for unsightly gaps. By taking the time to sand or file the rough edges, you create a smooth and even surface that allows the vinyl siding to align perfectly, resulting in a flawless and visually pleasing result.
So, don’t skip this crucial step in your vinyl siding installation process. By dedicating a little more time and effort to sand or file the rough edges, you can achieve a superior finish that will make your project stand out. Your attention to detail will be evident in the final result and will contribute to the overall durability and longevity of your vinyl siding.
Step 5: Install the Vinyl Siding
Once you have meticulously cut, sanded, and filed the vinyl siding to your precise measurements, it is time to embark on the exciting journey of installation! This crucial step demands utmost care and attention, as even a single mistake can significantly impact the overall aesthetic of your project. To ensure a flawless outcome, it is highly recommended to employ additional tools such as a level and nails, which will aid in achieving a seamless installation. Remember, patience is key during this phase, as taking your time and avoiding rushing will minimize the chances of making unnecessary errors. So, proceed with confidence, knowing that your meticulous approach will yield impeccable results that will stand the test of time.
FAQ
What is the best way to cut into vinyl siding?
The best way to cut into vinyl siding is with a circular saw and a fine-toothed blade. When using this method, make sure that the blade has at least 24 teeth per inch and is designed for cutting vinyl siding. This will ensure the most accurate cuts with minimal damage to the material. Before starting, measure twice and mark your cut lines clearly on the siding. Then, make sure that your saw blade is set at a depth that will only cut through the siding and not into any of the underlying structures. Finally, guide your saw slowly and steadily along the marked line for clean cuts every time!
Is it possible to drill holes in vinyl siding?
Yes, it is possible to drill holes in vinyl siding. However, you should always check with the manufacturer before drilling any holes as this may void your warranty. Generally speaking, depending on the type of siding that you have, it can be drilled with a regular metal bit or a spade bit made of plastic. Make sure that the drill bit is smaller than the nail hole so that the nail will fit snugly in the hole. Finally, drill slowly and use a lubricant to reduce friction and prevent cracking. With proper care, you should be able to successfully drill holes into your vinyl siding with minimal difficulty.
What type of saw is best for cutting vinyl siding?
The ideal saw for cutting vinyl siding is a circular saw. The key to success with this type of saw is to ensure that the blade has enough teeth per inch, usually 24 or more, and is designed for cutting vinyl siding. This will help to minimize damage to the material while ensuring accurate cuts. Additionally, make sure that you have set your circular saw at a depth that only cuts through the vinyl siding and not into any of the underlying structures. Following these precautions will result in smooth, clean cuts every time!
Are there any additional tips for cutting vinyl siding?
Yes, there are a few additional tips that can help you get the best results when cutting vinyl siding. First of all, make sure to measure twice and mark your cut lines clearly so you can easily follow them. Additionally, use a lubricant when cutting to reduce friction and prevent cracking. Finally, make sure to take your time and guide the saw slowly and steadily along the marked line for clean cuts! Following these simple tips will help ensure that you get the best results whenever cutting vinyl siding.
What other tools can I use to cut vinyl siding?
Aside from a circular saw, there are other tools that you can use to cut vinyl siding. You can also use a jigsaw or oscillating multi-tool with the correct blade for cutting through vinyl. For simpler cuts, you can also try using a utility knife and straight edge as long as you make sure to score the vinyl repeatedly until it is fully cut through. Lastly, for more precise cuts, you can use a rotary tool with a specialized cutting bit designed for cutting through siding. With any of these tools, it’s important to remember that slow and steady wins the race when cutting vinyl siding!
Can I paint vinyl siding?
Yes, it is possible to paint vinyl siding with the proper preparation and supplies. Before you begin, make sure to clean the surface of any dirt or debris and inspect for any signs of damage that may need to be repaired. Then, use a primer designed specifically for vinyl siding before applying your choice of paint. Allow the paint at least two days to dry completely before applying a clear topcoat to protect it from the elements. With these steps, you should be able to successfully paint your vinyl siding and enjoy the results for years to come!
Another important step when painting vinyl siding is properly preparing any surfaces that are adjacent to the siding. This could involve covering areas such as windowsills or door frames with plastic sheeting to prevent any overspray. Additionally, don’t forget to use painter’s tape and drop cloths to ensure that you don’t get paint on any unwanted areas! With careful preparation, you should achieve great results when painting your vinyl siding.
Are there any other ways to customize vinyl siding?
Yes, in addition to painting, there are other ways to customize your vinyl siding. Vinyl siding can also be etched or embossed with a pattern or design for added texture and visual interest. This technique is usually done using a stencil and sandblasting or machine-etching equipment. Depending on the complexity of the design, this process may require professional assistance in order to achieve the desired results. Additionally, vinyl siding can also be customized by adding additional trim pieces or accents along the edges of the panels. With any of these techniques, you should be able to customize your vinyl siding and make it truly one-of-a-kind!
What are some common types of vinyl siding?
There are several common types of vinyl siding, including horizontal, vertical, and shake siding. Horizontal vinyl siding is the most popular type as it offers a timeless look with its classic panels of varying lengths. Vertical siding is also a great option if you’re looking for an updated modern style. Shake siding gives a rustic feel to any home and comes in many styles including wood grain, shingles, and clapboard. For those looking for something a bit different, beveled siding is also available in both horizontal and vertical variations. With so many options available, it should be easy to find the right type of vinyl siding for your home!
Can you cut vinyl siding with a razor blade?
Yes, it is possible to cut vinyl siding with a razor blade. However, this should only be done if you have to as it can cause damage to the material and will not provide precise cuts. If you do choose to use a razor blade, make sure that the blade is sharp and brand new so it doesn’t tear or rip at the vinyl. Additionally, when cutting with a razor blade, be sure to use a straight edge or ruler as a guide so that you can make clean cuts. With the right tools and caution, it is possible to cut vinyl siding with a razor blade.
Useful Video: Tip for Cutting a lot of Vinyl Siding | Tuesday Tip!
Conclusion Paragraph
To cut vinyl siding with a circular saw, all you need is a good quality saw with the right cutting blade and the correct technique. The most important factor in determining the quality of your cut is to make sure that you have chosen the right saw blades for vinyl siding. Ensure that all safety precautions are followed and practice on scrap material before starting on your project. If done properly, cutting vinyl siding with a circular saw is a relatively easy job that can be done with minimal effort.
References:
- https://www.pjfitz.com/diy/siding-installation/how-to-cut-vinyl-siding/
- https://firstamericanroofing.com/how-to-cut-vinyl-siding/