

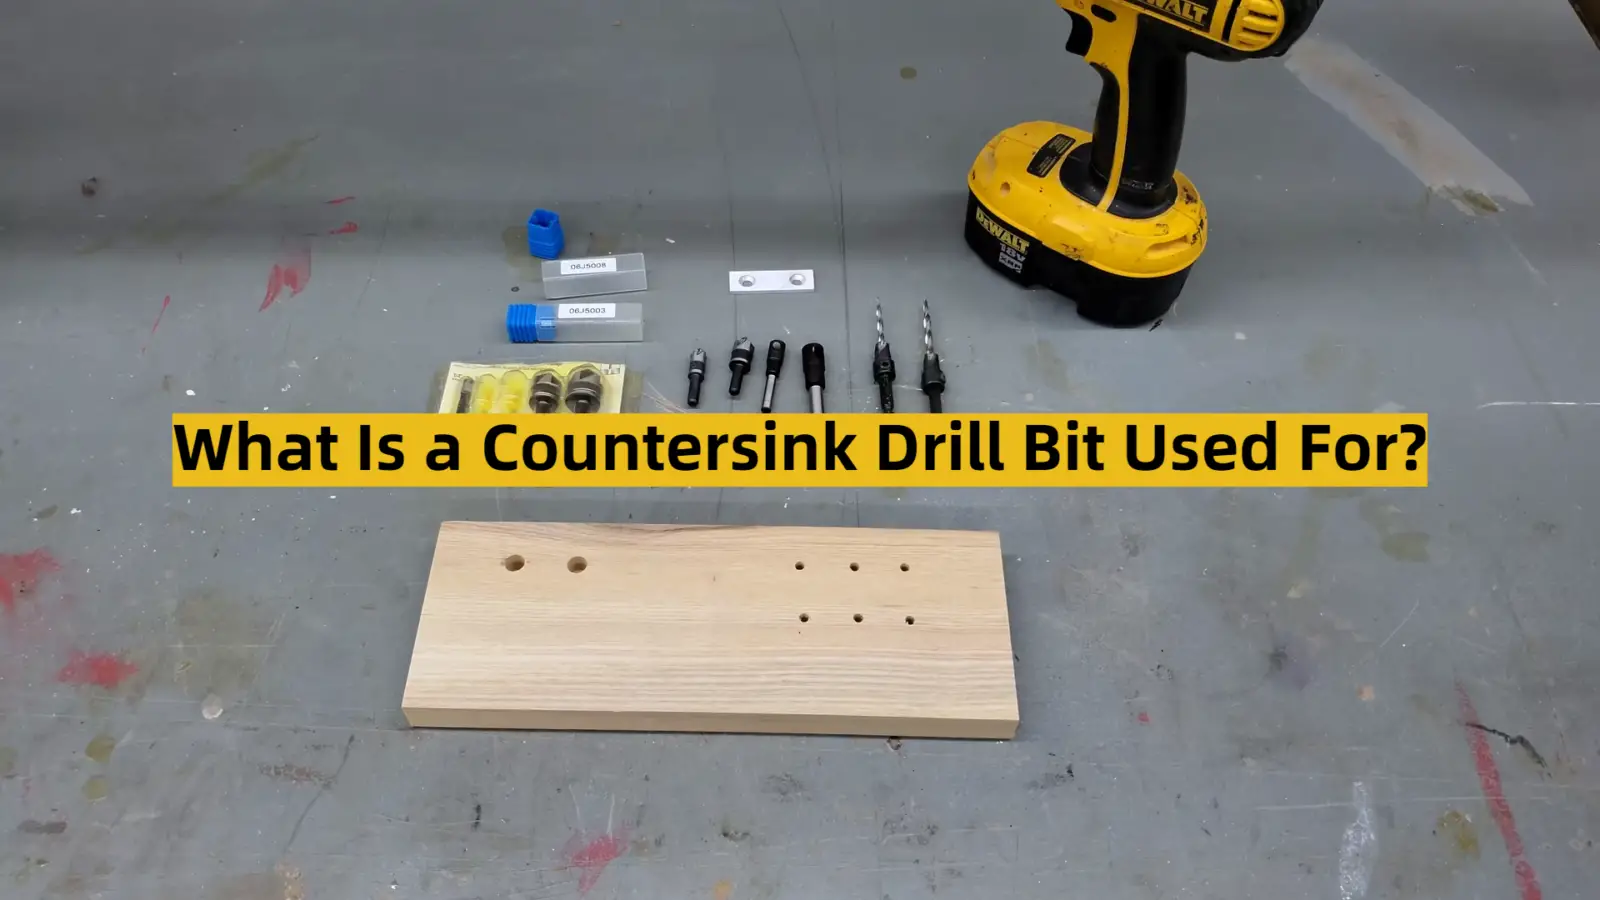
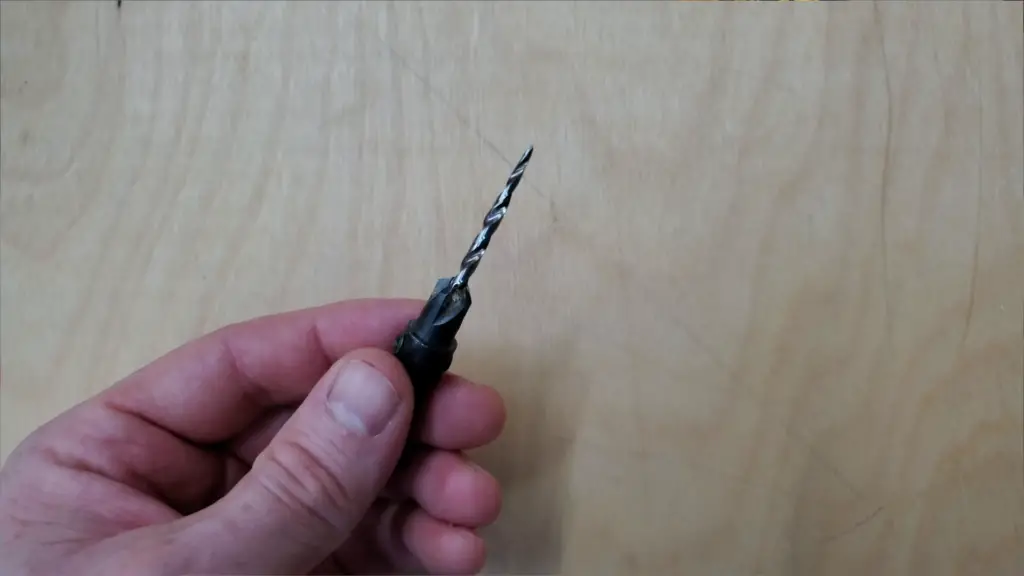
A countersink drill bit is a type of cutting tool used in woodworking and metalworking applications. It is commonly used to create holes with a tapered shape that allow screws or bolts to sit flush with the surface of the material being worked on. This results in a more aesthetically pleasing finish, as well as stronger and more secure connections.
Countersinks are typically made from high-speed steel or carbide and come in a variety of sizes to accommodate different screw sizes. They can be used with hand drills, drill presses, or other power tools.
What is a Countersink Drill Bit?
A countersink drill bit is an incredibly versatile cutting tool that finds frequent use in woodworking, plastics, and metalworking projects. Known for its distinctive conical shape and multiple flutes or cutting edges, this specialized bit efficiently removes material to produce perfectly tapered holes. By gradually expanding the hole diameter and creating a beveled edge, the countersink drill bit ensures a flush fit for screws or other fasteners, resulting in a clean and professional finish. Its precision and accuracy make it an indispensable tool for craftsmen and DIY enthusiasts alike, allowing for seamless integration of screws and fasteners without compromising the overall aesthetic appeal of the project. Whether you’re working on a delicate woodworking creation or a robust metal fabrication, the countersink drill bit is a must-have companion that guarantees exceptional results and elevates the overall quality of your workmanship. [1]
Do I Need a Countersink Bit?
One of the most common questions that arise when considering a countersink drill bit is whether it’s necessary for your project. While it may seem like an added expense or unnecessary step in the drilling process, a countersink bit offers several advantages that make it worth the investment.
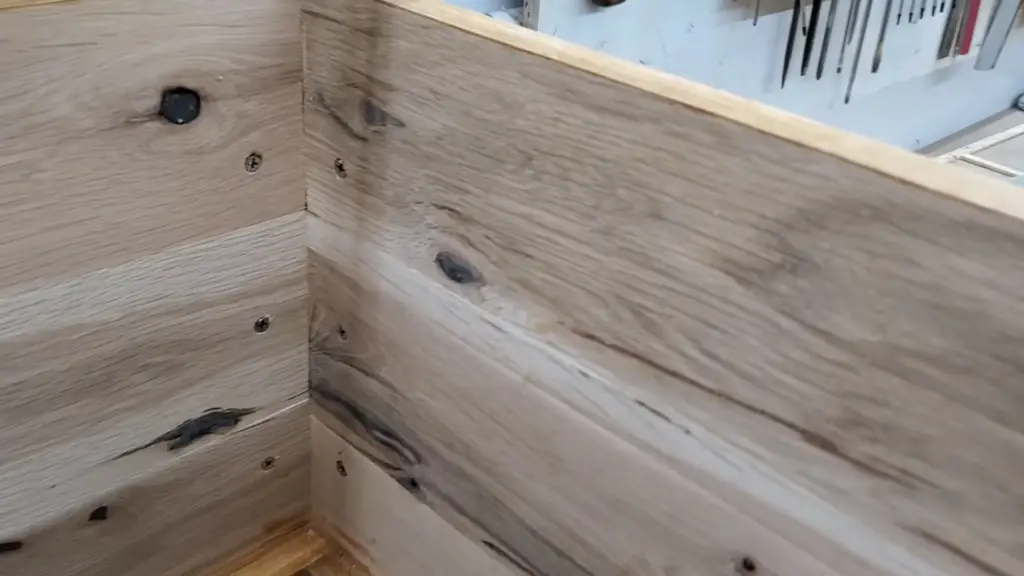
Firstly, a countersink bit creates a precise and uniform pocket for screws to sit flush with the surface of the material, eliminating any unsightly gaps or protruding screws. This not only improves the visual appeal of your work but also increases its structural integrity by providing a more secure and stable connection.
Moreover, the use of a countersink drill bit ensures professional-looking results. The flush finish achieved with countersinking adds a touch of sophistication to your projects, giving them a polished and refined appearance.
Lastly, the durability and longevity of your work can be greatly enhanced by incorporating countersinking. By creating a secure connection between the screws and the material, a countersink bit helps to distribute the load evenly, reducing the risk of loosening or weakening over time. This makes your installations more reliable and long-lasting, saving you time and effort on repairs or replacements in the future.
In conclusion, while a countersink drill bit may seem like a small addition to your toolkit, its benefits are far-reaching. From improving the visual appeal and structural integrity of your work to preventing splintering and ensuring long-lasting durability, a countersink bit is an invaluable tool for achieving professional-quality results in your projects. [1]
Where Is Countersinking Used?
Countersinking is a versatile technique employed in various industries, including woodworking, metalworking, and plastic fabrication. In woodworking, it serves as a fundamental method for creating flush-fitting joints, commonly found in furniture making, cabinetry, and joinery. In metalworking, countersinking finds wide application in tasks like deburring and chamfering holes in sheet metal, as well as creating countersunk holes for screw heads, ensuring a secure and seamless fit. Moreover, in plastic fabrication, countersinking plays a crucial role in providing smooth, finished edges that are free of burrs or sharp edges, ensuring a polished and professional appearance. With its broad spectrum of applications, the countersink drill bit proves to be an indispensable tool in any toolkit, enabling craftsmen to achieve precise and impeccable results in their projects. [1]
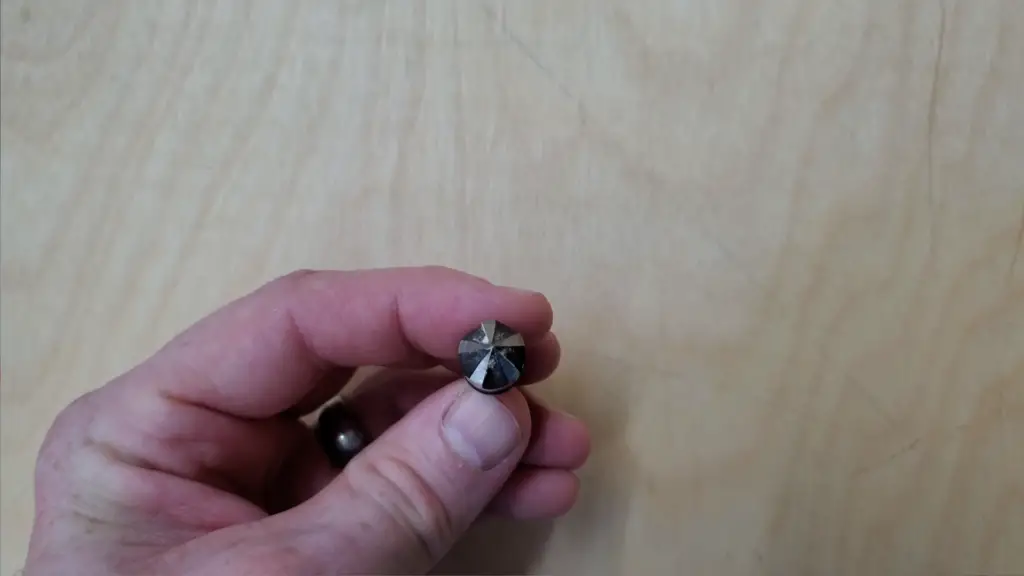
Types of Countersink Drill Bits
Countersink drill bits come in various shapes and sizes, designed to cater to different materials and screw sizes. The most common types include single-fluted, multi-fluted, and tapered countersink bits. Single-fluted bits are best suited for soft materials like wood and plastics, while multi-fluted bits excel in metalworking applications with their speed and precision. Tapered countersink bits are ideal for creating a tapered hole that perfectly aligns with the angle of the screw head, ensuring a flush and secure fit. Additionally, there are also specialty countersink bits available for specific tasks, such as larger diameter bits for heavy-duty applications or adjustable depth stop bits for precise control over hole depths. By having an assortment of these various types of countersink bits, you can ensure that you have the right tool for any project that comes your way. [1]
What Size Countersink Bit Do I Need?
Choosing the right size countersink bit is crucial for achieving optimal results. The diameter of the countersink bit should match the screw’s head diameter, while its angle should match that of the screw’s included angle. Generally, standard wood screws have a 82° angle and require a 82° countersink bit, while metal screws have a 90° angle and need a 90° countersink bit. However, for more specialized applications, such as creating countersunk holes for flathead screws or using custom screw sizes, it may be necessary to use a different angle or diameter of the countersink bit. It is essential to carefully consider the specifications of your project and match them with the appropriate size and angle of the countersink bit for optimal results. So, having a range of countersink bits in various sizes and angles is recommended for tackling different projects with precision and efficiency. [2]
Tips for Drilling Countersink Holes
To ensure the best results when using a countersink bit, here are some helpful tips to keep in mind:
- Always use the appropriate size and angle of the countersink bit for your project. Choosing the right size and angle will ensure that the countersink hole matches the size and shape of the screw head, allowing for a flush finish.
- Use light pressure and steady speed when drilling to prevent damage to the material. Applying too much pressure can cause the bit to dig in too deep, leading to a larger countersink hole than intended. Keeping a steady speed will help maintain control and prevent any mishaps.
- For metalworking applications, consider using lubricant or cutting oil to reduce friction and prolong the life of your countersink bit. Metal can generate heat during drilling, which can wear down the bit quickly. Using lubricant or cutting oil will help reduce friction, keep the bit cool, and extend its lifespan.
- Test the countersink hole on a scrap piece of material before drilling into your actual project to ensure the perfect fit. This extra step will allow you to check the depth and size of the countersink hole before committing to the final project. It’s better to make any necessary adjustments on a scrap piece rather than risk damaging your actual workpiece. [2]
By following these tips, you’ll be able to achieve precise and professional-looking countersink holes, ensuring that your projects turn out beautifully.
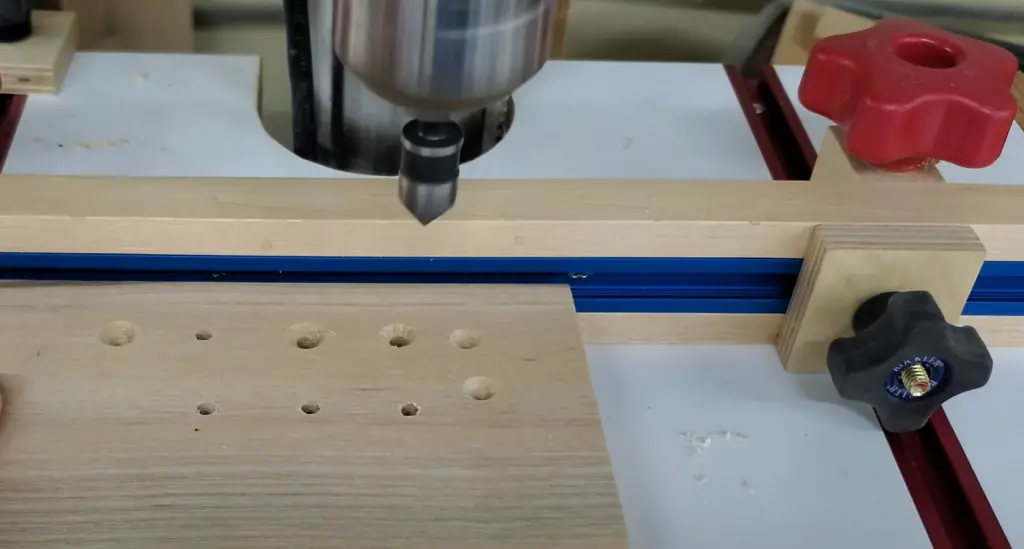
How to Use a Countersink Bit
Fluted Bit Tutorial
Now that you know the importance and benefits of using a countersink drill bit, here’s a step-by-step guide on how to use it correctly:
- Step 1: Choose the appropriate size and angle of your countersink bit based on your project’s specifications.
- Step 2: Secure the material you want to countersink onto a stable surface, such as a workbench, using clamps or a vice.
- Step 3: Insert the countersink bit into your drill’s chuck and tighten it securely.
- Step 4: Position the tip of the countersink bit on the surface of the material where you want to create the hole.
- Step 5: Gently apply pressure and start drilling at a steady speed, gradually increasing the pressure as needed.
- Step 6: Once you’ve reached your desired depth, slowly lift the bit out of the material, making sure to keep it straight and avoid damaging the edges of the hole.
- Step 7: Repeat the process for as many holes as needed. [2]
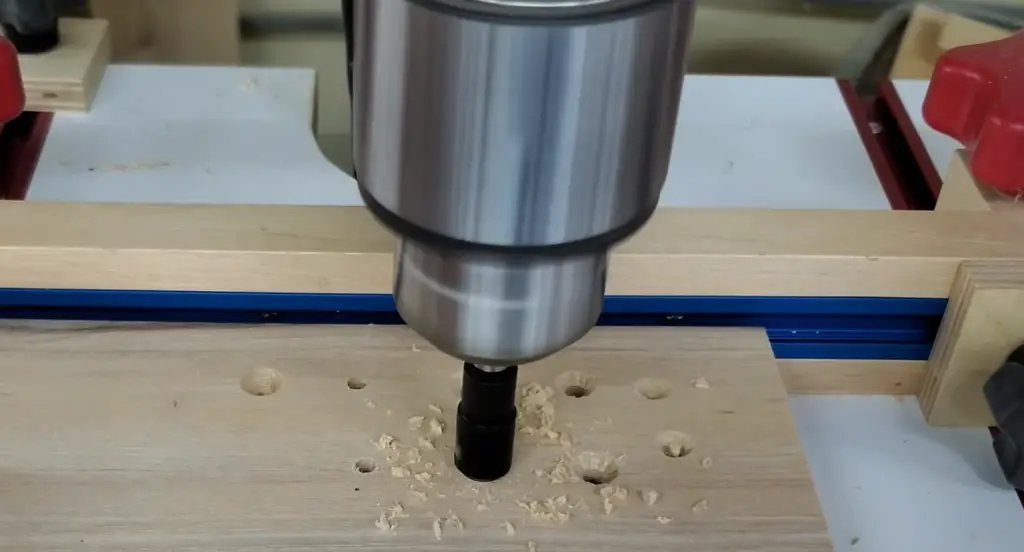
Combination Bit Tutorial
For combination countersink and drill bits, the process is very similar. However, instead of using a separate drill bit, you will use the same bit for both drilling and countersinking. Here’s a quick tutorial:
- Step 1: Choose the appropriate size and angle of your combination bit based on your project’s specifications.
- Step 2: Secure the material you want to countersink onto a stable surface, such as a workbench, using clamps or a vice.
- Step 3: Insert the combination bit into your drill’s chuck and tighten it securely.
- Step 4: Position the tip of the bit on the surface of the material where you want to create the hole.
- Step 5: Gently apply pressure and start drilling at a steady speed, gradually increasing the pressure as needed.
- Step 6: Once you’ve reached your desired depth, slowly lift the bit out of the material, making sure to keep it straight and avoid damaging the edges of the hole.
- Step 7: After drilling all the necessary holes, flip the bit and use the countersink portion to create a beveled edge around each hole. [2]
No matter which type of countersink bit you use, following these steps will ensure that you achieve precise and professional results every time.
How To Countersink Screws In Metal
When working with metal, countersinking screws is essential for achieving a flush and professional finish. Here’s a quick guide on how to countersink screws in metal:
- Step 1: Choose the appropriate size and angle of your countersink bit based on the specifications of your screw.
- Step 2: Mark the location where you want to place the screw on the metal surface.
- Step 3: Secure the metal piece onto a stable surface using clamps or a vice.
- Step 4: Drill the hole using the appropriate countersink bit, making sure to match the angle and depth of your screw’s head.
- Step 5: Insert the screw into the hole and use a screwdriver or drill to tighten it in place. [2]
What Is The Standard Countersink Angle?
The standard angle for a countersink bit is 82 degrees. This angle has been found to be most effective in creating a secure and flush fit with most screw sizes and types. However, some specialized applications may require different angles, such as 60 or 90 degrees. It’s essential to refer to the specifications of your project and choose the appropriate countersink angle accordingly. [3]
Best Countersink Drill Bits For Metal
When it comes to choosing the best countersink drill bit for metal, there are a few factors to consider, including material compatibility, durability, and price. Here are some highly recommended options:
- DEWALT DW2535 3 Piece #6 Countersink Set
- IRWIN Tools 1892000 Countersink Drill Bit Set
- Bosch CO2137 5/16 In. Carbide Tipped Drill Bit
Ultimately, the best countersink drill bit for you will depend on your specific needs and budget. It’s always a good idea to read reviews and compare different brands before making a purchase. [3]
Common Countersink Drill Bit Coating Options
Countersink drill bits can come with different coating options, each serving a specific purpose. Here are some common coatings you may encounter:
- Black oxide: This coating is used to reduce friction and prevent corrosion, making it ideal for metalworking applications.
- Titanium nitride (TiN): TiN coating provides excellent heat resistance and extends the life of the bit, making it suitable for high-speed drilling.
- Cobalt: Cobalt-coated countersink bits are extremely durable and can withstand high temperatures, making them ideal for tough materials such as stainless steel. [3]
Find The Right Countersink Drill For You
As you can see, countersink drill bits are a versatile and essential tool for achieving professional results in various applications. Whether you’re woodworking, metalworking, or just need to create precise holes with beveled edges, there’s a countersink bit that will fit your needs. Just remember to choose the appropriate size, angle, and coating based on your project’s specifications and use the correct technique for best results. With practice and attention to detail, you’ll be able to achieve perfect countersinks every time. [3]
How Do You Drive Countersink Screws?
To drive countersink screws, follow these steps:
- Step 1: Drill a hole using a countersink bit that matches the angle and depth of your screw’s head.
- Step 2: Place the screw into the hole and use a screwdriver or drill to fasten it in place. The head of the screw should sit flush with the surface for a clean finish.
- Step 3: If necessary, use a countersink bit to create a beveled edge around the screw for added security and aesthetic appeal. [3]
How Do You Hide Countersink Screws?
Countersunk screws can be hidden using a few different methods, including:
- Using wood filler: After driving the screw in place, fill the countersink hole with wood filler and let it dry. Sand down any excess filler to create a smooth surface.
- Plugging: You can also use wooden plugs to cover the countersink holes. Simply drill the hole slightly deeper than the screw’s head, insert the plug, and sand it down flush with the surface.
- Using a countersunk washer: A countersunk washer can be placed over the screw before driving it in place. This creates a smooth surface while still allowing for easy removal if needed. [3]
With these methods, you can easily hide countersink screws and create a seamless finish on your projects.
FAQ
Do I need a countersink drill bit?
If you want to achieve a professional and flush finish for your screws, then yes, a countersink drill bit is necessary. It creates a beveled edge around the screw, ensuring that it sits flush with the surface.
What is the difference between a countersink bit and a drill bit?
A countersink bit is specifically designed for creating beveled edges in holes, whereas a drill bit is used for drilling regular holes without any bevel. Countersink bits also come with different angles and sizes to match various screw specifications.
Can you drill with a countersink?
Yes, countersink bits can be used for drilling holes. However, they are not as efficient as regular drill bits and may cause the hole to be slightly larger than intended.
Do you drill or countersink first?
You should always drill the hole first and then use the countersink bit to create the beveled edge. This ensures that the screw will have a secure fit in the hole. Overall, using a countersink drill bit can greatly improve the appearance and functionality of your projects.
What are the advantages of countersink drill?
The main advantage of a countersink drill bit is its ability to create beveled edges in holes, allowing for a flush and secure fit for screws. This not only improves the appearance but also adds strength to the connection between two materials. Additionally, countersink bits can also prevent splitting or cracking of wood when driving in screws. So if you’re looking for a way to achieve professional results and add strength to your projects, investing in a good quality countersink drill bit is definitely worth it. So go ahead and explore the options available, and choose the best countersink drill bit for your specific needs.
What is the general rule of countersink?
The general rule for countersink is to have the head of the screw sit flush with the surface. This means that the depth and angle of the countersink hole should match the specifications of your screw’s head. It’s always a good idea to test on scrap material before drilling into your actual project to ensure optimal results.
Useful Video: I’ve been using the wrong type of countersink bit
Conclusion
Countersink drill bits are an absolute must-have tool for any DIY enthusiast or professional woodworker/metalworker. They offer unparalleled versatility, precision, and strength when it comes to creating holes with impeccable beveled edges for screws. Whether you’re working on a simple home improvement project or tackling a complex woodworking masterpiece, having the right countersink bit in your arsenal can make all the difference.
But what makes a high-quality countersink bit truly stand out? It’s not just about the design and construction, but also the choice of coatings and specifications. Different coatings like titanium nitride or black oxide can enhance the durability and longevity of the bit, ensuring that it performs flawlessly even after repeated use. Moreover, paying attention to the specifications such as flute design, shank size, and cutting angles can further optimize the performance and efficiency of your countersinking tasks.
Imagine effortlessly achieving perfect countersinks every single time, with clean and professional-looking results. By investing in a good quality countersink bit, you can take your projects to a whole new level. So, why wait? Explore the vast array of countersink drill bits available on the market today, compare their features, and find the perfect one that suits your specific needs and preferences. Whether you’re a seasoned professional or just starting your DIY journey, having the right countersink bit by your side will undoubtedly elevate your craftsmanship and make your projects shine.
References
- https://sawsonskates.com/how-to-use-a-countersink-bit/#table
- https://ruko.shop/blogs/ruko-shop-blog/how-to-use-a-countersink-drill-bit-for-metal
- https://www.christofix.com/what-is-a-countersink-bit/