

Struggling with stubborn Torx screws can be a frustrating experience that can leave even the most experienced DIY enthusiasts feeling defeated. Whether it’s a stripped screw or one that seems eternally jammed in place, attempting to remove these pesky fasteners can quickly turn into a battle of wills. But fear not, dear readers, for this guide has the solution to your Torx-related woes! This guide will unveil the secrets to removing even the most stubborn Torx screws quickly and easily, forever banishing the frustration and saving your sanity. So, let’s dive right in and unlock the power to conquer those stubborn screws once and for all!
How to Remove a Stripped Screw?
Hammer
If a screw is completely stripped, it can be quite challenging to remove it using an ordinary screwdriver. In these frustrating situations, you may have to resort to a clever technique involving a hammer to break the head off the stubborn screw.
To successfully execute this method, you can start by wrapping the head of the stripped screw in masking tape or cloth. This protective layer will ensure that your hammer does not cause any damage to the surrounding surfaces. Once you have securely wrapped the head, you can then proceed to gently tap the screw’s head with the hammer. The aim is to apply enough force to break the head off without causing any further complications.
Once you have successfully broken off the head of the stripped screw, you will find that removing the remaining part becomes significantly easier. You can simply employ a pair of pliers to grip the exposed shaft and unscrew it from the surface.
Heat Treatment
Another option for removing a stripped screw is heat treatment. This method can work if the screw has been slightly stripped or if it is stuck in place due to corrosion. Start by heating up the head of the screw with a soldering iron or blowtorch. The heat will cause the metal to expand and loosen its grip on whatever it is threaded into. Once heated, use pliers to carefully twist off the head of the screw. You should now be able to remove what is left of the screw using a standard screwdriver.
Clamp locking pliers or needle nose pliers
If the above methods fail to work, you can try using clamp-locking pliers or needle nose pliers. Start by firmly gripping the head of the screw with either tool, ensuring a strong hold. Then, apply gentle and steady pressure as you gradually turn the screw counterclockwise, loosening it bit by bit.
Take your time and be patient, as forcing it may cause damage. Once the screw is sufficiently loosened, you should find it easier to remove it using a standard screwdriver. Gently and smoothly extract it from its position, making sure not to strip the screw or damage the surrounding material. Remember, a careful and methodical approach will yield the best results!
Screw Extractor
If all else fails and you find yourself in a situation where a stripped screw is causing frustration, don’t worry! There’s a reliable solution you can turn to a screw extractor. Designed specifically to remove stripped screws, a screw extractor is often the most effective option available.
To use a screw extractor, start by drilling a hole in the head of the screw using a drill bit that matches the appropriate size. This allows the screw extractor to grip onto the screw securely. Once the hole is drilled, carefully insert the screw extractor into it and turn it counterclockwise. The extractor will gradually catch hold of the screw and provide the necessary leverage for removal.
To unscrew the extractor from the head of the screw, you can use a wrench. Apply steady pressure and turn the wrench counterclockwise, ensuring a firm grip on the extractor. With each turn, the stripped screw will slowly disengage, allowing for its complete removal.
Don’t forget that patience and persistence are key in this process. Take your time and remain focused, and soon enough, you’ll successfully remove the stripped screw that was causing you trouble.
Wide rubber band
If you have exhausted all of the methods mentioned above and are still struggling to remove the stubborn stripped screw, there is one last option that you can try: utilizing a wide rubber band. This simple yet ingenious trick can sometimes work wonders in such situations.
To begin, take a wide rubber band and tightly wrap it around the head of the screw. This creates a makeshift grip that can aid in loosening the screw. Next, insert your screwdriver into the center of the rubber band and apply gentle pressure while turning counterclockwise. The rubber band acts as a buffer and enhances the grip, making it easier to turn the screw and eventually loosen it.
It’s important to note that using a rubber band as a last resort method can yield surprising results, but it’s not guaranteed to work in every case. However, it’s definitely worth a try before resorting to more drastic measures like drilling or cutting.
Multi-head screwdriver kit
For added convenience and versatility, you may want to consider investing in a high-quality multi-head screwdriver kit. These kits typically include a wide range of different screw heads, providing you with the flexibility to effortlessly switch from one type of head to another, without the hassle of searching for the right size or type of screwdriver. This not only saves you valuable time but also simplifies the process of removing stripped screws since you will always have the right tool readily available at your fingertips. With a multi-head screwdriver kit in your toolbox, you’ll be well-prepared to tackle any screw-related task with ease and efficiency!
Use a Dremel Tool
If you’re feeling particularly adventurous, you can try using a Dremel tool to remove the stripped screw. This high-powered rotary tool is capable of performing almost any cutting or drilling job with precision and accuracy.
To use the Dremel tool for removing a stripped screw, start by selecting the appropriate drill bit size and shape. Next, set the tool to its lowest speed setting and carefully drill into the screw until you can see the metal of the shaft. Make sure not to apply too much pressure, as this could cause further damage. Once you have drilled a hole in the head of the screw, switch out the bit for an appropriately sized extractor tool and gently remove what’s left of it from the surface.
Use a Hairdryer
You can try using a hair dryer to loosen a stripped screw. Start by heating up the head of the screw with a hairdryer and wait for 30-60 seconds. The heat will cause the metal to expand and make it easier to remove. Once heated, use pliers or a screwdriver to twist off the head of the screw. You can also use a hair dryer to remove screws that have become stuck due to corrosion. Again, start by heating the head of the screw and then gently twist it with pliers or a screwdriver until it loosens enough for removal. Be careful not to apply too much pressure, as this may cause further damage.
Use an Impact Driver
In some cases, a regular screwdriver may not be enough to loosen and remove a stripped screw. In such situations, you can turn to an impact driver for help. An impact driver is a special type of tool that utilizes a hammering action in order to drive screws into or out of tight spaces.
To use an impact driver for removing a stripped screw,set the impact driver to the reverse setting. This will ensure that it is providing torque in the correct direction and avoid any further damage. Next, insert the appropriate bit into the screw head and apply pressure while gently turning counterclockwise. With each turn, you should feel resistance lessening until you can eventually remove it completely.
Removing stripped screws can be a tricky task, but with the right tools and a little bit of patience, you can complete it successfully. Remember to always take your time and use the proper technique for each method in order to ensure maximum effectiveness. With these tips in mind, you’re now equipped with all the knowledge necessary to tackle any stripped screw issue!
Try WD-40 or soap
If all else fails, you can try using WD-40 or soap as an unconventional means to remove a stripped screw. Start by spraying the head of the screw with WD-40 or applying a thin layer of soap to it. This will create an extra layer between the surface and the tool, providing additional friction that can help loosen the screw. Once you have applied either substance, insert your screwdriver and apply steady pressure while turning counterclockwise. With each turn, the stripped screw should slowly loosen until it can be completely removed.
When using either WD-40 or soap, make sure to take extra precautions as these substances can cause further damage to the surface if used in excess. Also, keep in mind that this method is not a guaranteed solution and may not work in all cases. However, it’s worth a try as a last-ditch effort before resorting to more drastic measures like drilling or cutting.
Ultimately, removing screws can be a tricky and frustrating task without the right tools and technique. With this guide in hand, you now have all the knowledge necessary to tackle any stripped screw issue [1]!
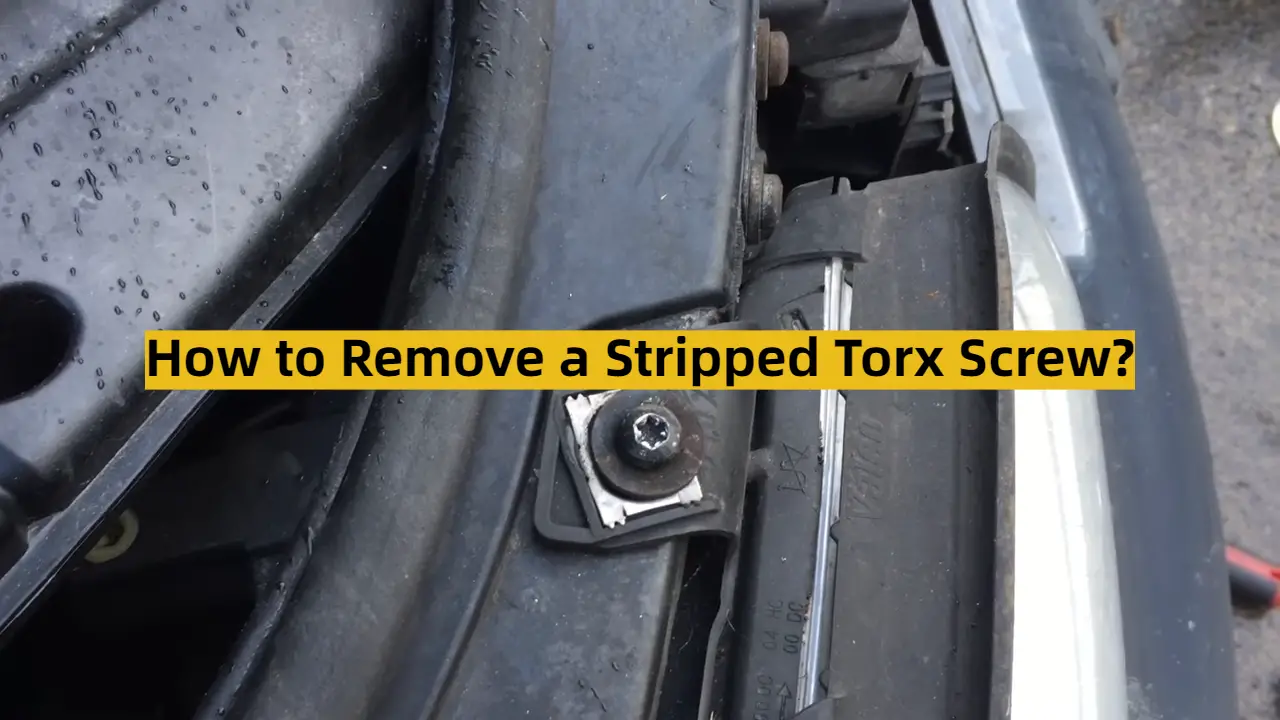
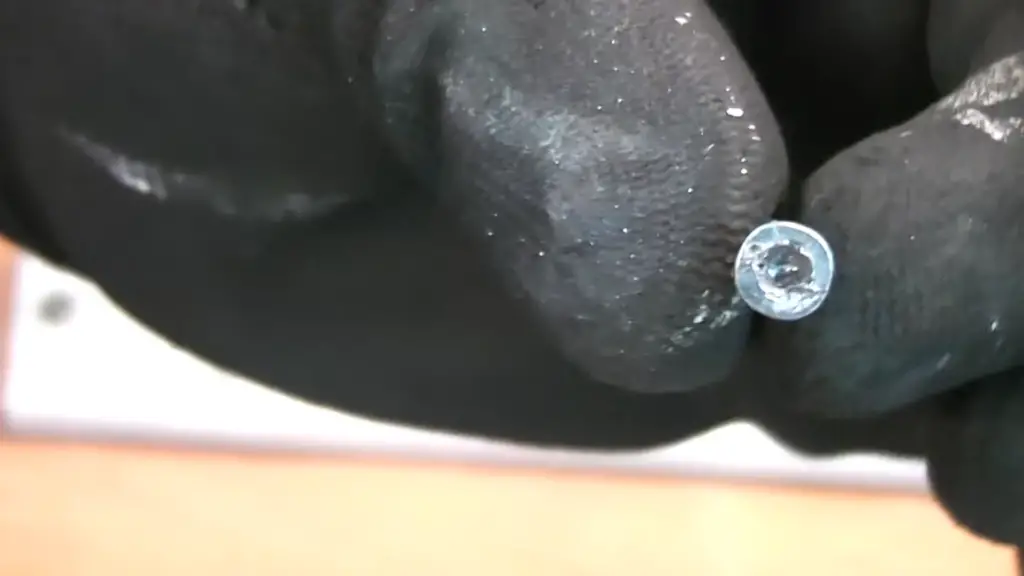
Instructions for Removing a Stripped Torx Screw
Removing a stripped Torx screw from an object can be quite daunting, as the screws often require more torque than other types of screws. However, with some patience and the right tools, it is possible to successfully remove even the most stubborn torx screws without damaging them.
- First, locate the size of your torx screw using a precision screwdriver2. Next, apply a lubricant such as WD-40 to the screw head to reduce friction.
- Use a pair of pliers to firmly grasp the screw and twist it counterclockwise until you feel it begin to loosen.
- If the screw does not come loose, try using a small hammer and punch to gently tap around the outer edges of the screw head.
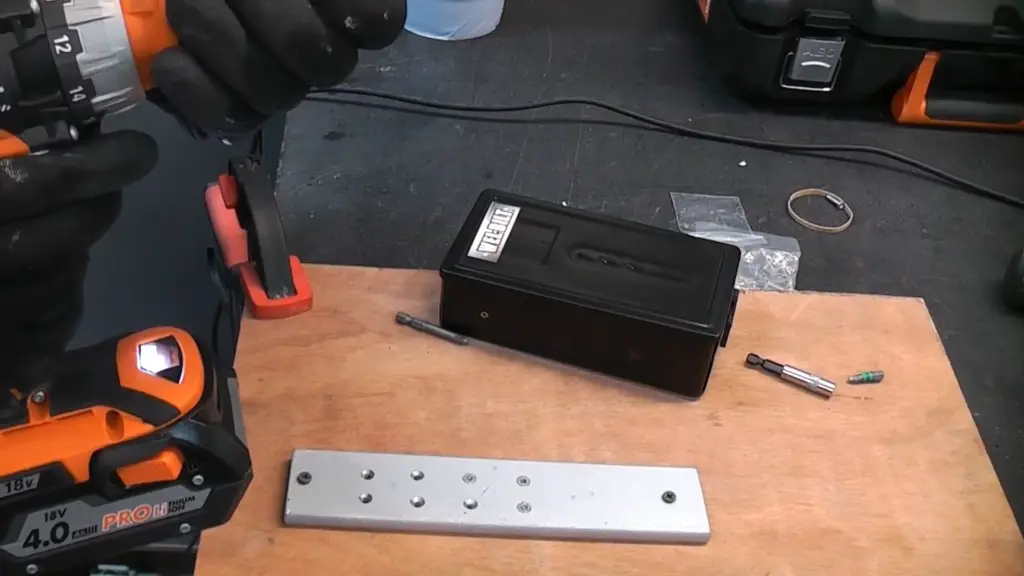
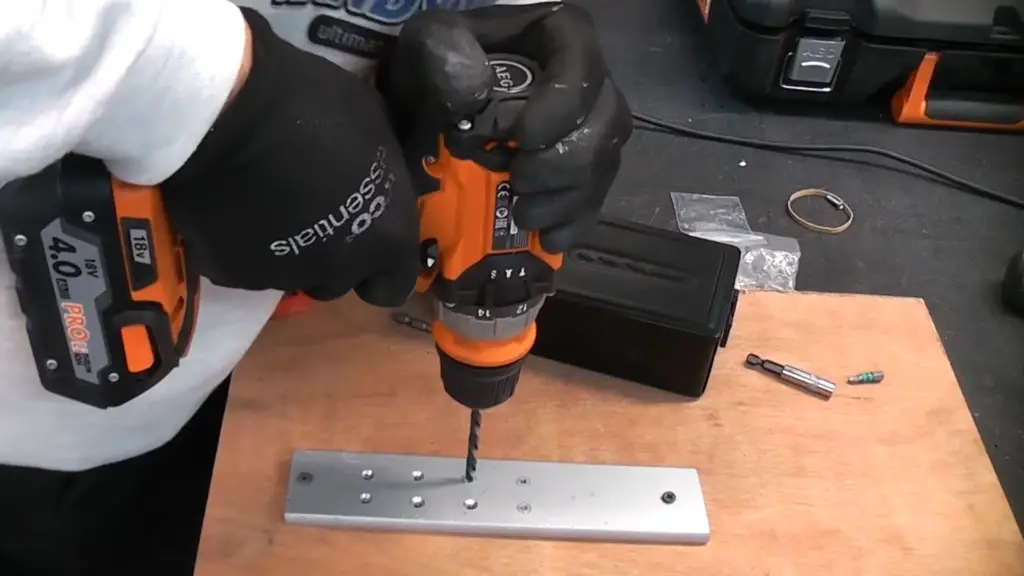
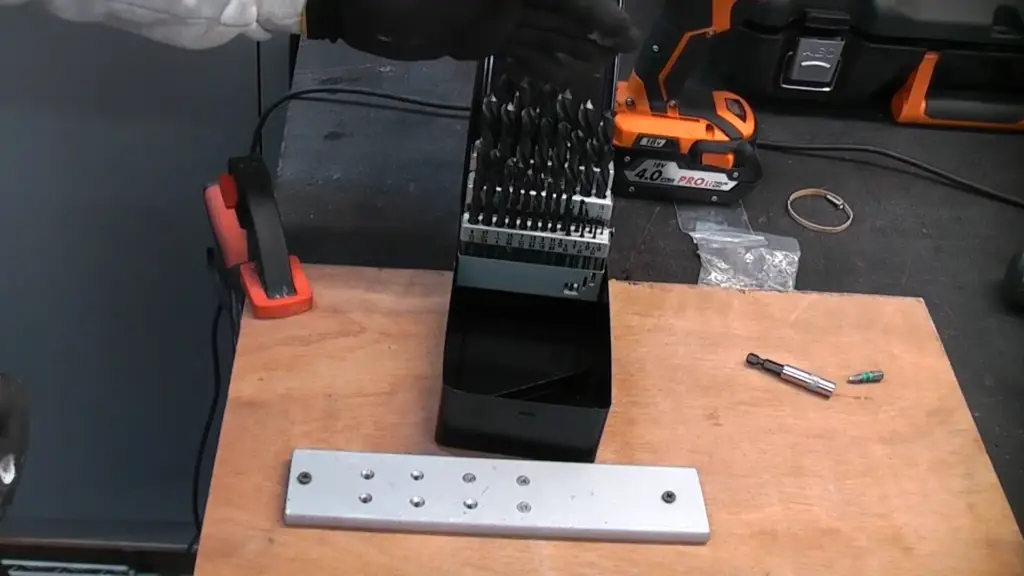
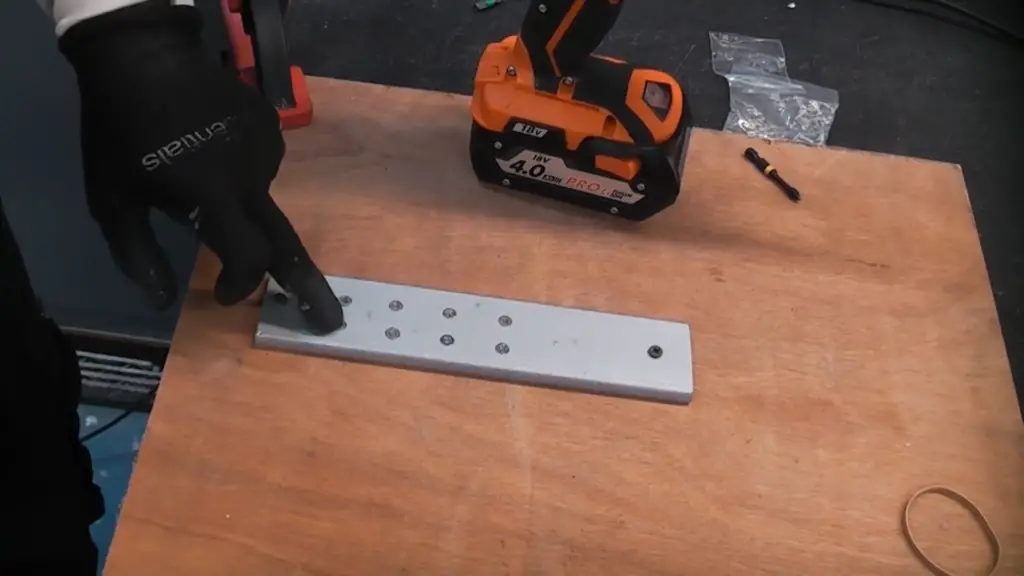
- If the torx screw still won’t come loose, you may need to use a Torx bit set and an electric drill to apply more torque to it. Be sure to go slow and keep the pressure on the screw consistent.
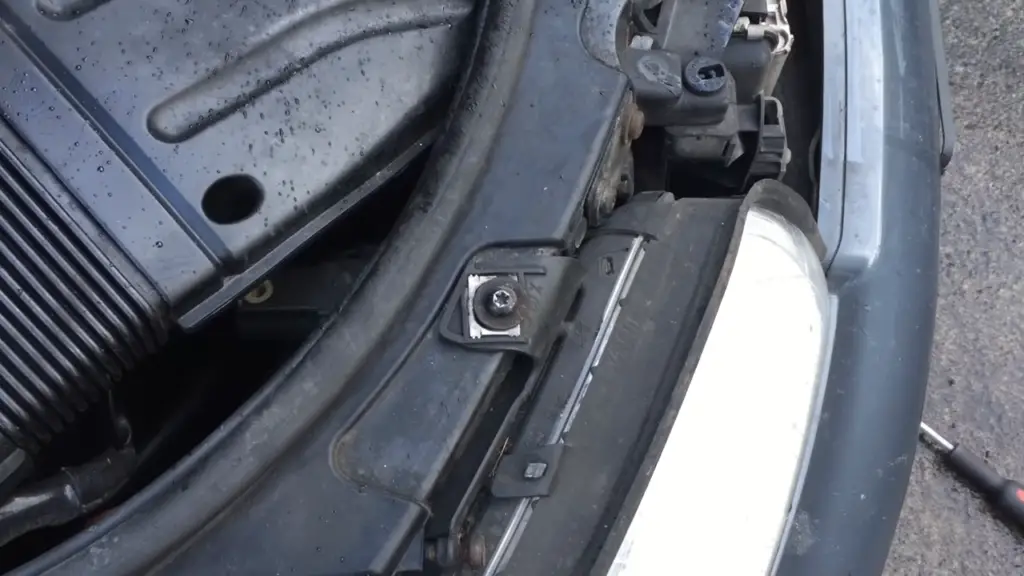
- Once the stripped torx screw has been loosened, carefully remove it using your precision screwdriver
If all else fails, you may have to resort to using a pair of cutting pliers or a hacksaw to cut off the head of the screw. Just be sure to use caution and wear protective eyewear when handling sharp tools. With enough patience and time, even the most difficult torx screws can be removed safely and effectively.
How to Prevent Screws from Becoming Stripped in The First Place?
Use the Right Screwdriver
When it comes to removing Torx screws, using the right screwdriver is crucial to prevent any damage. The wrong screwdriver can easily strip the screw head, leading to frustration and potential difficulties in removal. For smaller screws, it is recommended to use a T-20 bit with the assistance of an electric screwdriver, ensuring a secure and efficient grip. On the other hand, larger screws may require a T-40 bit, which can be operated with a manual wrench for added control and torque.
To avoid any mishaps, it is also essential to ensure that the screwdriver is in good condition and fits securely into the screw head, minimizing the risk of slippage that could potentially damage the screw head and make removal more challenging or even impossible. Taking these precautions will help to maintain the integrity of the screws and ensure a smooth removal process.
Don’t Over-tighten
When installing Torx screws, it’s crucial to exercise caution and avoid over-tightening. Applying excessive force can result in damage to the screw head, which may complicate future removal. To ensure optimal results, it is recommended to utilize a torque wrench during the tightening process. This tool helps guarantee that the screws are tightened correctly and minimizes the risk of them becoming stripped, ensuring long-term durability and ease of maintenance.
Use Anti-Seize Compound
Using an anti-seize compound on the threads of a Torx screw can be a game-changer when it comes to preventing them from getting stuck or stripped. This compound works wonders by significantly reducing friction between the threads, making it a breeze to remove the screws in the future. It’s important to apply the compound sparingly, ensuring just the right amount is used. Applying too much of it can inadvertently cause the screw to become over-tightened, so a little caution goes a long way in achieving optimal results.
Use a Power Drill
If the screw is particularly rusted or stuck in place, it may be necessary to use a power drill to loosen the screw before attempting to remove it. To do this, start by drilling a small hole in the center of the head of the screw and then slowly increase the size of the hole until you can fit a T-20 bit into it. This will help to break the rust and make it easier to remove without damaging the head of the screw. Once you have a hole large enough for a T-20 bit, use an electric screwdriver to unscrew the screw.
Use a Magnetic Screwdriver
Sometimes, when working with Torx screws, you may encounter a frustrating situation where they become stuck and seemingly impossible to remove. But fear not, for there is a handy solution! By using a magnetic screwdriver, you can effortlessly retrieve those stubborn screws without causing any damage. The beauty of a magnetized bit is that it securely holds the screw in place as you unscrew it, ensuring that it won’t slip out of your grasp or mysteriously vanish into thin air. However, it’s important to note that for optimal effectiveness, the magnetized bit should be appropriately sized to fit snugly into the head of the screw. So, next time you find yourself struggling with a pesky Torx screw, reach for a magnetic screwdriver and bid farewell to your removal woes!
Lubricate Screws Before Removing Them
One effective technique to simplify the process of removing a Torx screw is by applying lubrication beforehand. By doing so, the friction between the threads is significantly reduced, minimizing the chances of the screw becoming stuck or stripped. It is recommended to use a light oil or silicone lubricant as they are gentle on the screw head and prevent any damage. Even the application of a small amount of lubricant can have a significant impact on the ease of unscrewing the screws. This simple yet valuable step can save time and effort while ensuring a smooth and hassle-free removal process.
Use Penetrating Oil
FAQ
How do you remove a rounded male Torx bolt?
Removing a rounded male Torx bolt can be difficult. First, try using an adjustable wrench that is the correct size for the bolt head. It is important to use a quality tool with smooth jaws so it does not damage the fastener. If that doesn’t work, you may need to use a drill bit and tap to remove the bolt. This method requires drilling into the bolt head to create a new opening, and then using a tap of the correct size to break away the material from around the bolt. You may also need to use lubricant or heat on the bolt head to loosen it before attempting either method. If all else fails, you will have to use an extractor set designed specifically for Torx bolts. This tool uses a reverse drilling technique to remove the fastener.
What is the difference between Torx and hex bolts?
Hex bolts are shaped like a hexagon with sides of equal length, while Torx bolts have a star-shaped pattern on their heads. Hex heads require a flat wrench to loosen or tighten them, whereas Torx bolts require a specially shaped Torx wrench. Torx screws are often used in automotive and electronic applications because of their higher resistance to stripping and cam-out. However, hex bolts are more common for general use due to their lower cost and ease of availability.
What are the 7 ways to remove a stripped screw?
- Use a rubber band or cloth to grip the head of the screw and turn it counterclockwise with pliers or a screwdriver.
- Apply lubricant (such as WD-40) to the head of the screw and let it sit for several minutes before attempting to remove it.
- Drill a small hole in the center of the head of the screw and use a small screw extractor to remove it.
- Use an Easy Out tool, which is a cone-shaped bit that is inserted into the head of the screw and turned counterclockwise to loosen it.
- If you have access to a welder, you can weld another nut or bolt onto the stripped screw6. Use a stripped screw remover tool to grip and turn the head of the screw with an adjustable wrench or pliers.
- If the screw is really stuck, use a hammer and chisel to tap around the head of the screw until it comes loose. Be sure to wear safety glasses when doing this!
- Finally, if all else fails, you may need to hire a professional to remove the screw for you. A qualified handyman or locksmith should be able to help with this.
Are Torx screws better than Phillips head screws?
Yes, Torx screws are generally considered superior to traditional Phillips head screws. They offer greater stability and resistance to stripping due to their star-shaped pattern. Additionally, they require less force to fasten, which can make them easier to use and less likely to cause damage to the material being secured. For these reasons, Torx screws are often used in automotive and electronic applications where strength is important.
Useful Video: How to remove stripped screws – 7 different ways
Conclusion Paragraph
Removing a stripped torx screw can be a difficult task, but with the right tools and techniques, it is possible to do so without damaging your equipment. Using an electric screwdriver to drill out the head of the screw can also allow you to remove it more quickly. Remember to always wear protective eyewear and keep any loose parts away from small children. With these simple tips, you can make sure that your torx screw is removed safely and efficiently.
References
- https://www.thespruce.com/ways-to-remove-a-stripped-screw-5078928
- https://gigawheels.com/how-to-get-a-stripped-torx-screw-out/