

Are you looking to tackle a DIY project but don’t know where to start? Using a cordless drill can help you with your home projects. But how do you get started? It’s easier than it sounds! In this blog post, we’ll provide all the essential information and useful tips that will have you drilling like an expert in no time. From safety guidelines to how to charge your battery, keep reading for the ultimate guide on using a cordless drill.
What Cordless Drill Used For?
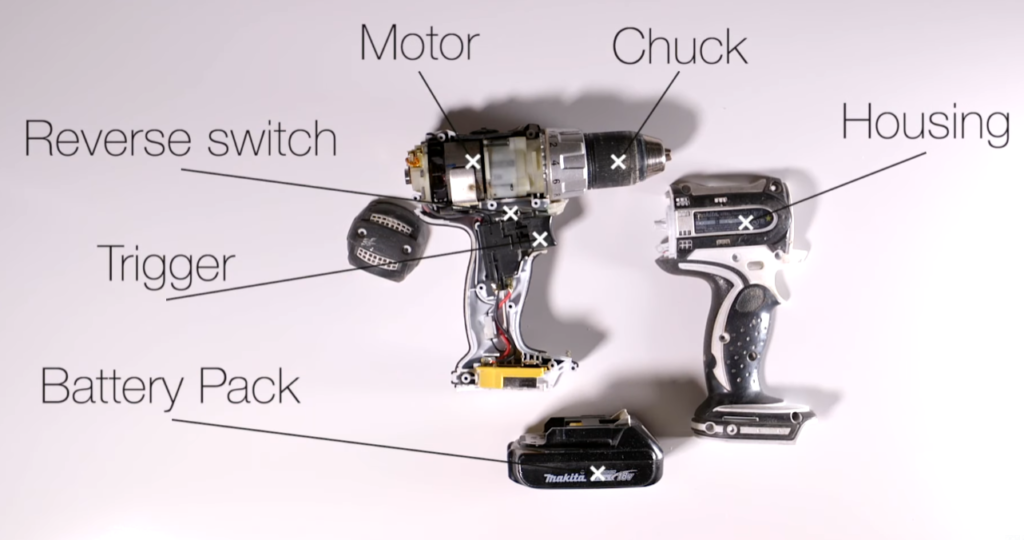
How do Cordless Drills Operate?
Cordless drills use rechargeable battery packs to provide power. This allows you to take the drill wherever you need it, without needing a corded power source nearby. The battery packs typically last for about an hour of continuous drilling and can be quickly recharged when not in use.
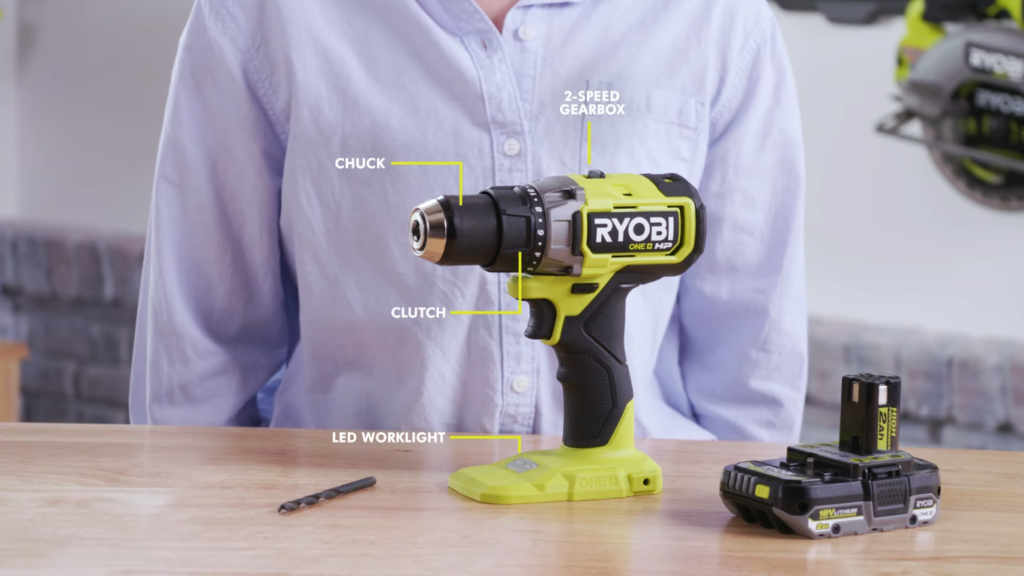
To use a cordless drill, you must first charge the battery pack. Once the battery is charged, you can attach the drill bit of your choice to the chuck at the end of the drill. The chuck is a small locking mechanism that keeps the drill bit in place while you’re using it.
Once you have attached your bit, make sure to set your speed and torque settings appropriately for whatever task you are doing. Most drills have settings for drilling, driving screws, and other tasks.
Once the drill is ready to go, you simply press the trigger and begin your task. Make sure to use moderate pressure when pushing down on the drill so that it doesn’t slip out of position or overheat. When you are done with your project, you can release the trigger and unplug the battery pack for recharging.
It is important to note that cordless drills generate a lot of heat when in use, so you should take measures to protect yourself by wearing gloves and safety glasses. You should also make sure to keep your work area clean and free from debris that can be kicked up when drilling.
Using a cordless drill is the best way to get your projects done quickly and efficiently. With just a few simple steps, you can easily take on any project with confidence.
Things to Consider
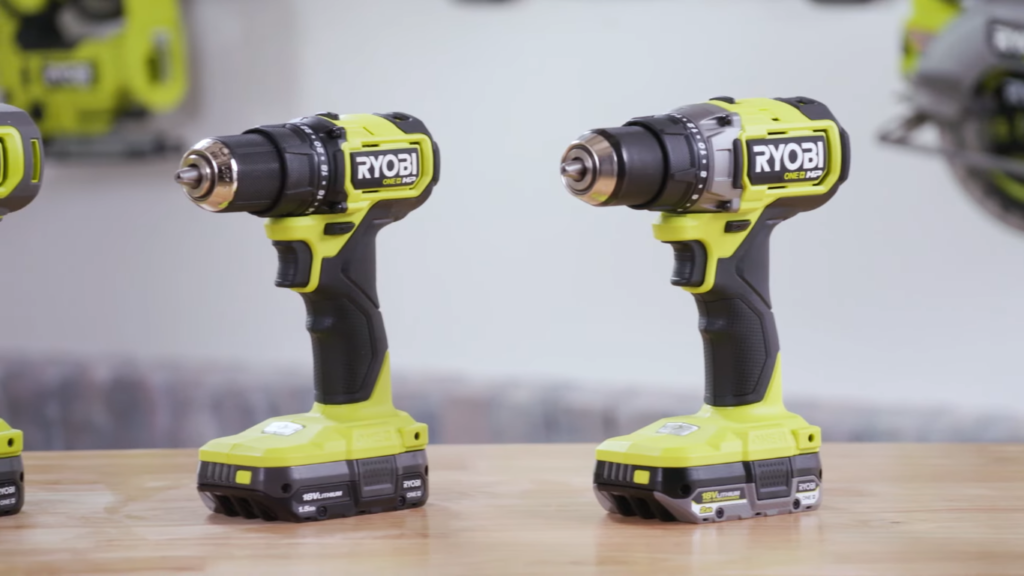
Before you start using a cordless drill, there are several things to consider. These include the battery type and capacity, power level, torque settings, speed control, and safety features.
The battery type is important because it determines how long your tool will last between charges. Most cordless drills use either lithium-ion (Li-ion) or nickel-cadmium (NiCd) batteries. Li-ion batteries tend to last longer and hold a charge better than NiCd batteries, but they cost more.
The power level is also essential because it determines how much work your drill can handle. Generally speaking, the higher the voltage of your cordless drill, the more powerful it is.
Torque settings allow you to adjust the power of your drill for individual tasks. For instance, a higher torque setting may be needed when drilling into hard materials such as concrete or masonry. On the other hand, a lower torque setting is best suited for softer materials like wood or plastic.
Speed control allows you to adjust how quickly your drill can spin its bit. This feature is great for tasks that require precision and accuracy, as it allows you to control the speed of the drill and avoid making mistakes.
Finally, make sure your cordless drill has all the necessary safety features such as a guard or trigger lock. A guard will protect you from any flying debris that may be created during drilling, while a trigger lock will prevent the drill from accidentally turning on.
Once you’ve considered all these factors, you can begin to use your cordless drill safely and effectively. Be sure to read and follow all safety warnings and instructions before you start drilling any holes!
Cordless Drill Is Also a Screwdriver
No need to dread having to swap out different tools for driving screws. A cordless drill can tackle both drilling and screwing tasks! The key is in the attachments. You can buy an adapter that will fit your drill’s chuck, allowing you to use your drill as a driver for various types of screws. The same goes for bits; many cordless drills come with a set of drill bits and screwdriver bits. These are ideal for drilling holes in a variety of materials, as well as driving screws into wood, metal and plastic.
Another great feature of the cordless drill is its adjustable clutch. This allows you to adjust the amount of torque required for any particular job. By setting it to the right torque for the job, you won’t strip screws, or risk over-tightening.
So whether you are drilling holes in a wall or driving screws into wood, your cordless drill can handle it all with ease! Don’t be afraid to experiment and see what other tasks your trusty cordless drill can do. With the proper attachments, there’s no telling what you can accomplish.
Why Does My Drill Have a Clutch?
One of the most important features on a cordless drill is the clutch. It helps to protect both your drill and the material from over-torquing, which means that it prevents the bit from going in too deep or stripping out screws or bolts.
The clutch works by transferring power away from the motor when it senses resistance beyond the set limit. When the clutch is engaged, it reduces torque and prevents damage.
In addition to protecting your drill bit and material against over-torquing, a good quality cordless drill with an adjustable clutch will also make your job faster. You can adjust the clutch setting to get just enough torque to drive in the screws or bolts without over-driving them.
When selecting a cordless drill, it’s important to look for one with an adjustable clutch that can be adjusted based on your project needs. A good quality drill should have at least 10 different settings so you can choose how much torque you need and prevent any potential stripping or damage.
How to Determine the Correct Clutch Setting
Before you start drilling, it is important that you understand how to set the correct clutch setting on your cordless drill. The clutch function helps protect both the bit and the material being drilled, ensuring that neither will be damaged during use. The right setting will ensure that your drilling job is done efficiently.
Here are three steps to help you determine the correct clutch setting:
- Select a drill bit size and material type that is appropriate for what you’re drilling into.
- Look at your cordless drill’s instruction manual to find out its recommended clutch settings for different materials and applications.
- Based on the information in your instruction manual, set the clutch to the lowest number that will provide enough power for your specific application.
It is important to note that if you set the clutch too high, it can cause you to overdrive the screws or strip them out and damage the material. For this reason, it is best to start with a low setting and work up from there, as needed.
Always remember to unplug it from the power source and store it in a safe place. This will ensure that you get many years of use out of your drill!
Difference Between a Drill and Impact Driver
A drill is a tool that uses rotary motion to drive screws or bits into materials. An impact driver takes this one step further by using an internal hammer mechanism to drive the bit into the material with more force and power than a traditional drill.
The impact driver also offers more control over the speed and power of the bit, which is great for delicate tasks like driving in small screws. It’s important to note that while a drill can be used for most applications, an impact driver should only be used when necessary – it can easily damage materials if used improperly.
For heavier-duty tasks such as drilling into masonry, a hammer drill is the tool of choice. Hammer drills combine rotary motion with short bursts of forward thrust, allowing it to easily drill through tough materials. Note that hammer drills are not suitable for driving screws and should only be used for drilling.
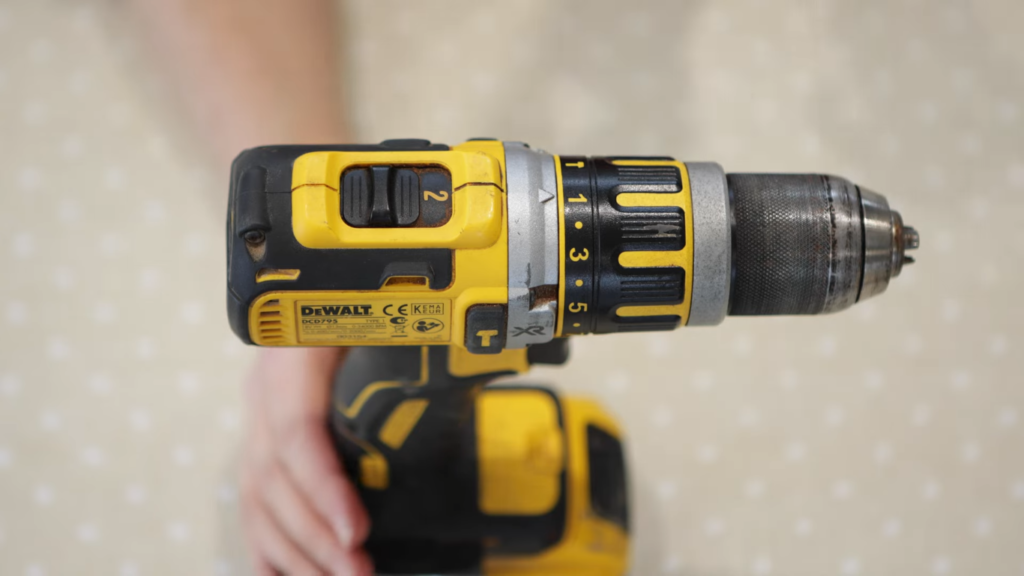
Mind the Hammer Mode
When using your cordless drill, you must remember to keep it in hammer mode when drilling into hard materials. Hammer mode will cause the drill to pulse as it drills and is essential for ensuring that your drill can penetrate the material without damaging itself. It’s also important to bear in mind that hammer mode uses more energy than regular drilling and so should only be used sparingly.
Once you’ve determined that hammer mode is necessary, it’s essential to adjust the pressure accordingly. If you apply too much pressure, then the drill bit may become stuck and the material could start to crack or chip. Alternatively, if you don’t apply enough pressure, then the drill won’t make it through the material. Therefore, you must make sure that the pressure is just right to ensure the best and safest results.
It’s also important to remember that different materials require different drill bits for them to be able to penetrate effectively. Therefore, it’s a good idea to always check what type of drill bit your drill requires before you begin drilling into any surface. The wrong bit can damage both the material and your cordless drill, so it’s essential to get this right.
Finally, when using your cordless drill in hammer mode, make sure you wear safety gear such as eye protection and suitable clothing to prevent any accidents from occurring. This is especially important when drilling into hard materials which can be dangerous if not handled correctly. [1]
How to Use a Cordless Drill
Using a cordless drill is one of the easiest ways to quickly and efficiently perform drilling tasks around your home.
Use a Punch to Improve Accuracy
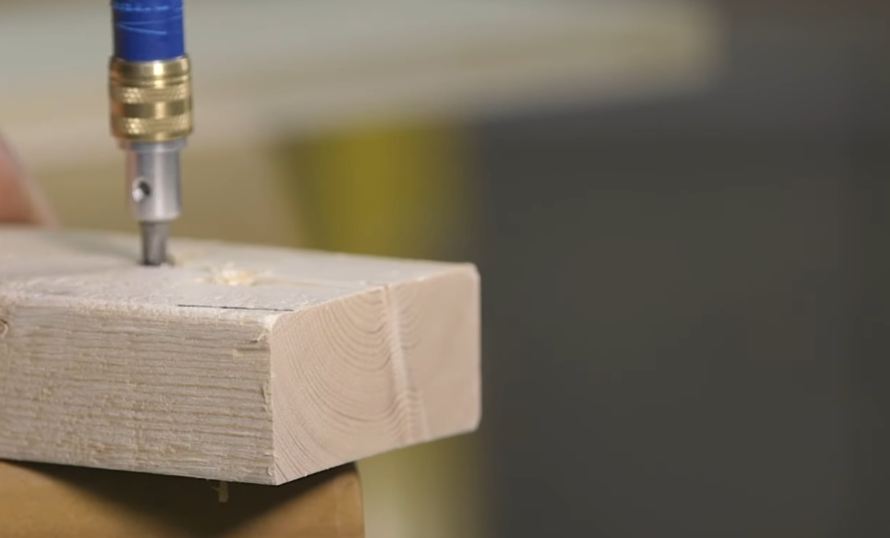
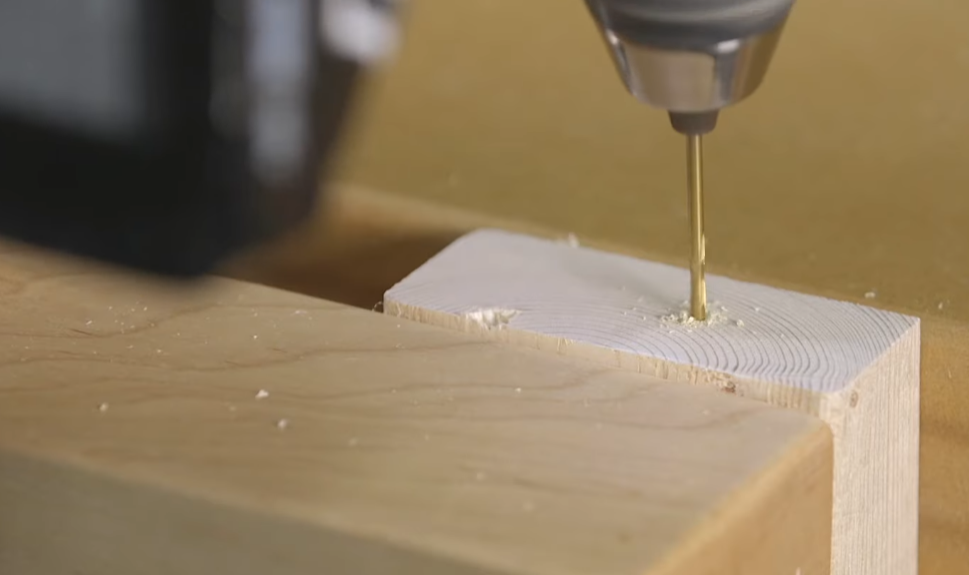
Using a punch is an important step when drilling into materials. A center punch is used to make a dimple on the surface of the material so you can accurately position your drill bit. The benefit of using a center punch will help ensure that the hole made by your drill is exactly where you want it and prevent any slipping or misalignment of your drill bit.
To use a center punch, you should first determine where the hole needs to be placed. Then take your punch and place it on the surface of the material, press down firmly until a small indentation is created. You should then hold the drill bit up to the dimple and make sure that it is lined up correctly before beginning to drill. Using this method will help to guarantee that your drill bit will not slip or move during the drilling process, creating a more accurate result.
How to Use the Drill Chuck
The drill chuck is an essential component of any cordless drill, and understanding how to use it correctly is key to successful drilling.
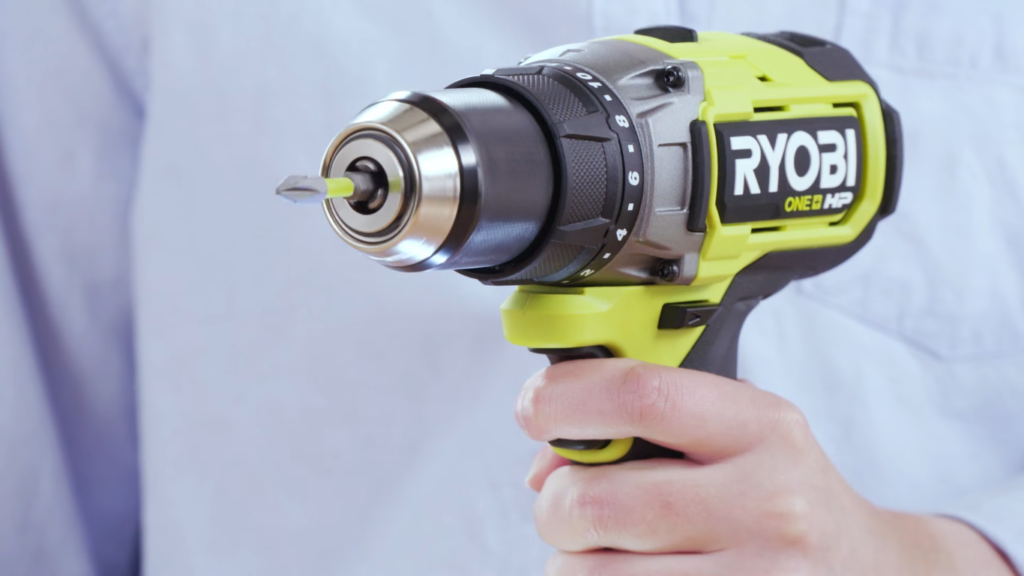
To attach a bit in the drill chuck, ensure that the jaws are open wide enough for you to insert the shank of the bit into them. Once inserted, close the jaws firmly around the bit until it’s secured firmly in place.
When you need to take a bit out of the chuck, loosen the jaws and pull the bit straight out from the drill chuck. Don’t try to twist or pry it out as this could damage both the chuck and the bit.
Finally, when you’re finished using your cordless drill, remember to always unscrew the chuck from the drill and store it separately. This will make sure that when you’re ready to use it again, your chuck is in good condition and ready for action!
Use Tape to Set the Depth Stop
Using a depth stop is an essential step when drilling holes of consistent sizes. To set the desired depth, first use a piece of tape to mark the drill bit at the desired distance. This way you can easily compare with other holes and make sure they all look uniform.
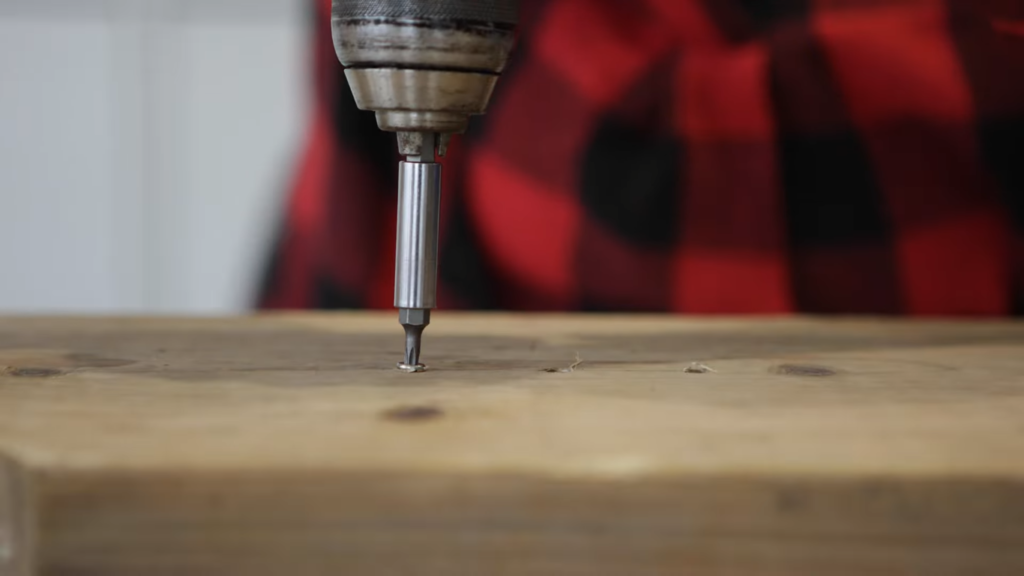
Always Drill Pilot Holes
When using a cordless drill to drive screws, it’s important to remember that without the right preparation, the results may not be satisfactory. To ensure success, always drill pilot holes before driving in any screws. A pilot hole acts as a guide and allows for easier and more precise insertion of your screw. The size of the pilot hole will depend on the size and type of screw you’re using. To determine the correct size of your pilot hole, reference the manufacturer’s instructions for your particular cordless drill.
Which Speed to Use?
When using a cordless drill, it’s important to choose the correct speed for the job. Normally, the higher speeds are best suited for drilling holes into softer materials such as wood or plastic. For drilling into harder materials, you might need to switch to lower speeds. Always start with the lowest setting and work your way up if needed. Keep the drill bit firmly pressed against the surface and away from your body so you can maintain control of the tool. This will prevent accidents and reduce damage to the material.
Additionally, many cordless drills come equipped with an LED light that can be used to illuminate darker work spaces. This is especially helpful when working in tight spots where it can be difficult to see. It is important to remember to turn off the light when it’s not in use, as this will conserve battery life.
Finally, an essential safety tip for using a cordless drill is to always wear eye and ear protection. Drilling into different materials can generate a lot of noise and debris that can be damaging to your eyes and ears. It is also important to never place your hands in the line of fire when drilling, as this can result in serious injury.
Remember, the Trigger Is Proportional
One of the great features of cordless drills is their proportional trigger. This means that the more you press down on the trigger, the faster your drill bit will spin. When drilling, it’s often helpful to start out with a low speed and then increase it slightly as you work your way into tougher materials. Remembering this tip can help make sure that you don’t end up damaging the material you’re drilling into, as well as keep your drill bit from coming loose.
Use Gentle Pressure While Drilling
When using a cordless drill, it is important to remember to use gentle pressure while drilling. Too much pressure can wear down the battery quickly and even cause damage to the bit or the material. Try to keep your movements steady and consistent so that you don’t overwork the motor. If you start to feel resistance when drilling, take a step back and assess the situation. It may be time to change out your drill bit or adjust the speed of the motor.
Set Clutch and Speed for Fastening
Set the clutch and speed settings properly so that you can achieve the right amount of torque for the fastening job at hand. By setting your clutch higher than necessary, you may end up stripping screws or damaging materials. The clutch setting determines how much torque will be applied to the bit when it is engaged; if the clutch setting is too low, it will not provide enough torque to drive in fasteners, while if it is set too high, you risk damaging materials or stripping screws.
The speed setting also needs to be considered when working with a cordless drill. If your speed is set too slow, it may take longer for the bit to penetrate thicker materials; if set too high, it can cause the bit to overheat. For most fastening tasks, a medium-to-high speed setting is usually best.
The key to using a drill safely and effectively is to make sure that both the clutch and speed settings are properly adjusted for the job at hand. Once you have determined what settings should be used, it is important to practice on a scrap piece of wood or other material before attempting the actual task.
In addition, wear safety glasses and hearing protection when operating your drill as the noise level can be quite high. Following these tips will ensure that you get the most out of your cordless drill and protect both yourself and your materials.
All is Done
When all of your fastening work is done, make sure to take some time to clean and care for your cordless drill. After each use, it is important to wipe down the body and handle of the device with a damp cloth. This will help remove any dust that can build up over time and potentially damage the drill’s internal components. Additionally, check the battery for signs of wear and tear and replace it as necessary to keep your drill functioning at its best.
With proper maintenance, a cordless drill can last many years and provide reliable service for all of your fastening needs.
How to Lock a Cordless Drill Bit
Ensure your drill bit is secure when using the tool. Failing to do so can lead to injury and damage to the workpiece. Here are the tips on how to correctly lock a drill bit:
- Ensure the drill chuck is tightened securely around the shank of the bit. It should be tightened until it is firm, but not so tight that the bit can’t move.
- Once the chuck is tightened, you can use the locking ring to fix the bit in place. It is a round knob located at the end of the drill and is usually red or green in color. Rotate it clockwise until it clicks into place.
- Finally, double check that the bit is locked properly by giving it a slight tug. If it doesn’t move and is securely in place.
How to Keep Cordless Drill Battery for Longer?
Battery life is an important factor for a successful job. Luckily, there are some simple steps you can take to ensure the battery lasts as long as possible:
- Always fully charge the battery before use
- Ensure that no tools or metal items come into contact with the terminals of the battery
- Keep the drill, and its battery, in a dry place
- Don’t leave the battery charging for extended periods of time
- Clean and inspect your battery at least once every few months
- Avoid letting your drill get too hot while in use or charging
- Don’t drop or jolt your cordless drill if it is still plugged in [2]
With proper maintenance, you won’t have to worry about replacing them any time soon!
Safety Tips for Using Cordless Drill
Whenever you’re using a power tool, safety should always come first. Here are some tips to bear in mind when getting ready to use your drill:
- Always wear protective safety equipment like goggles and gloves
- Make sure the area is clear of any potential risks before starting work
- Keep loose clothing and long hair away from the drill bit
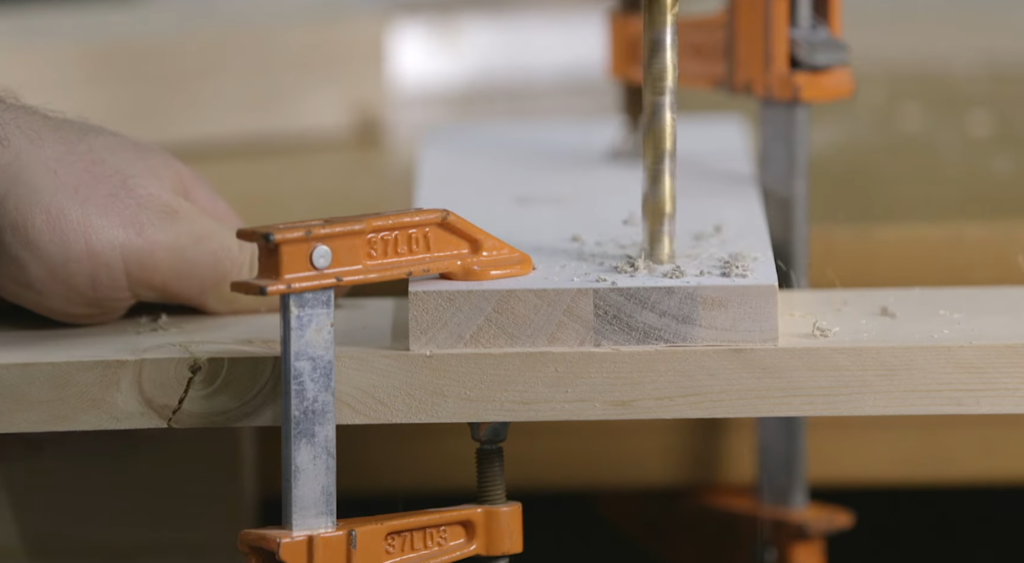
- Use a clamp or vise to secure pieces of wood during drilling
- Be aware of your surroundings when using the drill in tight spaces
- Ensure the drill is firmly mounted before drilling
- Unplug the drill when not in use and when changing bits
- Know how to correctly use all of the attachments that come with your drill
By following these safety tips, you can avoid potentially dangerous accidents. Enjoy your next DIY project!
FAQ
How do you use a drill for beginners?
Using a drill for the first time can be intimidating, but it doesn’t have to be. To get started, you’ll want to ensure that you have all of the necessary safety equipment on hand- like gloves and safety glasses- and that your work area is well lit. Ensure you know how to set up your cordless drill correctly by checking the instructions manual that came with your particular drill. Once you have it set up, all you need to do is decide where you want to make the hole and press the trigger on the cordless drill to begin drilling. It’s important to go slowly and keep a steady pressure while drilling so as not to damage the surface or cause any bodily harm. When finished, be sure to unplug the cordless drill and store it in a safe place! [3]
How do you put a drill bit in a cordless drill?
Changing a bit in a cordless drill is not difficult, but it does require you to understand a few basic tips and tricks. There are several types of cordless drills available, read the instructions before attempting to change the bit.
To begin, turn off the power switch on your cordless drill and unplug the battery pack from the drill.
Then, remove the clamp or chuck that holds the existing bit in place. You can do this by hand usually, but some models require a special hex key to loosen and remove the chuck.
Once it is loose, you will be able to slide the bit out of its slot. Once you have done that, insert a new bit into the same slot, ensuring that it is secure and fully inserted.
Finally, tighten the chuck back up using either your hands or a hex key. Make sure that you don’t overtighten the chuck as this could damage the threading on the bit. [4]
How do you start a cordless drill?
Starting a cordless drill is easy and straightforward. First, you will need to ensure that the battery is fully charged. Then insert the battery into the handle of the drill. Finally, turn on the switch located at the front of the handle. This will activate your cordless drill and allow you to start drilling holes right away. If you have any additional questions or need help with your cordless drill, check the user guide that came with the device.
How do you use a drill step by step?
Using a cordless drill is an easy and effective way to get the job done. Here’s a guide on how to drill safely and correctly:
- Start by assembling the right bits for the job. Make sure any attachments such as chucks or clamps are securely fastened before you start drilling.
- Secure the material you’re drilling into a stable surface.
- Ensure that the drill is in the reverse setting before you start drilling so that it doesn’t get pulled further into whatever you’re drilling.
- Use light pressure and let the drill do the work for you. Don’t apply too much force as this can cause damage to the material and/or the bit itself.
- Also make sure that you don’t push too hard on the trigger; it should be a gradual movement so that your drill operates without jerking or stalling.
- Once you’ve drilled the hole, ensure to unscrew the bit from the material before retracting it – do not pull it out with force as this can cause damage to both the bit and material.
- Finally, store your drill in a dry place, at room temperature away from direct sunlight. [5]
By following these straightforward steps, you can maximize the potential of your cordless drill and ensure its longevity! These tips will not only help you get the most out of your tool but also maintain its peak performance for years to come.
Useful Video: Cordless Drill Basics | Beginner
Conclusion
Now that you know the basics, it’s time to get out there and start tackling your projects. With practice and experimentation, you’ll soon become an expert at using all types of drills. When operating any type of power tool, always ensure your safety by wearing the proper protection such as gloves, eye protection and ear defenders. Don’t forget to check your drill is fully charged and keep it in good condition with regular maintenance. Have fun drilling!
References
- https://www.makeuseof.com/how-to-operate-cordless-drill-professional/
- https://ronixtools.com/en/blog/guide-on-how-to-use-a-cordless-drill/
- https://www.housebeautiful.com/home-remodeling/a31784488/how-to-use-power-drill/
- https://www.instructables.com/How-to-Assemble-and-Use-a-Cordless-Power-Drill/
- https://www.wikihow.com/Use-a-Drill-Safely