

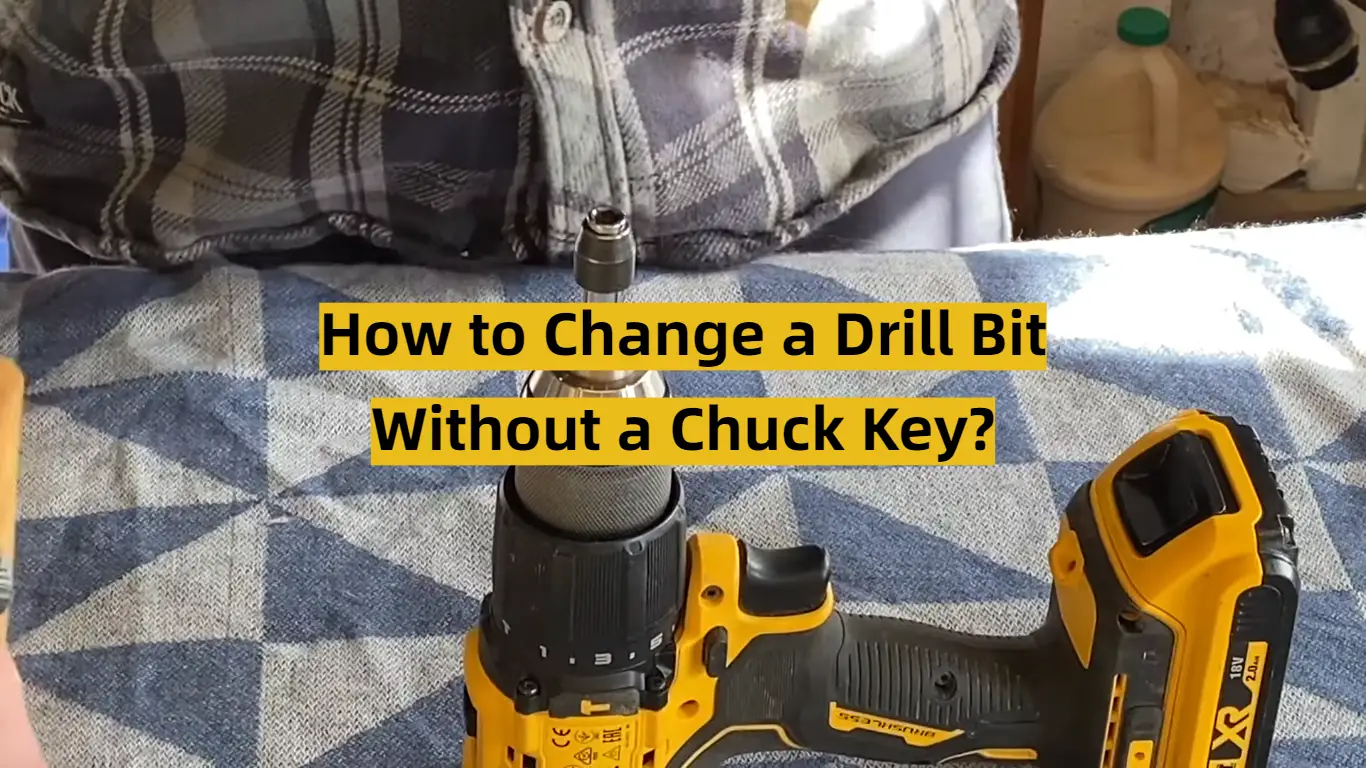
Who knew that it was possible to drill without a chuck key? Today’s modern technology has made it easier than ever to quickly and efficiently change your drill bit. In this guide, we’ll provide you with all the necessary information and helpful tips you need to safely unlock the secrets of drilling without a chuck key.
How to Change a Drill Bit without a Chuck Key
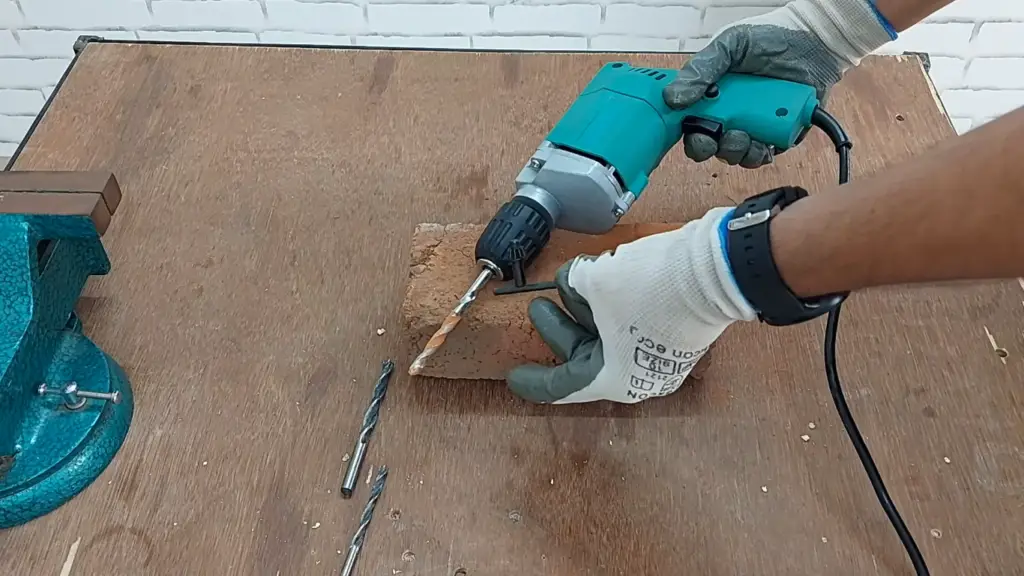
If you have ever been in a situation where you find yourself without a chuck key, fret not – you can still easily replace your drill bit. Here are the steps to follow.
Loosen the chuck
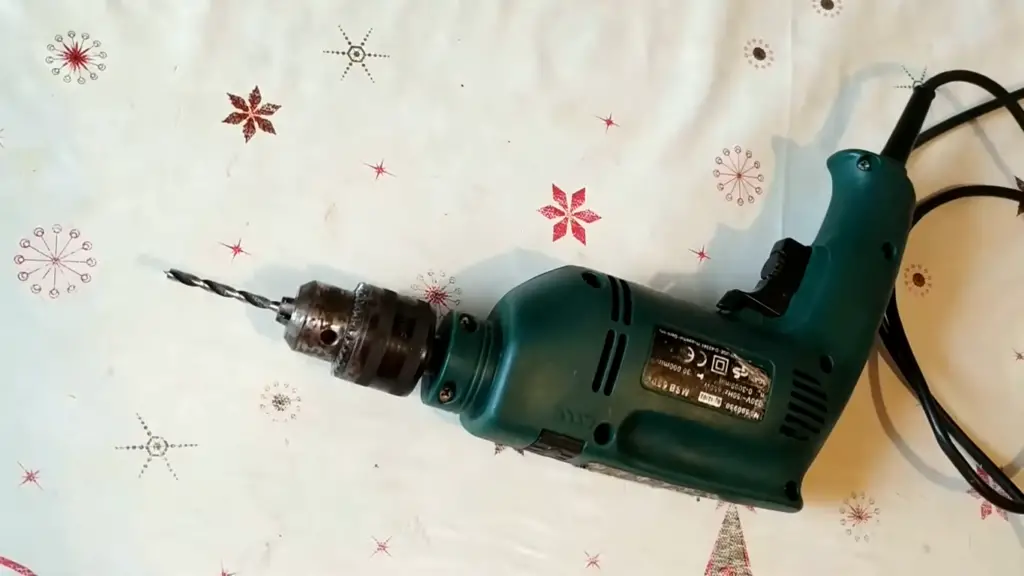
To replace a bit without a chuck key, start by loosening the chuck. This simple step allows for effortless bit changes, even without the need for a specialized tool. This can be done by hand; just grip it with your thumb and forefinger and then twist it counterclockwise until it loosens up. Ensure that there isn’t any debris stuck in the jaws of the chuck, which could prevent it from opening.
If you find yourself having difficulty loosening the chuck, then you may need to use a pair of pliers. This should give you enough leverage to loosen the chuck without damaging it. Once it has been sufficiently loosened, set your drill to its lowest setting and remove the bit.
Unlock the chuck and remove the bit
Pull the bit away from the spindle and it should come right out. If you have some difficulty removing the bit, rotate it counterclockwise while pulling until it releases.
Insert the new one. Ensure the drill bit is correctly aligned in the drill chuck. Insert it into the collar of the bit and gently push it until it sits flush with the spindle. This ensures proper alignment and reduces any potential wobbling or misalignment during drilling.
Next, rotate the new bit clockwise. This will ensure that it’s properly secured and won’t slip or malfunction while you’re drilling. Always take caution when using any power tools, and remember to use safety glasses.
Take the new bit and insert it
Once you have obtained your new bit, it is important to carefully insert it into the chuck of your drill. Ensure that you line up the shank of the bit with the jaws on the chuck so it’s secure. Once it’s lined up, push down firmly and turn the chuck clockwise until it’s secure.
Pull the trigger
All you need to do is position the new bit at the tip of the chuck and pull the trigger. This will cause the internal gears in your drill to rotate and activate the chuck jaws, which will then firmly grip onto your drill bit.
Do not over-tighten your new bit as this could cause it to become stuck in the chuck, making it difficult – if not impossible – to remove. To avoid this, use the same force as you’d use when inserting the bit and ensure not to exceed it.
Check if there is a self-locking chuck mechanism
In some cases, the drill may come equipped with a self-locking chuck mechanism. This is a feature that engages when you press down on the trigger. In order to make use of this feature, simply press down on the trigger until you hear it click into place. Check the sides of the chuck for any indication that your drill is equipped with this mechanism.
If you’re using a cordless drill, ensure that the battery is fully charged before attempting to change the bit. This will ensure that there is enough power for the self-locking feature to activate and for the chuck jaws to grip securely onto the drill bit.
Follow all safety precautions when operating your drill and enjoy making precise holes with ease.
Check the drill bit
Remember to check your drill bit periodically for any signs of wear or damage. If you notice any chips, cracks, or other defects in the bit, replace it immediately with a new one to ensure optimal drilling performance. [1]
Drills are essential tools for both DIY projects and professional construction work alike. Following these tips for how to change a drill bit without a chuck key will help you make the most of your drilling experience and keep your tools operating at top performance.
What Chuck Key do I need?
It’s important to understand which type of chuck key you’ll need. The size and shape of the chuck key will depend on your particular drill model. Some drills may require an allen wrench while others might require a spanner or hexagonal key. If you’re unsure which type of chuck key is required for your drill, check the instruction manual or contact the manufacturer.
Once you’ve identified the right chuck key for your drill, it’s time to learn how to change a drill bit without one. Before you get started, make sure that the power source is turned off and unplugged from the wall.
Additional Tips
While it is possible to change a drill bit without a chuck key, there are some additional tips and tricks that can help make the process easier. Firstly, consider using a cordless drill. This eliminates the need for cords or cables when drilling, which can be difficult to maneuver around when you don’t have a chuck key. Secondly, use pliers or a wrench in place of a chuck key if necessary. This can be especially useful when the bit is stuck in the drill. Additionally, consider lubricating the bit and/or using an impact driver to loosen it from the chuck. Finally, use a vice or similar tool to hold the bit when unscrewing it from the drill. This will help ensure that you don’t damage the bit or the drill.
For those who are looking to take their drilling skills even further, consider investing in a power drill.
FAQ
How do you tighten a chuck without a chuck key?
One of the most common ways to do this is by using a set of needlenose pliers. You will want to grab onto the end of the chuck and twist in an outward motion until it’s tight enough for the bit. Another method you can use is to take a rubber mallet and gently tap around the circumference of the chuck until it’s tight enough. If your drill comes with any extra accessories, such as an additional key or other tools, you may be able to use them for this task as well.
If you find that your drill still isn’t working properly after tightening the chuck, then it may be time to look into purchasing a replacement chuck or drill. A new drill with a keyless chuck can be a great solution, as it eliminates the need to constantly search for the key and makes switching out your bits much easier. [2]
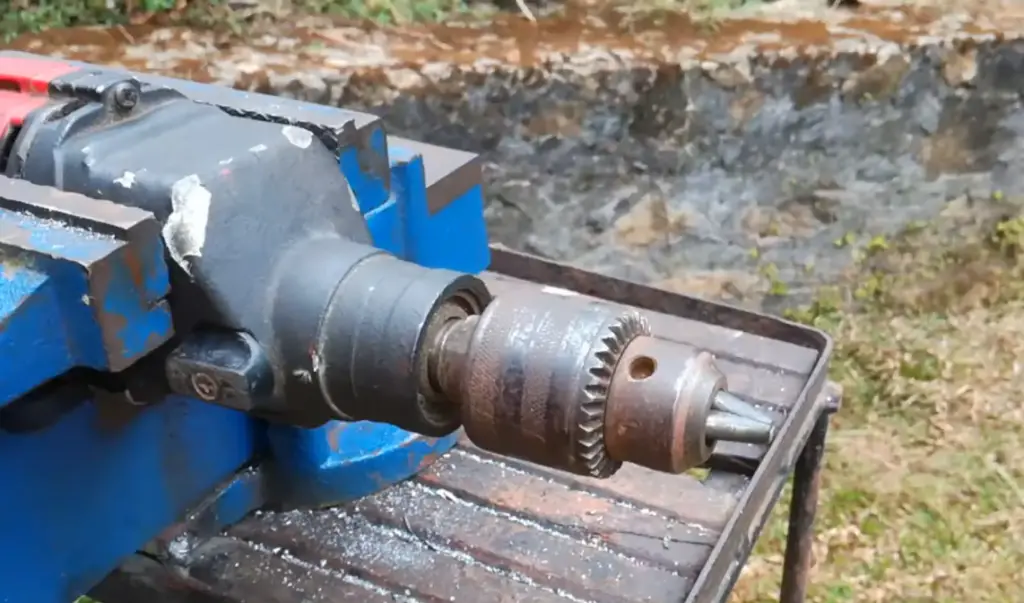
How do you change a drill bit on a keyless chuck?
When you’re working on a project that requires drilling, having the right bit is vital. But what do you do if your drill is missing the chuck key? Don’t panic – changing a bit on a keyless chuck is possible!
Here are some simple steps to help you get started:
- Ensure that the drill is unplugged and the power switch is off before you begin.
- Unscrew the set screw or cam lever from the chuck to loosen it a bit.
- Gently retract the jaws of the chuck and carefully insert your drill bit, ensuring a secure fit by pushing it forward until it stops firmly in place. If your drill has a “ratcheting” type keyless chuck, push forward on the bit with a slight twisting motion while releasing the chuck.
- Tighten the set screw or cam lever to secure the bit in place. If you possess an auto-lock keyless chuck, you can effortlessly secure it by merely closing the jaws of the chuck.
- Test your work by plugging in your drill and turning it on at low speed. If the drill bit is secure, you’re ready to go! [3]
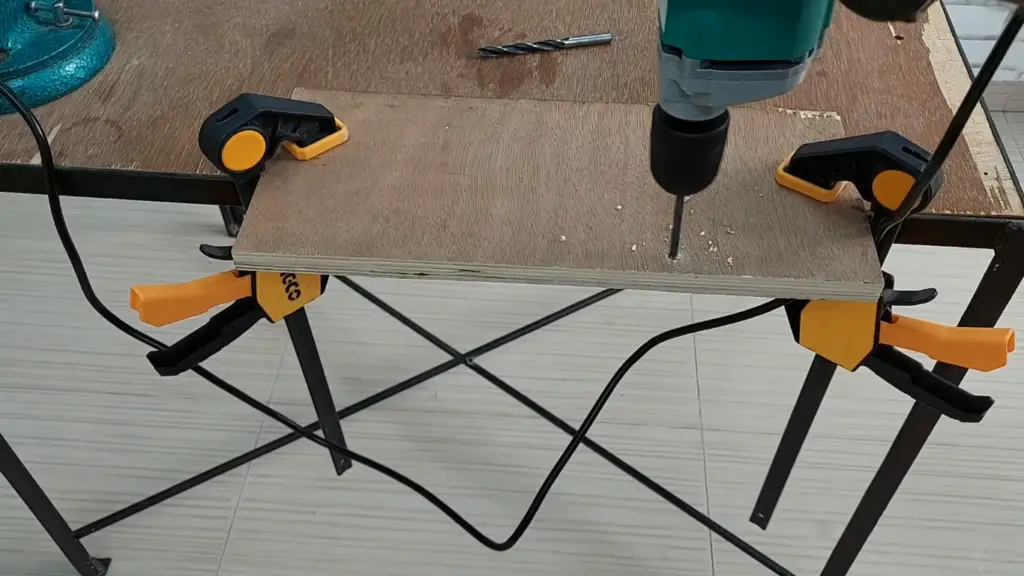
To get the best results from your drilling project, select the right drill bits for your material and always wear safety goggles to protect yourself from debris.
How do you remove a locked drill bit?
There are several ways to remove a stuck or jammed drill bit.
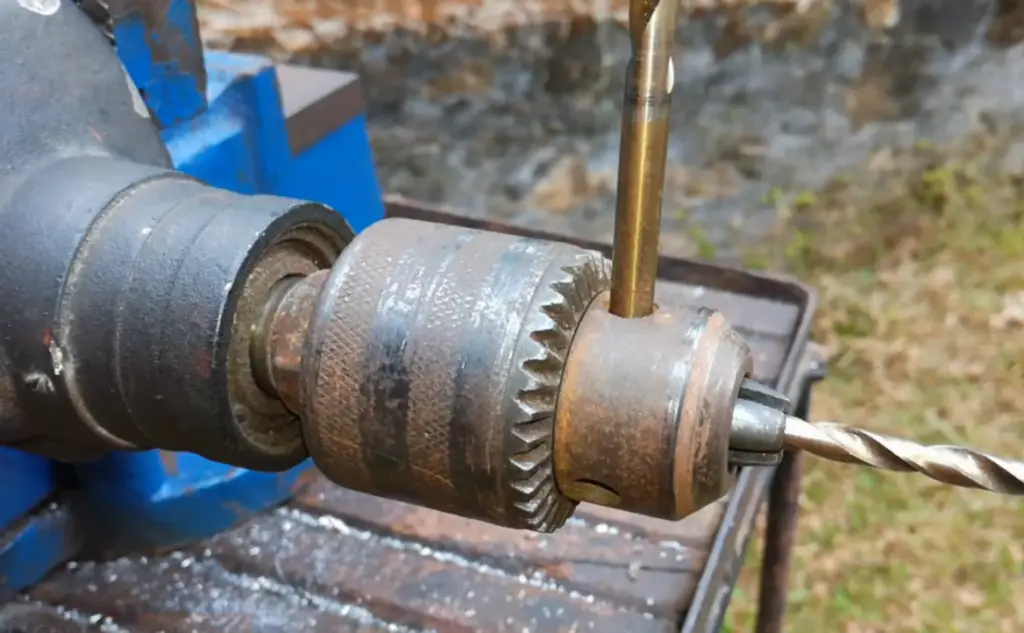
- Use an Allen wrench. Allen wrenches, also known as hex keys, can be used to loosen the chuck on the drill.
- Try a pair of pliers. Having a pair of pliers handy can help you grip and twist the bit so that it will come loose from the chuck. Be sure to use caution when gripping the bit with the pliers so that you don’t damage them.
- Try a rubber mallet and punch. A rubber mallet is a great tool for helping to loosen stuck drill bits, as the softness of the mallet won’t cause any damage to the bit or chuck. If you happen to possess a worn-out punch, a slender metal rod that snugly fits between the teeth of the chuck and the bit, you have the means to delicately tap the drill bit using a rubber mallet. This technique ensures precise execution while maintaining the integrity of the original purpose. [4]
These are just three of the methods you can try if your drill bit has become stuck in the chuck without a chuck key. With any luck, one of these tips will help you remove your drill bit and get back to work!
How do I find the correct chuck key?
Finding the right chuck key for your drill can be a challenging task, especially if you don’t have the model number of your drill or access to a parts list. Luckily, there are ways to identify what type of chuck key is needed without having these additional pieces of information.
The best place to start is by looking at the exterior of the drill. Most models will have a small notch that indicates the size of the chuck key. This could be a number, letter, or symbol which will match up with a specific chuck key model.
Another option is to measure the interior diameter of the chuck and compare it to measurements found on various parts lists online. You can also often find these measurements listed in product descriptions and manuals.
If all else fails, you can contact the manufacturer for assistance in finding the correct chuck key model. They should be able to provide you with additional information that will help you find the right product for your drill.
Now that you know what type of chuck key is needed, it’s time to learn how to change a drill bit without one. First, it’s important to make sure the drill is disconnected from any power source and that you are properly wearing all of the necessary safety gear.
Next, you’ll need to find a tool with a flat tip that fits inside the chuck. If you don’t have a suitable tool, try using something like a flathead screwdriver or an allen wrench.
Once the tool is safely inserted into the chuck, rotate it counter-clockwise until the bit loosens and can be removed. To attach a new bit, insert it into the same position as before and turn the tool clockwise to tighten it in place. [5]
With these easy steps, you’ll be able to change your drill bit without the help of a chuck key. Just remember to always use caution when working with power tools and have fun!
Useful Video: 39 No Drill Chuck Key? No Problem • How To Remove Drill Bits Without A Key
Conclusion
When it comes to drilling, a chuck key is an essential tool for changing out drill bits. However, if you find yourself without a chuck key, all hope isn’t lost – there are still ways to get the job done. For instance, using pliers or locking pliers can be used as a makeshift chuck key in order to loosen the bit from the chuck. With the right tools and knowledge, you can still successfully change out drill bits – even without a chuck key.
With that being said, having a proper-sized chuck key is much easier and more efficient when changing drill bits. It’s always helpful to have one handy in your toolbox for any drilling project! Additionally, it may be easy to overlook the importance of ensuring that your chuck key is securely locked into place before using the drill. Taking a few extra seconds can help you avoid any potential mishaps or injuries while working on projects.
References
- https://startwoodworkingnow.com/how-to-change-a-drill-bit/
- https://diytroop.com/how-to-change-drill-bit-without-chuck-key/
- https://www.wikihow.com/Change-a-Drill-Bit
- https://abutterflyhouse.com/remove-stuck-drill-bit-from-anything/
- https://do-it-up.com/stuff/tools/how-to-buy-a-chuck-key-for-a-hand-drill-or-drill-press/