If your DeWalt drill isn’t working, you may feel like you’re at a loss. What do you do? Where do you start? Well, don’t worry – we’ve got you covered.
In this article, we will answer some of the most common questions people have about DeWalt drills that aren’t working properly. We will also provide some tips on how to get them up and running again.
So, whether your drill is just not turning on or it’s not drilling correctly, read on for help!
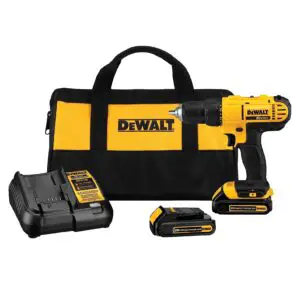
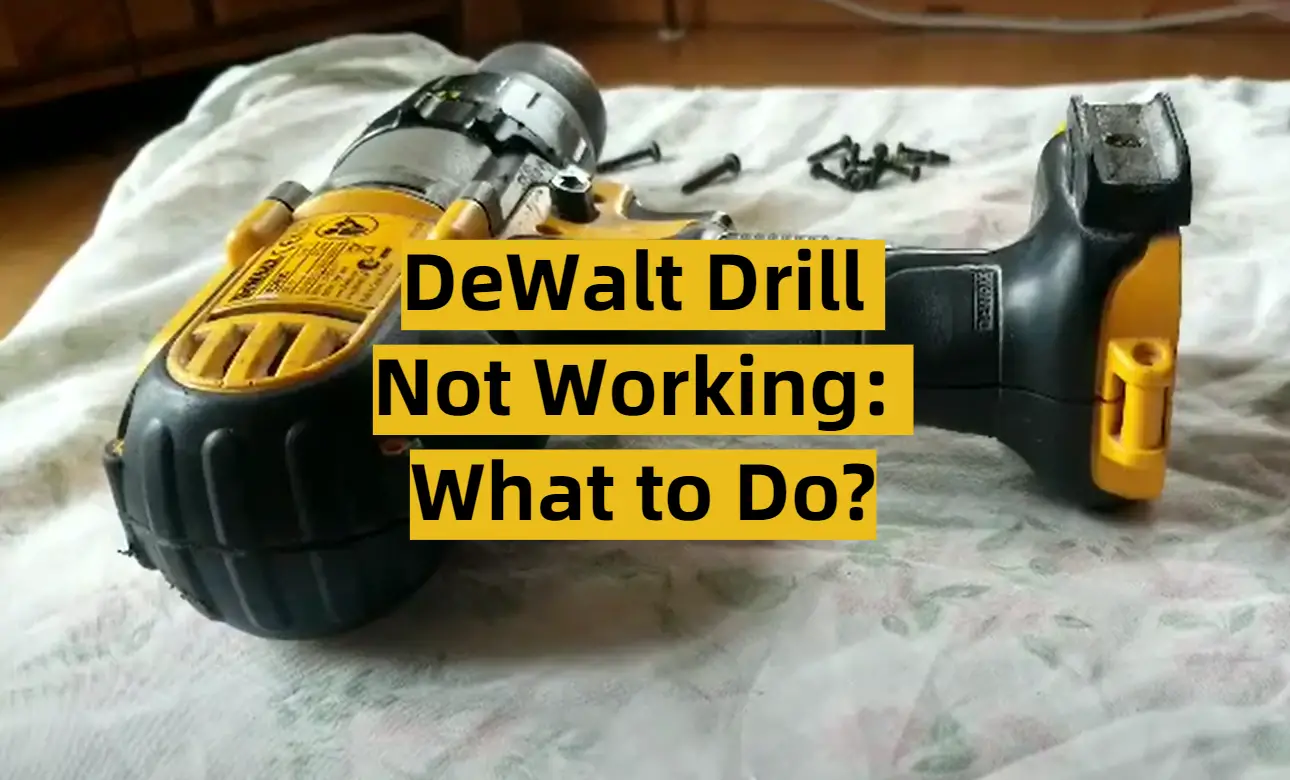
DeWalt Drill Not Working: What to Do?
Drill Won’t Turn On
The first thing you should do if your drill won’t turn on is to check the batteries. If they are dead, then replace them with new ones.
If the batteries are not the issue, then the problem may be with the switch. The switch could be dirty or damaged and will need to be replaced.
Drill Won’t Stay On
If your drill keeps turning off, then the issue is likely with the brushes. The brushes are what conduct electricity to the motor and if they are worn out, the drill will not be able to stay on for very long. You will need to replace the brushes in order to fix this problem. [1]
The Drill is Not Drilling
There are several reasons why your drill might not be drilling:
- First, check to make sure that the bit is properly tightened. If it is loose, then it will not be able to drill through anything;
- Second, check to see if the bit is dull. If it is, then you will need to replace it with a new one;
- Finally, make sure that there is nothing blocking the path of the bit. If there is, then the drill will not be able to drill through it;
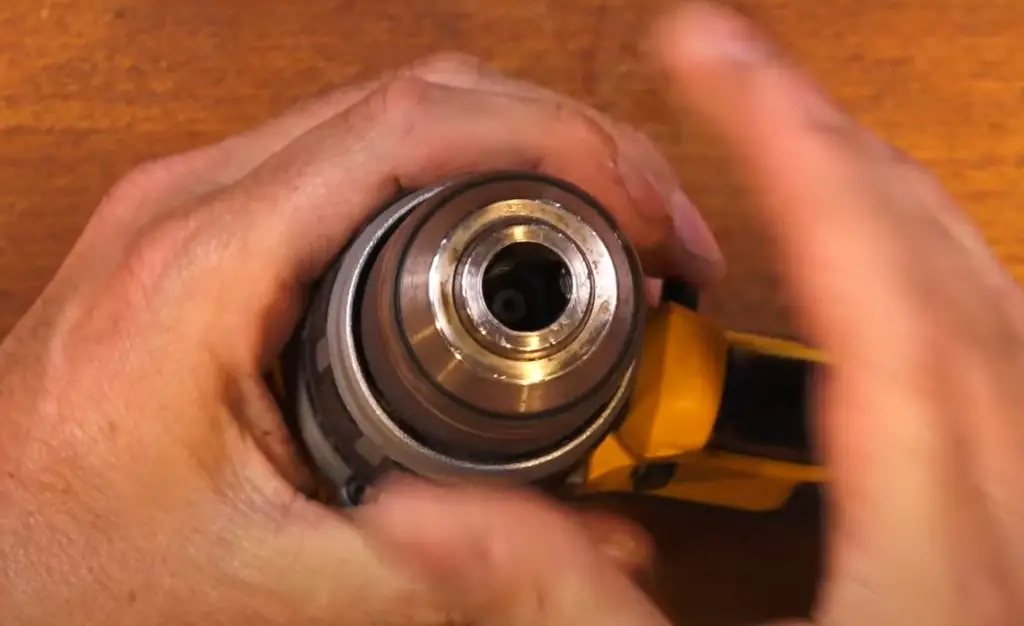
The Drill is Not Driving Screws
If your drill is not driving screws, then the first thing you should check is the clutch. The clutch is what controls the torque of the drill and if it is not set properly, then the drill will not be able to drive screws. You will need to adjust the clutch until it is set properly.
Clutch Not Working
The clutch on a drill can go bad over time and when it does, it will need to be replaced. This is not a difficult repair and you should be able to do it yourself.
Drill is Overheating
Noisy Drill
A noisy drill is usually due to a problem with the bearings. The bearings can become worn out over time and will need to be replaced. This is not a difficult repair and you should be able to do it yourself.
If your DeWalt Drill is not working properly, then there are several things that you can do to try to fix the problem:
- First, check the batteries and make sure they are charged. If they are not, then replace them with new ones;
- Second, check the switch and make sure it is not dirty or damaged. If it is, then replace it. Third, check the brushes and make sure they are not worn out. If they are, then replace them;
- Finally, make sure that there is nothing blocking the path of the bit and that the drill is properly ventilated;
If all of these things check out, then the problem may be with the clutch or bearings and you will need to replace them.
Has No Torque/Losing Torque
If your drill is losing torque or doesn’t seem to have as much power as it used to, it may be time to replace the brushes. The brushes are what conduct electricity from the armature to the commutator and if they’re worn down, they won’t be able to do their job properly.[1]
You can usually tell if the brushes need to be replaced if you see black soot on them or if they’re shorter than they used to be.
If the problem is with the armature, it may need to be replaced. The armature is what the brushes ride on and if it’s damaged, it can cause the drill to lose power.
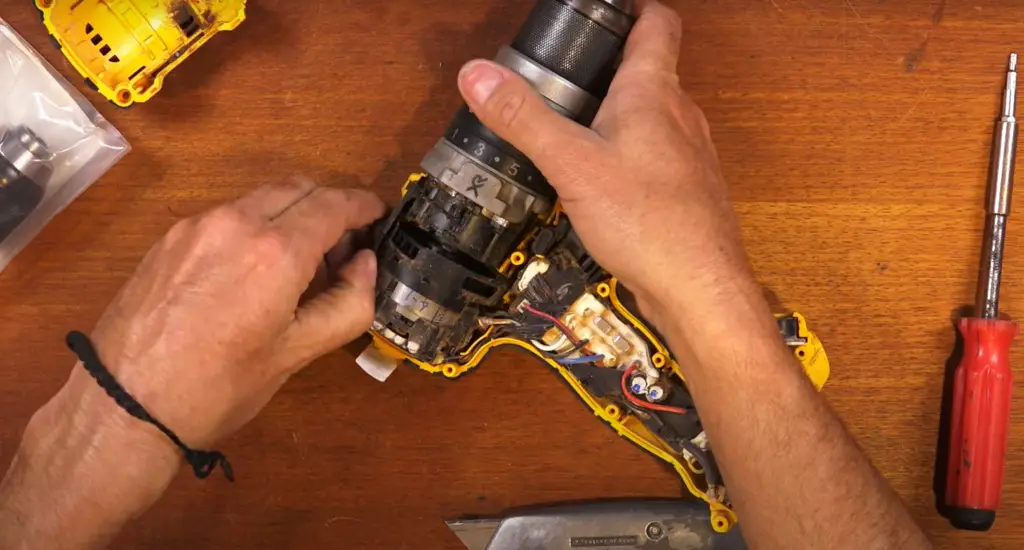
Won’t Change Speed
If your drill won’t change speed or the variable speed doesn’t seem to be working, there are a few things you can check. First, make sure the trigger is fully depressed. If it’s not, the drill won’t be able to change speed.
First, check the switch. The switch controls the flow of electricity to the motor, and if it’s damaged, the motor may not work properly. If the switch is okay, then there may be a problem with the motor itself.
If you can’t seem to get the drill to change speed, it’s best to take it to a professional for repairs.
Won’t Turn To Hammer Drill Mode
If your drill has a hammer drill mode but it won’t turn to that mode, there are a few things you can check:
- First, make sure the switch is in the correct position. The switch must be in the “hammer” position in order for the drill to work in that mode;
- Next, check the clutch. The clutch is what makes the drill turn on and off. If it doesn’t work, the drill won’t turn on;
- If the clutch seems to be working, the problem may be with the motor;
Drilling Too Slow
If your drill is drilling too slowly, there are a few things you can check. First, make sure the drill bit is sharp. If the bit is dull, it will take longer to drill through the material. You can also try using a different type of drill bit.
Brake Not Working
If your brake isn’t working, it could be because the brushless motor is defective. Try this fix:
- Unplug the drill from the power source;
- Remove the chuck (if possible) and clean it out with compressed air;
- Inspect the brushes and replace them if they’re worn down;
- Reassemble the drill and plug it in. If the brake still isn’t working, the motor may need to be replaced;
Beeping And Not Working
If your drill is beeping and not working, it could be because the battery is damaged or defective. Try this fix:
- Unplug the drill from the power source;
- Remove the battery pack and inspect it for damage;
- If the battery pack is damaged, replace it with a new one;
- If the battery pack isn’t damaged, try charging it for a few hours;
- Reassemble the drill and plug it in. If the drill is still beeping and not working, the battery charger may be defective;
Light Won’t Turn Off
One of the most common issues with DeWalt drills is that the light won’t turn off. This can be incredibly frustrating, especially when you’re working in a dark area and the light is shining right in your eyes.
There are a few things that you can do to try and fix this issue:
- First, check the batteries. If they are getting low, it could be causing the light to stay on;
- Try replacing the batteries and see if that fixes the problem;
- If the batteries aren’t the issue, then there could be something wrong with the switch;
- Try cleaning the switch with a can of compressed air. If that doesn’t work, you may need to replace the switch;
Light On Or Flashing But Not Working
If your DeWalt drill has a light on it and it is either on or flashing but not working, this could be due to a few different issues. First, check the batteries. If they are getting low, it could be causing the light to not work. Try replacing the batteries and see if that fixes the problem.
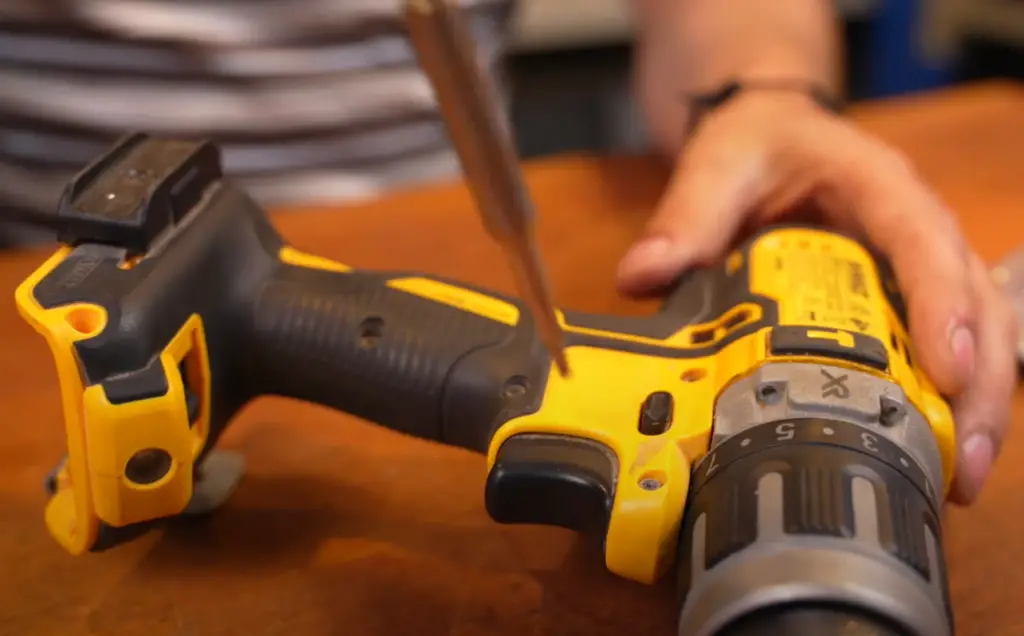
How To Turn Off Light On DeWalt Drill?
If your DeWalt drill has a chuck on it and it won’t tighten or loosen, this can be a big problem. If you can’t loosen the chuck, you won’t be able to change bits and if you can’t tighten it, the bit will just spin without doing anything.
FAQ
What to do if your drill stops working?
First, check the batteries. If they are getting low, it could be causing the drill to stop working. Try replacing the batteries and see if that fixes the problem.
If the batteries aren’t the issue, then there could be something wrong with the switch. Try cleaning the switch with a can of compressed air. If that doesn’t work, you may need to replace the switch.
How do I know if my drill batteries are bad?
- One way to tell if your drill batteries are bad is if the drill doesn’t have as much power as it used to;
- Another way to tell is if the drill only works for a short time before it needs to be recharged;
If you notice either of these things, it’s probably time to replace the batteries.
How often should I clean my drill?
It’s a good idea to clean your drill every few months to keep it in good condition. You can clean the outside of the drill with a damp cloth and the inside of the drill with a can of compressed air.
Why did the drill suddenly stop working?
There are a few reasons why your DeWalt drill may have stopped working. If you were using the drill when it stopped, it could be due to an electrical malfunction or overloading of the motor.
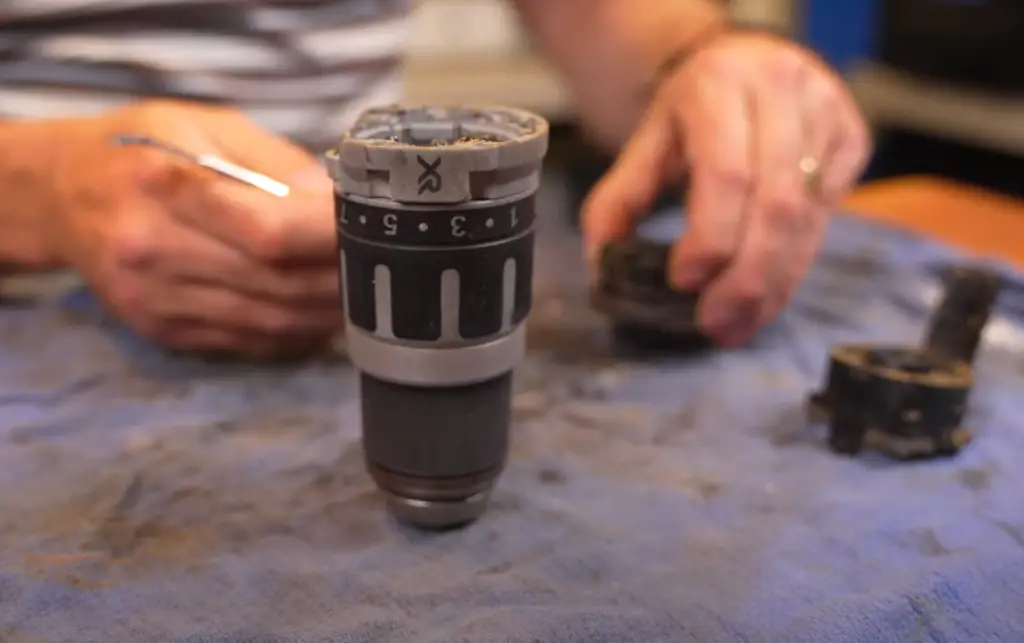
If the drill was not in use when it stopped working, the battery may be dead or there could be an issue with the charger.
What should I do if my DeWalt drill stops working while I’m using it?
If your drill stops working while you are using it, the first thing you should do is check the power source. If you are using a battery, make sure it is fully charged. If you are plugged into an outlet, make sure the outlet is working and that the cord is not damaged.
Next, check the drill itself for any damage. If you see any sparks or burning smells, unplug the drill immediately and do not use it until you have determined the cause of the problem.
If there is no obvious damage to the drill, try resetting it by unplugging it from the power source and then plugging it back in. If the drill still does not work, contact DeWalt customer service for further troubleshooting assistance.
Why does my Dewalt drill stop?
There are a few reasons why your Dewalt drill might stop working. If you were using the drill when it stopped, it could be due to an electrical malfunction or overloading of the motor.
If the drill was not in use when it stopped working, the battery may be dead or there could be an issue with the charger.
Is there a fuse in a Dewalt drill?
If your Dewalt drill has stopped working, it may be because the fuse has blown. To check this, first, unplug the drill from the power source.
Then, remove the battery pack and locate the small silver cylinder on the back of the battery pack. This is the fuse. If it looks damaged or melted in any way, it will need to be replaced.
What are the most common problems with Dewalt drills?
The most common problems with Dewalt drills include:
- The drill not working at all;
- The drill only works intermittently;
- The drill not holding a charge;
- The drill loses power while in use;
Is there a fuse in a Dewalt drill?
If your Dewalt drill has stopped working, it may be because the fuse has blown. To check this, first, unplug the drill from the power source.
Then, remove the battery pack and locate the small silver cylinder on the back of the battery pack. This is the fuse. If it looks damaged or melted in any way, it will need to be replaced.
How do I troubleshoot my Dewalt drill?
If your Dewalt drill is not working properly, there are a few things you can do to troubleshoot it.
First, check the fuse (as described above). If the fuse is not the problem, try charging the battery pack for at least 24 hours. If the drill still will not work, you may need to replace the battery pack.
How do I know if my Dewalt drill battery is bad?
There are a few signs that your Dewalt drill battery may be bad and needs to be replaced. These include:
- The drill not working at all;
- The drill only works intermittently;
- The drill not holding a charge;
- The drill loses power while in use;
If you notice any of these problems, it is best to replace the battery pack.
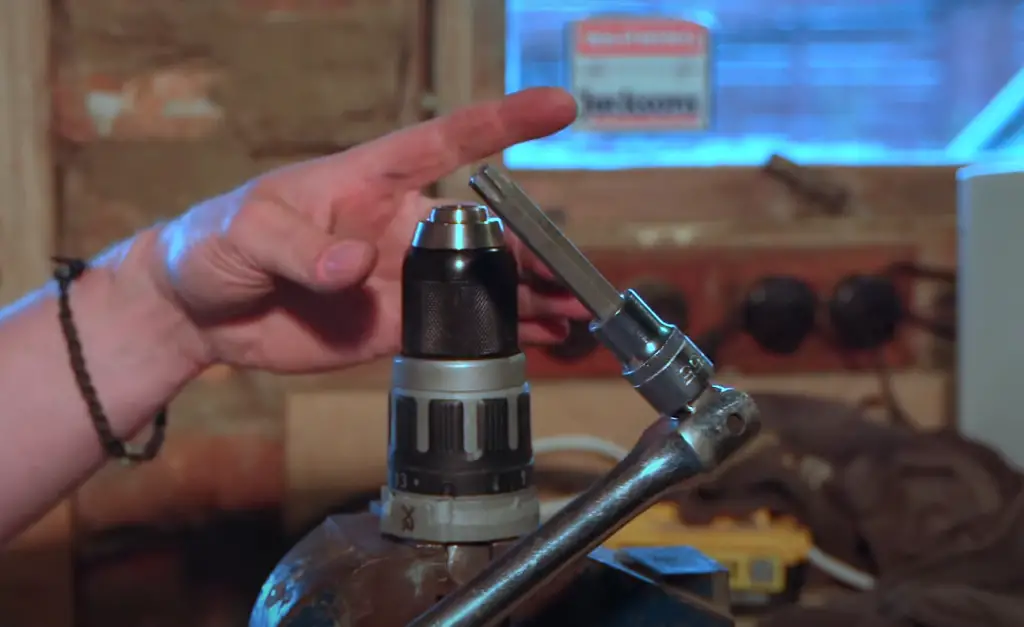
How do you test a motor for a drill?
The first step is to identify the problem. Is the drill not working at all, or is it not working as well as it used to? If the drill is completely dead, you’ll need to test the motor. The best way to do this is with a multimeter.
First, make sure that the drill is unplugged. Then, remove the battery cover and take out the batteries. Next, locate the two terminals on the motor. One will be labeled “M+” and the other “M-.”
Touch the red lead of the multimeter to the “M+” terminal and the black lead to the “M-” terminal. If the multimeter reads infinity, the motor is fried and will need to be replaced. If it reads zero or close to zero, the motor is fine and the problem is elsewhere.
If the drill is not working as well as it used to, the problem is probably with the brushes. To test the brushes, first, remove them from the drill.
Then, use the multimeter to test the continuity between the brush terminals and the commutator. If there is no continuity, the brushes need to be replaced.
Useful Video: Fix your Dewalt 20V MAX Li tools!! Easy fix for intermittent problem
Conclusion
When your DeWalt drill quits working in the middle of a project, it can be frustrating. Hopefully, this guide has given you some ideas on how to troubleshoot and fix your drill so you can get back to work.
Always remember to read the owner’s manual first for specific instructions on how to take your drill apart and put it back together. If you are still having trouble fixing your drill or have any other questions about drills or power tools, feel free to reach out to our experts at the Dewalt Drill Repair Centre. We are happy to help!
References:
- https://readytodiy.com/dewalt-drill-not-working-0052/





Recently, my DeWalt drill unexpectedly stopped working, and I was baffled. After some investigation, I found that the issue was a simple one—the battery wasn’t properly inserted. It’s easy to overlook the basics, but ensuring the battery is securely in place can save a lot of troubleshooting time.
Encountering a non-functional DeWalt drill led me to check the brushes inside the motor. Over time, they can wear down, affecting the drill’s performance. I replaced the brushes, and my drill was back to its usual powerful self. It’s a maintenance step that’s often forgotten but can make a significant difference.
Dealing with a DeWalt drill that wouldn’t work, I discovered a fault in the trigger switch. A quick inspection and replacement of the faulty switch resolved the issue. It’s a reminder that sometimes the problem lies in the smaller components, and a bit of DIY repair can get your drill working again.
Recently, my DeWalt drill seemed to lack power and struggled with basic tasks. After checking the battery and motor, I realized the issue was with the gear assembly. Replacing the worn gears made a noticeable difference in the drill’s performance, highlighting the importance of inspecting all components.
My DeWalt drill suddenly became unresponsive, and I feared a major issue. Surprisingly, the problem was a tripped thermal overload switch. Allowing the drill to cool down for a while before resetting the switch solved the problem. It’s a safety feature that’s easy to forget but crucial for preventing overheating.
Dealing with a DeWalt drill that wouldn’t turn on, I checked the power source. It turned out the power outlet was faulty. Switching to a different outlet immediately resolved the issue. Sometimes, the solution is as simple as checking the basics before delving into more complex troubleshooting.
My experience with a DeWalt drill not functioning led me to inspect the battery charger. A faulty charger can prevent the battery from reaching its full potential. After replacing the charger, the drill worked flawlessly. It’s a reminder that the charging system is as vital as the drill itself.
Recently, my DeWalt drill exhibited erratic behavior, stopping and starting unexpectedly. The issue was a loose connection in the wiring. Securing the loose wires with the appropriate tools resolved the problem. It’s a testament to the importance of periodic checks for wear and tear in the electrical components to ensure consistent performance.
I encountered a frustrating situation with my DeWalt drill refusing to work. After a bit of troubleshooting, I realized the issue was a worn-out battery. Replacing the old battery with a new one instantly revived the drill’s functionality. It was a straightforward fix, emphasizing the importance of regularly checking and maintaining your power tool’s components.
Dealing with a non-operational DeWalt drill, I discovered the problem lay in the brushes within the motor. Over time, these brushes wear down, affecting the drill’s efficiency. A quick replacement of the brushes breathed new life into my drill, underscoring the significance of routine maintenance to ensure optimal performance.
Recently, my DeWalt drill displayed a lack of power and struggled during use. Upon inspection, I identified a fault in the gear assembly. Swapping out the worn gears with new ones significantly improved the drill’s performance, highlighting the importance of a thorough examination of all components when troubleshooting.
My DeWalt drill suddenly became unresponsive, prompting me to check for a tripped thermal overload switch. Sure enough, the switch had tripped due to overheating. Allowing the drill to cool down before resetting the switch resolved the issue. It’s a reminder of the tool’s built-in safety features and the necessity of periodic checks.
Dealing with a seemingly dead DeWalt drill, I traced the problem to a faulty trigger switch. A quick replacement of the switch restored the drill’s functionality. This experience emphasized that even seemingly minor components can have a significant impact on the overall performance of the tool.
Recently, my DeWalt drill wouldn’t power on, leading me to inspect the power source. It turned out the outlet I was using was faulty. Switching to a different outlet immediately solved the problem. It’s a simple yet crucial step in troubleshooting that can save time and frustration.
My DeWalt drill exhibited erratic behavior, frequently stopping and starting unexpectedly. The culprit turned out to be a loose connection in the wiring. Securing the loose wires with the appropriate tools resolved the issue. This experience highlighted the importance of thorough inspections, even for seemingly minor issues, to maintain consistent and reliable tool performance.